
Aloe Veras are durable plants that need less attention. They grow faster than many other succulents. So, if you have a potted aloe vera at your house, you might want to know how you can repot it. Let’s find out.
Aloe vera plant needs to be repotted once it becomes top-heavy or has too many pups. To repot your aloe vera, you need to take the old plant out of the old pot and transfer it to a new pot 1-2 inches bigger than the old one. You can divide the babies and transplant them to other pots.
Repotting Aloe Veras refreshes the plant’s growing conditions and gives them more space to spread.
You can repot them after every 1-2 years. However, the frequency depends on their growth rate and size.
Repotting might be confusing for beginners. But once you get familiar with the steps, you will find it easy. This guide will help you understand all the steps to avoid committing silly mistakes. So, read this article till the end.
Importance of repotting
The Aloe vera can benefit from repotting in many ways.
It will keep them healthy and increase their potential to thrive for a long time.
Space
Repotting aloe vera to a new pot can give the babies some space to stay with their mother plant until they develop their roots.
Over time, the plant will also get rootbound and start growing its roots in a circular motion.
Repotting will give the roots more room to spread, prevent rootbound and let them breathe.
The leaves will be spindly without enough space, thus producing very little gel.
Lack of space will weaken the plant, and the leaves will become droopy.
A chance to separate the pups
While repotting, you can separate the pups that have developed their roots.
You don’t have to take the plant out at any other time to divide them.
It will also give the plant some more space to develop some more pups to fill up the space they got.
Fresh soil and nutrients
Over time, all the nutrients get washed away from the soil with each watering.
When repotting the Aloes, the plant gets new soil stocked with nutrients.
Along with space, the fresh soil loaded with nutrients can help the plant grow bigger and faster.
Easy movement of water
Over time, the soil gets compact and clogged at places.
The water you provide doesn’t get into the soil properly.
Due to compactness, the water stays on the surface.
And due to clogged soil, the water doesn’t spread to every corner.
Replacing the old soil with new, fresh soil can make the water flow and movement easier.
When to repot Aloe Veras?
There are different situations when the Aloe Veras will require repotting.
If you have forgotten to repot the Aloe Veras in time, you can also do it during the following situations.
Repotting during those situations can save the plant from various sufferings.
When the plant is rootbound
There are different situations where you can identify that the plant is rootbound.
You need to identify the signs and repot the plant as soon as possible.
Otherwise, the plant will end up dying.
Some signs of the rootbound plant are:
- Roots grow in a circular motion and out of the drainage holes.
- Dry, crispy, and thin leaves due to dehydration. The water provided roams about and falls immediately out of the drainage holes as there are more roots than the soil.
- Overwatering signs because the roots grow out of the drainage holes and block the drainage. When you give water, it stays in the pot, thus letting the roots damp for a long time. If the problem extends, the Aloe Vera will experience root rot.
You must repot the plant before the rootbound problems increases.
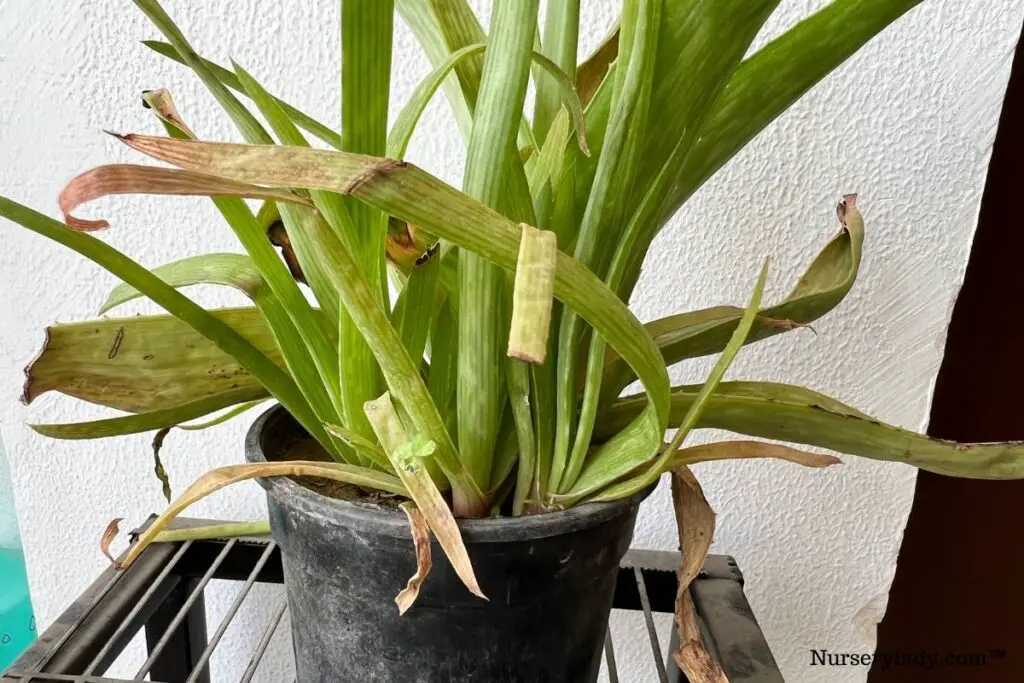
Plant bigger than the pot
Over time, the plant will grow bigger and outgrow the container.
The container will look smaller than the plant.
When this happens, the small planters won’t be able to hold the plant and fall off frequently.
Even if you have separated the pups and the roots are not bound, you still need to repot them in a container that can hold the weight of the plant.
Newly bought plant
When you bring a new plant home, it stays in a small plastic pot with generic soil.
The soil might not be suitable enough for the Aloe Veras because they enjoy well-drained soil that remains dry.
Besides, plastic pots can retain moisture for a long time.
You might have to repot the plant to a new container with a soil mix suitable for the Aloe Veras.
Use a terra cotta container in the beginning.
A readymade soil mix suitable for aloes will be a commercial cactus and succulent potting mix.
Emergency repotting
Urgent repotting is done when the plant experiences severe conditions like root rot.
It is a disease that causes due to prolonged dampness.
Since the Aloes enjoy dry conditions, excessive water rots the roots.
If not treated within the right time, it can kill the plant.
The soil releases a foul smell when the plant experiences root rot.
When you take the aloe vera out of the pot, you will see that most of the roots have turned brown and mushy and are releasing a foul odor.
Repotting them in time can bring the plant back to its healthy life.
How often to repot Aloe Veras?
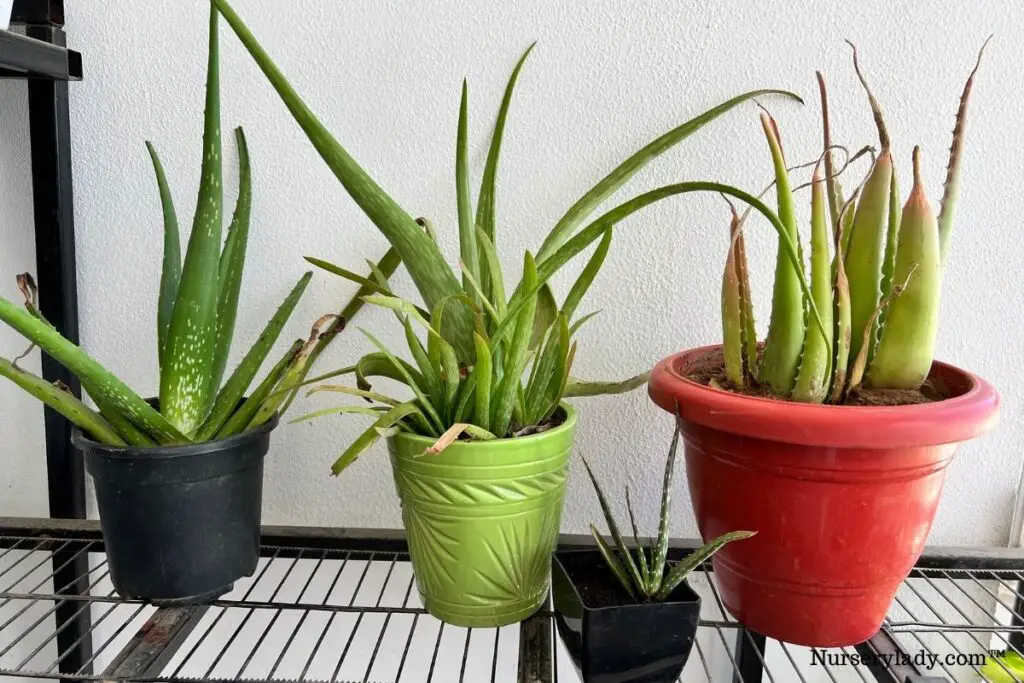
Generally, you should repot the Aloe Veras depending on its size.
Aloes will stay healthy if they are not overcrowded.
However, depending on the pot size you select for the Aloe Veras, they should be repotted 1-2 times in one year or once after 1-2 years.
If your plant is outdoors, it will grow faster than indoor plants.
You can repot them 1-2 times a year.
If your plant is indoors, it will take 3 to 4 years to mature.
In such conditions, you can re-pot Aloe Veras once after every 1-2 years.
Best time to repot Aloe Vera
You must repot Aloe Vera plants when they are growing actively.
It helps them to recover from the transplant shock faster.
Spring and summer is the best time to repot Aloe Vera plants.
You can always repot the Aloe Veras if the temperature is warm and stays within 55 to 70°F.
It is warm and perfect for Aloe Vera’s active growth.
Spring and summer have these temperature ranges most of the time.
Note that summer is also the dormancy period of Aloe Veras.
You must not repot them if the temperature rises above 80 to 90°F.
At such a temperature range, the plant will go dormant.
In such conditions, Aloe Veras won’t be able to recover from the transplant shock quickly.
Also, avoid winter repotting.
Best soil for aloe vera
The soil should be well-drained because Aloes enjoy dry conditions.
But it must also retain moisture to some extent.
It should provide adequate nutrients and improve aeration.
Some ideal soil mixes are:
- 50% potting soil and 50% pumice
- Equal parts of garden soil, coarse sand, and peat moss
- 3 parts potting soil, 2 parts pumice, and 1 part peat
How to repot an Aloe Vera plant?
Go through this point carefully.
It might seem difficult initially, but you will excel over time with frequent practice.
There are a lot of things to consider while repotting Aloe Vera.
Other than shifting from one container to another, there are many things to know.
One wrong action can hurt your plant and make it suffer despite proper care and maintenance post-repotting.
Materials required:
- Containers
- Ideal soil mix
- Your Aloe Vera plant
- Garden gloves
- Garden tools like pruners, knives, trowels, spades, forks, etc.
- Rubbing alcohol
After gathering everything you need, it is time to start with the re-potting procedures.
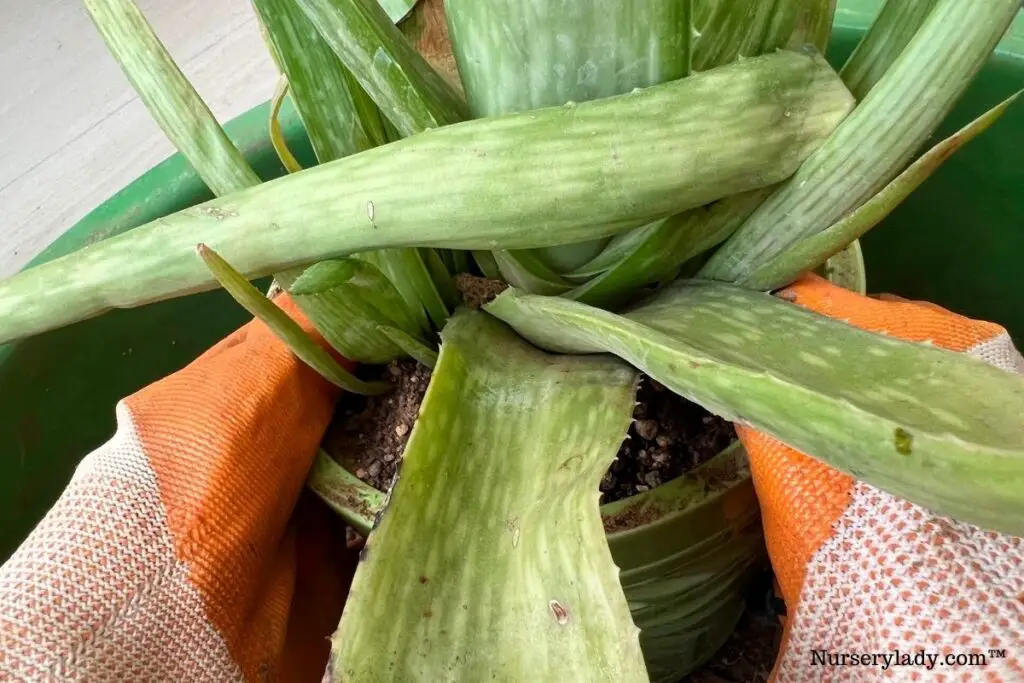
1. Remove the plant from the container.
You can water your 1-2 days before repotting.
It will keep the soil slightly moist and make the unpotting easier.
The plant can easily come out of the container with a little effort.
First, squeeze the sides of the container if they are in a plastic pot.
For other containers like ceramics, terracotta, or wooden containers, tap the sides of the pot.
You can also use a trowel or spade to run between the soil and the pot.
To loosen the soil more from the plant, you can use forks.
But be careful while using the forks. Running the forks roughly in the soil can hurt the roots.
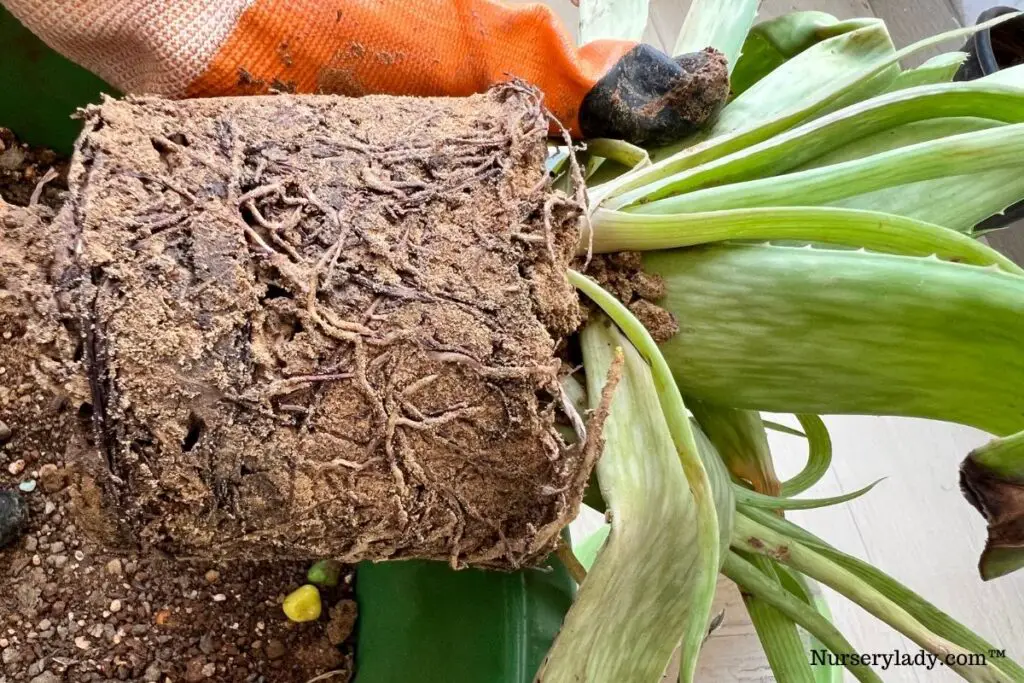
Once your plant is free, remove the dirt from the roots with a brush.
2. Check and remove the damaged parts
You can also look for the dead, damaged, rotten, or tangled roots while checking for the containers.
The damaged and rotten roots are brown and mushy. The healthy ones are white, firm, and strong.
Remove the damaged roots from the plant.
You can also trim off some long, thin roots and bring them in good shape.
Also, remove the dry and discolored leaves, if any.
Removing these damaged parts will let the plant breathe and encourage new growth.
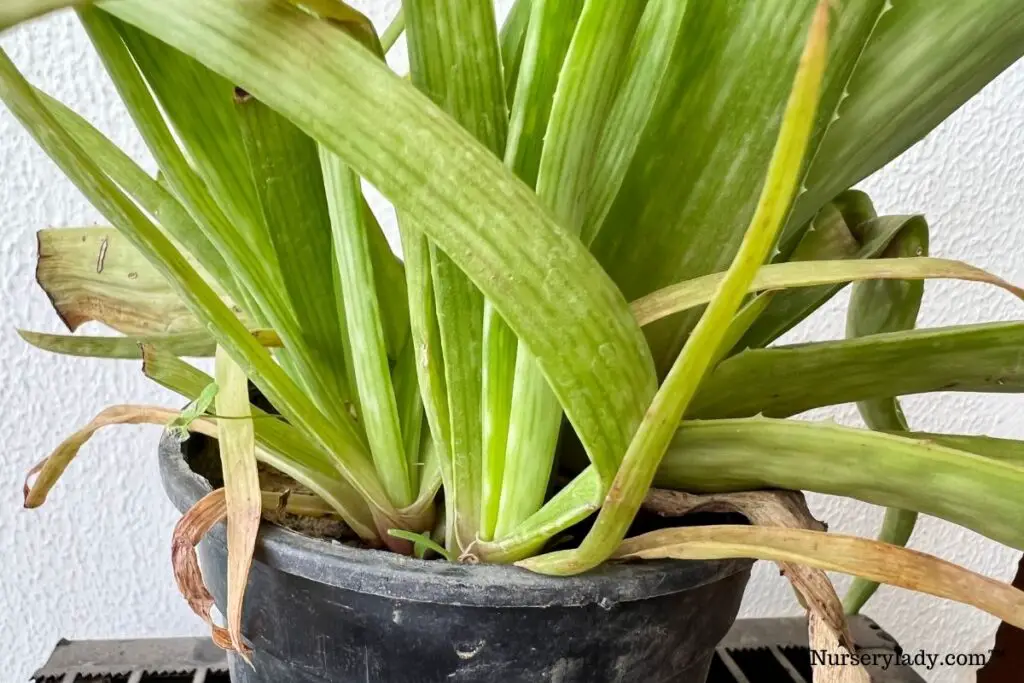
3. Check for the babies and separate them
Once you take the plant out of the container, you can look at the offshoots.
It is easy to identify them.
They are small and look like a new baby plant that emerged from the mother plant.
After trimming and checking, it is time to separate the babies from the mother plant.
Though you can separate them with hands, a knife or pruner ensures a clear cut and no tearing.
Spray the knife or the pruner with rubbing alcohol to disinfect it.
Disinfecting will prevent diseases and infections from spreading.
Cut the position where the babies are joined with the mother plant.
Let them form callous.
After dividing the offshoots, let the main plant and the babies heal at the cut portions.
Keep them in a dry, shady place for some days.
4. Select a new pot

You need to choose a planter 1-2 inches wider and deeper than the old container.
A big planter will work since we are repotting to give them space.
Along with that, the planter must have drainage holes.
You can use pots made of clay, ceramic, or plastic.
Terracottas are best because they are porous materials and ensure drainage and air circulation.
Also read: What Pot Is Best For Aloe Vera Plant? (Pot Type, Size & More)
5. Prepare the pot with new soil
While the plant is forming callous, you can prepare the pot for them in the meantime.
Place fine-mesh screening at the bottom of the container.
It will let the soil stand in place.
Don’t worry about the drainage covering, as the mesh screening will let the water drain out of the container.
Don’t use gravel or pebbles at the bottom, as they will block the drainage holes and crowd the root portion.
Now, take the ideal soil mix and fill ¾ of the container with the soil mix.
Use ingredients like sand, perlite, or pumice to the soil mix to ensure drainage.
Also read: What Type Of Soil For Aloe Vera Plant? (+Ideal Soil Mix)
6. Time to plant the pups and the main plant
Now, it’s time to re-pot the babies and the mother plant.
You can plant multiple babies together if you have a big container.
Just make sure not to overcrowd.
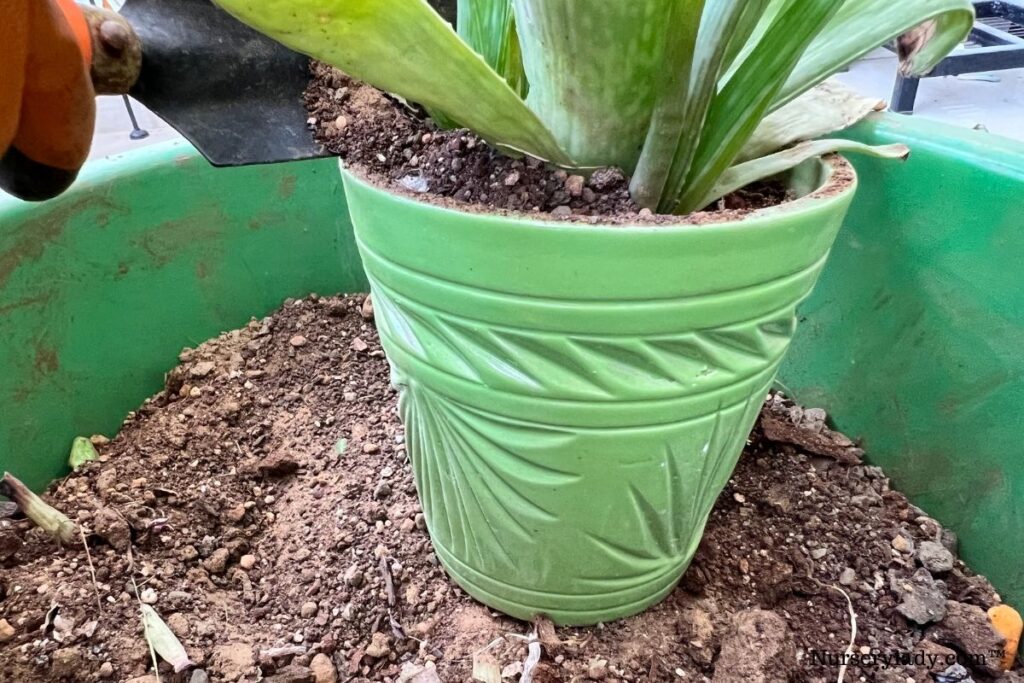
Place the plant in the soil and fill the container with the remaining soil mix.
Make sure that only the root ball should be placed inside the soil and not the leaves.
After adding the soil, press the side of the soil to settle it down.
7. Water the plants
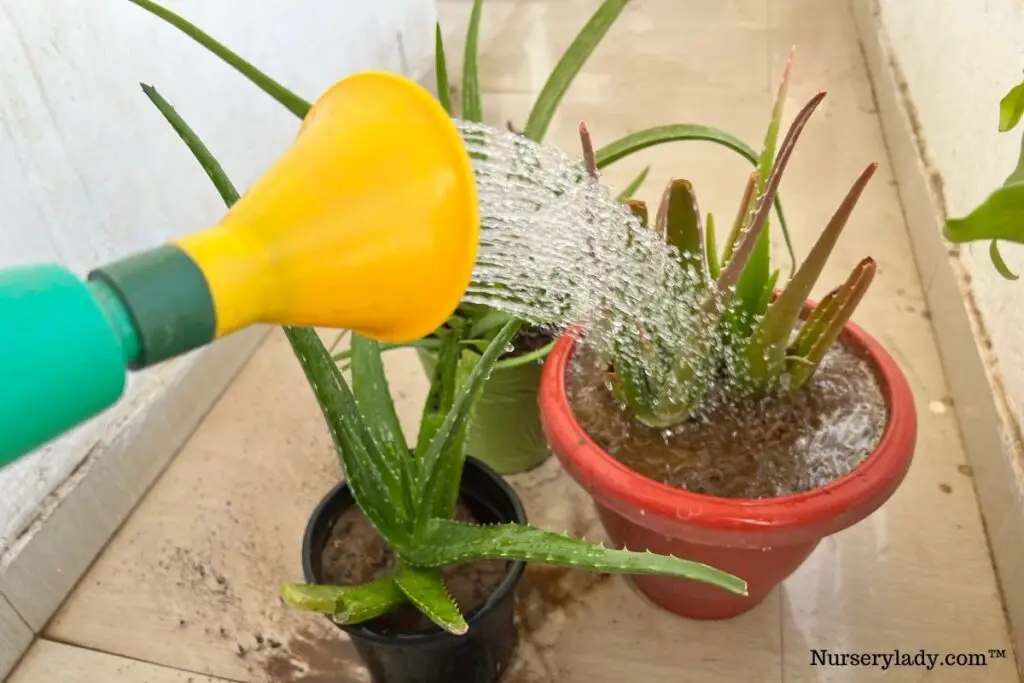
You can wait for some days to water them. It ensures fast growth.
Since Aloe Veras can resist dry conditions to some extent, watering after some days will not harm them.
They will spread their roots in search of water.
After some days, when you provide them with water, they will take up that water vigorously.
First, water them very well by soaking the soil.
Also read: How To Water Aloe Vera Plant? (How often, Summer, Winter)
8. Place them under indirect sunlight.
As their growth is recently disturbed, don’t stress them further with direct sunlight.
After a few weeks, when they get settled, you can start with regular watering (once every 2-3 weeks) and let them have direct sunlight gradually.
Also read: What Kind Of Light For Aloe Vera Plants? (Full sun, Shade, Or Partial Light?)
How to repot Aloe Vera with root rot?
In this state, you might not require a new container.
Whenever you continue overwatering and ignore the signs of stress, Aloes will suffer root rot.
This can happen anytime.
When this happens, don’t wait for the best time or season.
You don’t have to water the plant further to loosen the soil.
Just tap the sides and take the plant out.
Let the plant dry.
It will take at least 3 to 4 days to heal and dry.
Cover the roots with newspaper and keep them in a dry and shady place.
Remove the dead and damaged roots from the plant by using a disinfected pruner.
Additionally, also remove the damaged leaves.
Due to excess moisture, some leaves will become soft, mushy, and discolored.
Apply some fungicide to the roots.
It will cure the roots and prevent them from further infections.
Now, prepare the container.
If you use the same pot, scrub and wash it with baking soda or bleaching powder.
The pot must have drainage holes.
You must use new soil. Make sure it is well-drained.
You can use cactus and succulent potting mix.
Add ingredients like pebbles, sand, perlite, or pumice if you use normal soil.
After planting the plant, keep it under indirect sunlight and don’t water for some days.
If the damage level is not high, your plant will grow new leaves and become healthy.
How to repot a long-stemmed Aloe Vera?
When a plant gets bigger than the container, you have to repot it, so they don’t lean over now and then.
There are many ways of re-potting a long-stemmed aloe plant.
This repotting is done not because they are rootbound but because the stem is too big for the pot.
One simple way is to re-pot it into a deep container.
Though Aloe Veras prefers a wide container more than a deep one, in this case, a deep container is required to fit the long stem.
Fill the container with soil and place the plant in it.
Bury the entire stem if necessary.
Some leaves may also get buried in this condition.
You can remove them as well to let the plant stem bury properly.
There are other methods too.
Method one:
- You can use this method for medium or big-sized Aloe Vera plants.
- Don’t take the plant out of the present container.
- Take a plastic pot and make a big hole at the bottom bigger than the plant’s stem.
- Now, cut the pot from one side from the top to the bottom of the drainage hole. Don’t completely divide the container. Cut an opening door sideways.
- Make holes on the sides of the slit so that you can use thread or rope to sew and close the opening.
- Now, sew the container and add soil to it.
- Water the plant and care for it as you used to do.
- After one month, they will form enough roots to hold the plant.
- You can remove the extra container and put the plant in a better place to let them continue its growth.
Method two:
- Take the plant out and cut off the stem to don’t injure the plant.
- Let it dry and heal for days until the moisture has dried from the cut part. You shouldn’t ignore this step. Otherwise, they will rot.
- You can also prune some leaves from the bottom to make burying easier.
- Put the plant back in the pot.
- Don’t water immediately. Wait for some days. This will allow the plant to recover from transplanting.
Method three:
You can use this method for small Aloes.
- Take the plant out of the container.
- Remove some amount of soil from the bottom. At least a 1-inch level of soil should stay from the top.
- You will find that some roots are visible after removing some soil.
- Cut off those roots and put the plant back in the container.
- Use new soil to fill the container.
Useful tips on repotting Aloe Vera plants
Always wear gloves while repotting Aloe Vera plants. It will protect you from getting hurt by their spines.
Don’t repot the houseplant indoors. Doing it outdoors can save you from a lot of mess. If a leaf accidentally gets hurt and the gel comes out and mixes with the dirt, things will be messier.
Give the plant some support after taking it out of the container. A big plant is quite heavy along with big leaves.
If your plant is too big, add some stones at the bottom of the container for better weight distribution. Don’t use many stones as that can block the drainage holes.
Water rarely. Since Aloes are used to dry conditions, you must keep the growing medium almost dry. What Aloes need are enough sunlight, warm temperature, and dry weather.
Don’t forget to re-pot them. It will keep them healthy and encourage faster and bigger growth.
Reference: NCBI, New York Botanical Garden, University of New Hampshire, University of Florida, Wikipedia.