
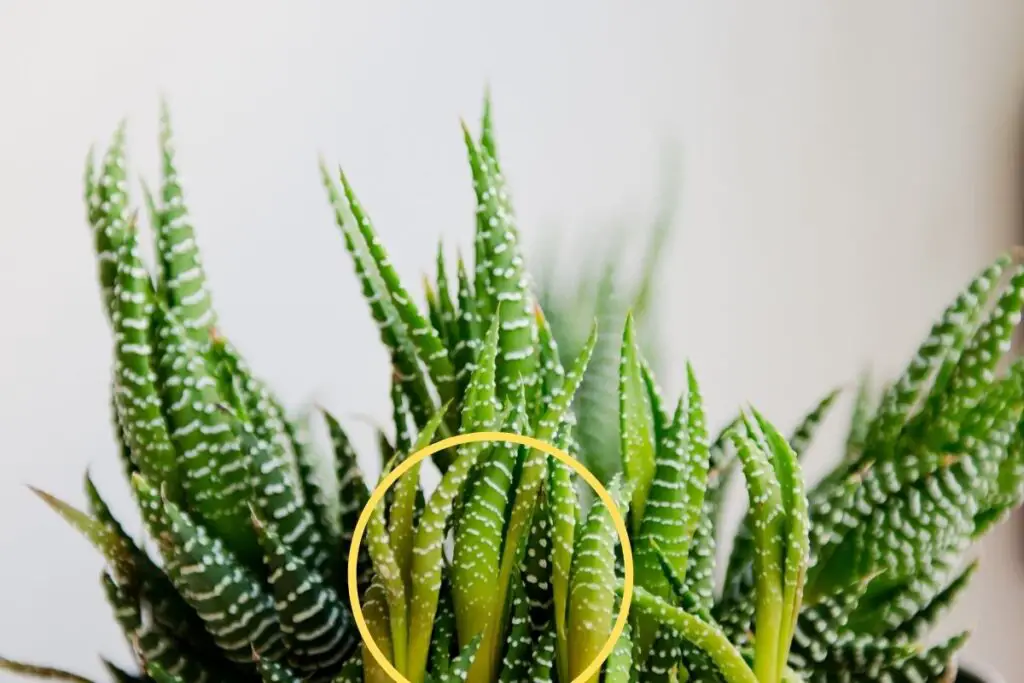
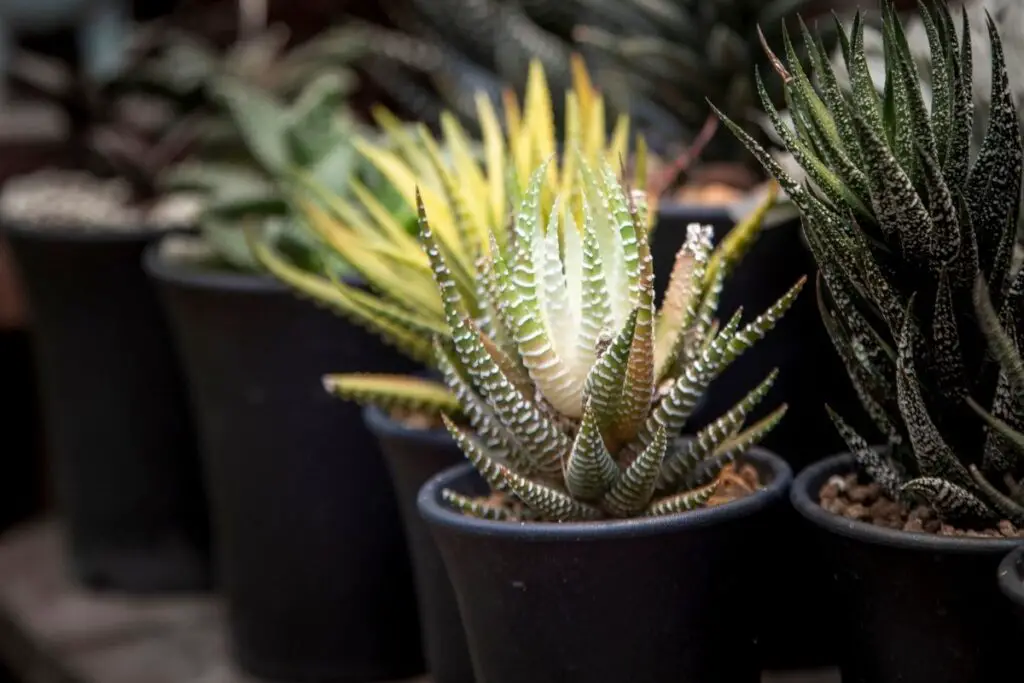
Haworthias are easy to grow and come in multiple varieties. They are very demanding due to their distinctive leaf patterns, structures, and texture. But watching them turn pale or yellow is very discouraging.
The primary cause of haworthia turning yellow is exposure to sunlight and overwatering. Low light can also make them yellow, resulting in chlorosis, especially the variegated leaves. Other reasons behind yellowing are inadequate watering, low-quality soil, poor drainage, and pest infestation.
Sometimes, yellowing can be due to aging. But for other issues, you need to fix them as soon as possible. Since there are so many reasons, identifying the real cause behind the problem will help you treat it better and faster.
Why are my Haworthia leaves turning yellow?
There are a few reasons that can make Haworthias turn yellow.
Exposure to direct sunlight
The first reason behind Haworthias turning yellow is exposing them to direct sunlight.
Many gardeners, especially beginners, believe that Haworthias require a lot of sunlight to thrive and maintain their variegated leaves.
But that’s not fully true.
They indeed need light, but it should be bright and filtered sunlight.
Direct sunlight can turn them yellow, red, or white.
They will get scorched and turn brown at the tips if you still ignore them.
Solution: Try to shift the succulent to a partially shady area.
You can fix shading nets to filter the sunlight.
For indoor plants, you can use sheer curtains.
Or shift them to north or east-facing windows.
After some weeks, you will see them turning back to their normal color.
Also read: How Much Light Does Haworthia Need? (Haworthia Light Requirements)
Low light conditions
Tolerating low light doesn’t make Haworthias endure darkness.
Just because Haworthias get damaged from direct light doesn’t mean you will have to shift them to low light or shady areas.
Low light conditions can turn them yellow and pale because low light results in low chlorophyll and causes chlorosis.
Solution: If you are using shading nets or clothes, use a transparent one that will filter the direct sunlight and not a fat cloth or net that can block the light completely.
If your Haworthia is indoors, make sure they get adequate light.
3-4 hours of direct morning sunlight is essential for healthy growth and colorful leaves.
For the remaining day, filtered light is good.
You can also use artificial lights (for 10-12 hours) for an indoor Haworthia plant if they are not getting adequate sunlight from the windows.
Overwatering
Overwatering is a common mistake that makes Haworthias yellow and mushy.
Overwatering and root rot are more severe than underwatering.
Reviving the plant from such conditions is relatively challenging.
All the succulents, including Haworthias, are naturally evolved to experience a dry period.
Prolonged wet conditions weaken the root system, making them mushy, due to which they start rotting.
Watering them too frequently or poor drainage is the usual cause.
Frequent watering keeps the soil wet most of the time, due to which the roots fail to get the dry environment, thus getting overwatered.
You might be watering correctly, but still, the soil doesn’t dry out.
The problem is with drainage.
If your soil doesn’t drain water properly or the planter doesn’t have drainage holes, the water will stay stagnant in the soil.
Again, the roots stay wet for a long time, causing root rot.
Solution: You must let the soil dry out before you water Haworthias.
Watering once every 2-3 weeks is enough.
Also, check the moisture level to understand watering needs better.
When the top 2-3 inches feel dry, you can water them.
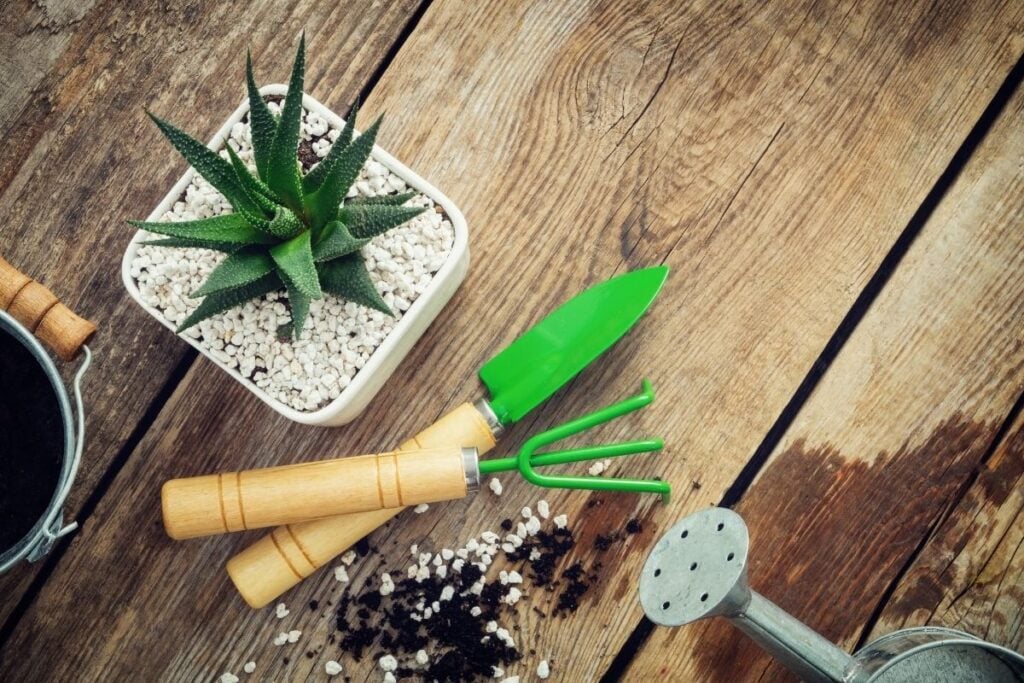
For drainage, you must use the soil mix to drain water properly.
If you have kept Haworthia in a container, make sure it has drainage holes.
For more correction, use terracotta pots.
The leaves must be mushy with yellowing.
Stop watering for some days and see the reaction.
If they still show the same signs and the soil stays wet, check and fix the drainage soon because Haworthias are sensitive to prolonged dampness.
Check and cut back watering frequency during the summers and winters.
The former is their dormancy period, and in winters, water takes a lot of time to dry out.
Also read: How Often To Water Haworthia? (Haworthia Water Requirements)
Underwatering
Haworthias can tolerate drought conditions, but it doesn’t imply that they will do without water for several months.
You can water Haworthias once every 2-3 weeks.
Both beginners and experienced gardeners make mistakes while saving the plant from overwatering.
Therefore, the plant becomes sick and dehydrated.
If you constantly keep them without water for months, they will turn dry, crisp, and yellow.
The bottom leaves turn yellow because the upper leaves absorb water from the bottom leaves and make them yellow.
Slowly, all the leaves will turn yellow.
Solution: Though it is a serious problem, but not as weighty as overwatering.
You can easily solve it by giving the plant a good drink.
Soak the soil completely and water again when the soil dries out.
Check the moisture level daily.
When the top 2-3 inches feel fully dry, they are ready to take water.
Poor drainage
Poor soil drainage and pot drainage – both are responsible for yellow leaves.
I have already discussed it briefly in the overwatering point.
Using poor soil causes root rot and makes the Haworthia leaves yellow.
The base leaves turn yellow first since they are close to the soil.
Due to poor drainage, the soil stays static, thus keeping the roots wet and making them rot.
The same happens when the container doesn’t have drainage holes.
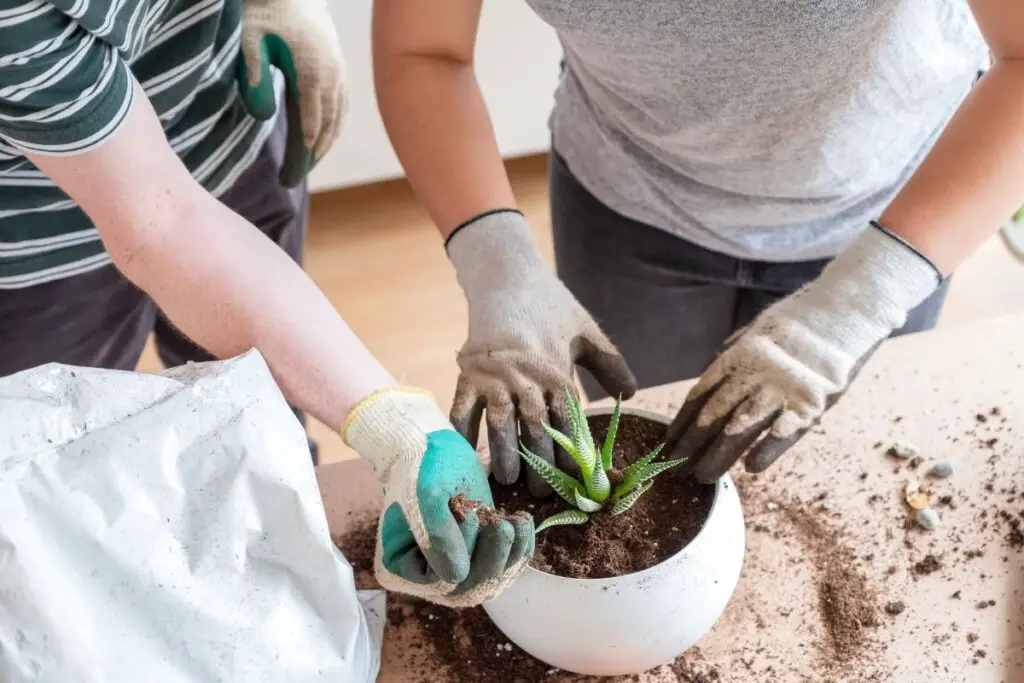
Solution: First, you need to change the soil or container, whatever the cause is.
If your chosen container doesn’t have a drainage hole, make one by drilling.
Add coarse sand, gravel, perlite, or pumice to the soil bed to improve drainage.
Some ideal soil mixes are:
- 40% parts potting soil
- 40% parts small gravel
- 20% part perlite or pumice
For soilless mixes in containers:
- 50% gravel of appropriate size
- 50% of soil, coarse sand, and organic fertilizer
Also read: What Soil To Use For Haworthia? (+Ideal Soil Mix)
A container with a small hole
A random commercial potting mix doesn’t work for Haworthia.
Cactus potting mix and the mixes I recommended are some ideal mixes.
All of them have different sizes of particles.
If you have kept Haworthias in a container and the drainage hole is very small, those particles in the soil can block them and make the soil hold on the water for prolonged periods, thus resulting in root rot, which further causes yellow leaves.
Solution: If you are using a container for Haworthias, make sure that the drainage hole is big enough to let the water pass out easily.
It should be big enough so that the particles in the soil cannot block it.
However, don’t make the hole too large. All the soil particles will drain out then.
A big drainage hole will also encourage good ventilation to help the soil dry fast further.
Also read: How To Repot Haworthia? (Ideal Timing+Step-by-Step Guide)
Pest infestation
Though Haworthias are quite pest-free succulents, pests like mealybugs and spider mites will love to stay and suck out the plant’s sap and make them dehydrated.
The mealybugs feed on the sap and moisture of the plant and make them dehydrated, resulting in yellow leaves.
Mealybugs also release honeydew, make the leaves sticky and promote sooty mold.
When the spider mites feed on your Haworthias, you will find yellow spots and holes in the areas where they feed.
Other pests include aphids, scales, and snails.
These pests are disturbing as they interrupt the plant’s smooth growth and development.
Solution: You can use neem oil to remove them. It is organic and safe.
The only security you need to take while using neem oil is not to expose the plant under the direct sun.
It can burn the leaves.
You can do the treatment in the evening.
Other methods include spraying soapy water, dabbing rubbing alcohol, applying insecticidal soaps like Safer and Castile soaps.
If the infestation is big, use chemical pesticides and miticides to get rid of them.
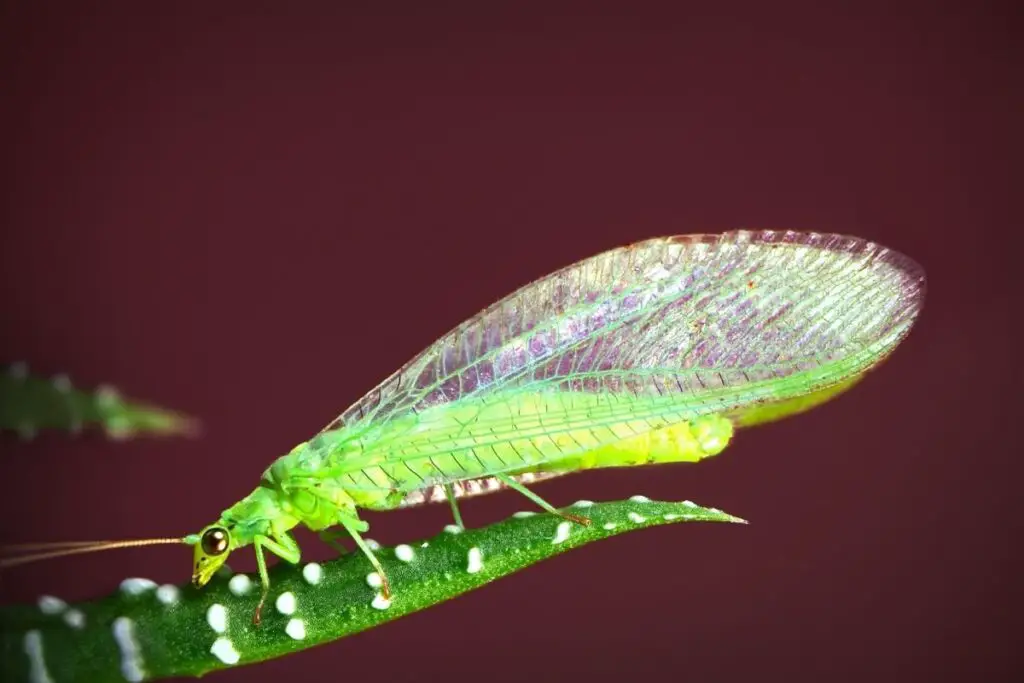
You can release ladybugs as they feed on these types of bugs.
Also read: Haworthia Pests Problems: Common Pests+How To Eliminate
How to treat yellow leaves on Haworthia?
If the plant turns yellow due to exposure to direct sun, shift them to a partially shady area.
You can use shading clothes or nets to filter the sunlight instead of changing their location.
If shifting doesn’t work, let them have some good airflow.
Maintain a distance of at least 2-3 inches between each plant.
This may help the plant in getting back its real color.
If the plant stands in a shady area and turns yellow, the problem is with light.
Without adequate light, they will also droop downwards instead of standing straight.
Remove the shading cloth early in the morning as the direct morning sun is good for their health.
Put the shade on again after 11 am while the sun gets intense.
This light also helps the soil dry out faster and prevents prolonged dampness.
Check for the watering issues.
At least once every 1-2 weeks is necessary, depending on how quickly their roots dry.
Stop watering if you have overwatered them.
The shady area is also responsible for the late drying of the soil.
A minimum of 4-5 hours of light is necessary.
If it’s underwatering, give it a good soak.
Check for pests. Prolonged damp or dry conditions can invite pests.
So, check your plant regularly and closely to see if any pests have invaded and treat the problem quickly.
Gardening is all about trial and error.
Whenever you find yellow leaves, try everything, as I discussed, to understand the real problem, solve it and enhance the plant’s growing conditions.
Should I cut off the yellow leaves from my Haworthia?
When the leaves turn yellow, we first try to solve the problem behind this.
Then, what to do with the yellow leaves? There are three options:
- Remove them to improve the plant’s look.
- Let them stay to fall on their own and grow new leaves.
- Let them stay to turn back green.
When the plant experiences any problem, and the leaves turn partially yellow, identify the problem and fix it.
Wait for some days to see how the plant reacts.
If the plant comes back healthy, but the leaves are still yellow, you can remove them from the plant.
However, you can also wait for the leaves to fall off on their own.
But, if you hate the appearance and desire to improve the plant’s look or speed up the process, you can prune them.
Whatever the situation is, don’t get disheartened while removing the leaves because they will grow back again.
How to remove the yellow leaves?
First, try to pull the leaves instead of using pruners in the first place.
This will help you to know the damage level.
Tearing them off can hurt the plant because not all the leaves will easily fall off.
Some may still have enough life to turn back green if the plant continues growing healthy.
You can use scissors to remove the yellow leaves.
A clear cut at the right place won’t harm the plant.
Don’t forget to disinfect the tool with rubbing alcohol before and after usage.
Check for the deformed, yellow leaves eaten up by the critters. Remove them as well.
Be very gentle and patient while removing them.
Hurrying or rushing may cause blunders like snipping the leaves off with force or cutting them the wrong way, thus hurting the plant.
Will the yellow leaves of my Haworthia turn green?
When the leaves change color due to the production of anthocyanin and carotenoid, we know it.
Taking actions according to it can bring back their color.
But, if it is not the pigment behind yellow leaves, then reviving the green color is tough.
Without close observation, you cannot proclaim anything about the green color’s return.
However, below I have discussed some situations where the leaves may turn back green:
First situation: If the leaves are a little yellow at the outer portions, but the center is fully green, it is due to improper watering.
Wrong watering will make the bottom leaves near the container surface turn yellow.
Water your Haworthia only when the soil feels dry, and you must water once in 2-3 weeks.
After a few weeks, the plant’s health will improve, and the leaves will turn green.
Second situation: The yellow color will darken when the plant stays under direct sunlight for prolonged periods.
This mostly happens when the plant starts producing the pigments to protect itself from the direct sun.
The color may also change to white or red.
Changing their location or shading them partially can bring the leaves back to green.
Third situation: If the leaf is injured or diseased, it may turn yellow.
But, it’s tricky enough because when a healthy leaf is hurt or has diseases, it first turns brown and then yellow.
First, you need to inspect the plant’s situation closely.
See whether there is any injury or not.
Treating the injury or disease at the time of browning can help to revive their color.
Brief care tips to prevent yellowing in Haworthia
Follow these if you want to prevent yellow leaves on your Haworthias.
- Let them have 3 to 4 hours of direct sunlight in the morning. For the rest of the days, let them have filtered sunlight. This will help them maintain their color and fast drying of the soil.
- Water when the soil feels dry. Neither water Haworthias too frequently nor deprive them of water. Watering once every 2-3 weeks is enough.
- Be careful during the summers and winters.
- Make sure of sound drainage about their soil and container.
- Check out for pests daily.
- Don’t expose them to temperature fluctuations. It may also cause yellowing, but mostly browning.
- Remove the yellow leaves gently without hurting the plant.
Final thoughts
Yellowing of the leaves in Haworthia doesn’t signify the death of your plant. If the problem has not progressed too far, you can revive it with the right care and action.
Don’t be afraid to try all things needed to be done to fix the issues. Gardening is all about trial and error. Moreover, experimenting with alternative ways to treat the problem will help you understand the exact issue and the plant’s best care needs.
Reference: The Haworthia Society, Botanical Studies, University of Wisconsin-Madison, Sciencedirect, Researchgate, Haworthia Study.