Yards in all gardens are not equal. Some are perfectly flat and, thus, perfect for raised beds. On the contrary, some are slightly or extremely steep and sloped. Building raised beds over sloped areas is more challenging than those over flat surfaces.
A garden bed can be built on a slope, provided you take the necessary steps to prevent possible damage to the beds. When placing the garden bed, always anchor and brace it well, so it remains sturdy and doesn’t move around. If there is a slight incline, dig the soil to level the inclined area.
You can create raised beds to start gardening anywhere, no matter what type of landscape you have. This article will cover all the details about building raised beds over a slope or hillside.
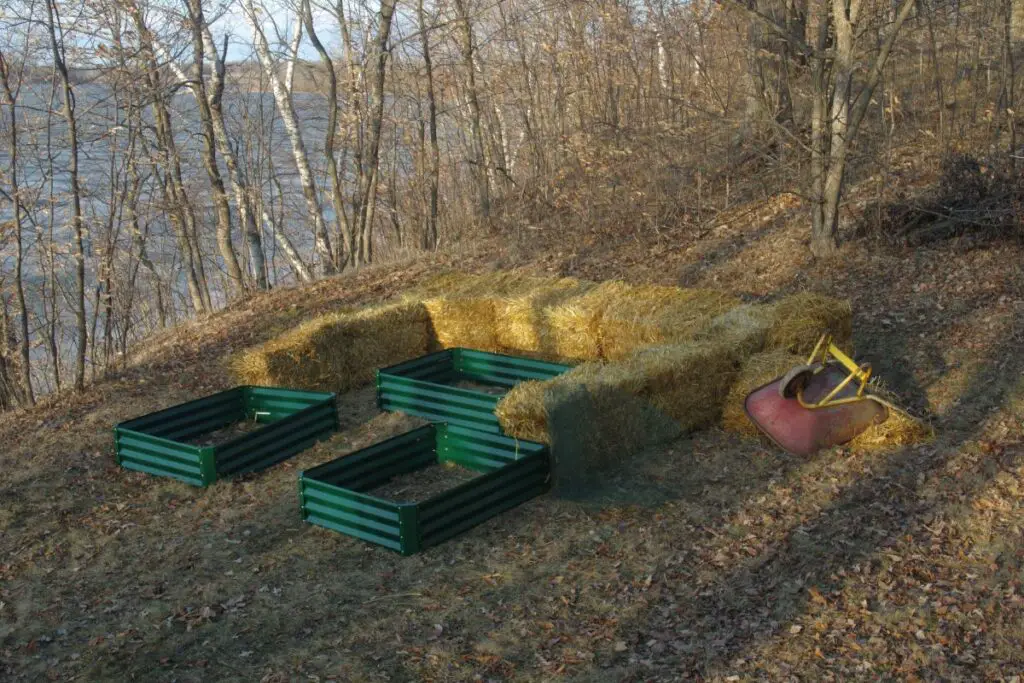
Can I build raised beds over a slope?
As I said, building raised beds over slopes is quite difficult because there are higher chances of beds bowing or bending over due to the inclined land underneath.
But with certain tricks, you can overcome the problem and easily build beds over a slope.
Raised beds have many benefits, which is why most gardeners prefer raised beds over ground soil.
So, they try every possible way to succeed in building and keeping the beds over slope areas.
A lot of landscapes have slanted surfaces for raised beds.
You can easily keep the bed over a slope with a little reinforcement or anchoring.
It prevents the bed from flooding and soil erosion.
You can reinforce the beds with existing walls.
Place the beds near the walls, and they will protect your bed from falling over or bowing.
For more anchoring, you can use Insta braces, metal brackets, stakes, and metal rebars to hold the bed in its place.
Check our “Bracing” and “Anchoring” articles to gather how to do it perfectly.
Terraced gardens are another steep area where most people start gardening with raised beds.
What issues will you face over a slope?
Though you can build raised beds over slope areas, it will face some issues.
Uneven surfaces absorb water differently.
The water you provide will exit from the bed and accumulate at the bottom.
So, different areas of the bed will have different amounts of water, and the bottom will become a pool and remain moist most of the time.
It can cause overwatering in the plants.
When the water flows downwards, the fertilizers and nutrients will accumulate in the bottom along with the water.
So, the bottom of the bed will have more nutrients than the upper portion of the soil.
As a result, the plants won’t receive the adequate nutrients required for their good growth and development.
Uneven beds will also suffer soil erosion.
Adding extra compost and organic matter to the soil prevents soil depletion.
Creating a proper level is easier to maintain and garden.
Whether you keep the raised beds over a flat surface or slope, ensure the bed is properly leveled off.
What factors should be determined while keeping beds on a slope?
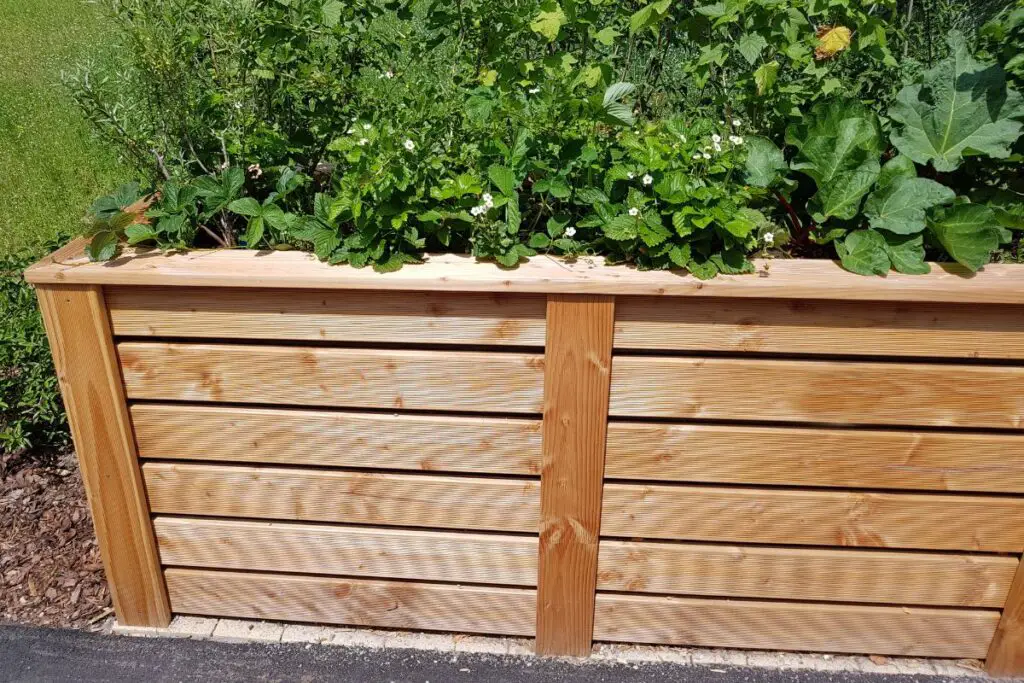
Though building a raised bed over a slope is possible, you need to consider certain things and then go for it.
Here are the factors you should determine:
Looking for gardening supplies? We have tested 100's of products before recommending them to you guys. Check out our best pick below:
| Image | Gardening Supplies | Best Price? |
|---|---|---|
 Top
Top Top
Top | Raised Garden Bed Kit | Check On Amazon |
 | XLUX Soil Moisture Meter, Plant Water Monitor, Soil Hygrometer Sensor for Gardening, Farming, Indoor and Outdoor Plants, No Batteries Required | No Results |
 Top
Top Top
Top | 82 Pcs Garden Tools Set and Extra Succulent Tools Set | Check On Amazon |
 | Joeys Garden Expandable Garden Hose with 8 Function Hose Nozzle, Lightweight Anti-Kink Flexible Garden Hoses, Extra Strength Fabric with Double Latex Core, (50 FT, Black) | No Results |
 Top
Top Top
Top | Dual Chamber Compost Tumbler | Check On Amazon |
 Top
Top Top
Top | Sunnyglade Plant Stakes | Check On Amazon |
 Top
Top Top
Top | Organic Cold Pressed Neem Seed Oil | Check On Amazon |
 Top
Top Top
Top | Mighty Mint Gallon :-Insect and Pest Control Peppermint Oil | Check On Amazon |
 Top
Top Top
Top | Scotts DiseaseEx Lawn Fungicide | Check On Amazon |
 Top
Top Top
Top | Jacks Classic 20-20-20 All Purpose Fertilizer | Check On Amazon |
 Top
Top Top
Top | 30,000 Seeds Pollinator Attracting Wildflower Mixture | Check On Amazon |
 Top
Top Top
Top | Survival Vegetable Seeds Garden Kit-Over 16,000 Seeds | Check On Amazon |
Measuring the slope of the land
Before you build a bed over a slope, understand and determine how inclined the land is.
You have to observe from a distance how far the land is going downwards.
The higher you stand, the lower your land will be.
To measure the slope, consider the following steps:
- Put a carpenter’s level on your landscape where you want to build the bed.
- Raise the bed from the bottom, where the bed is a little downwards. Please bring it to a level. The bubble will be at the center.
- Most of the carpenter levels are around 2 feet long. At the center of the level, measure from the bottom to the ground.
- So, if it shows 4 inches, the slope of your land will be 4 inches by 12 inches.
Whenever you build a raised bed over a slope or hill, keep the bed lengthwise and not towards the side that is running downwards.
The longer you keep it down the slope, the higher you have to level it.
You will require more wood for that.
Choosing the right type of wood
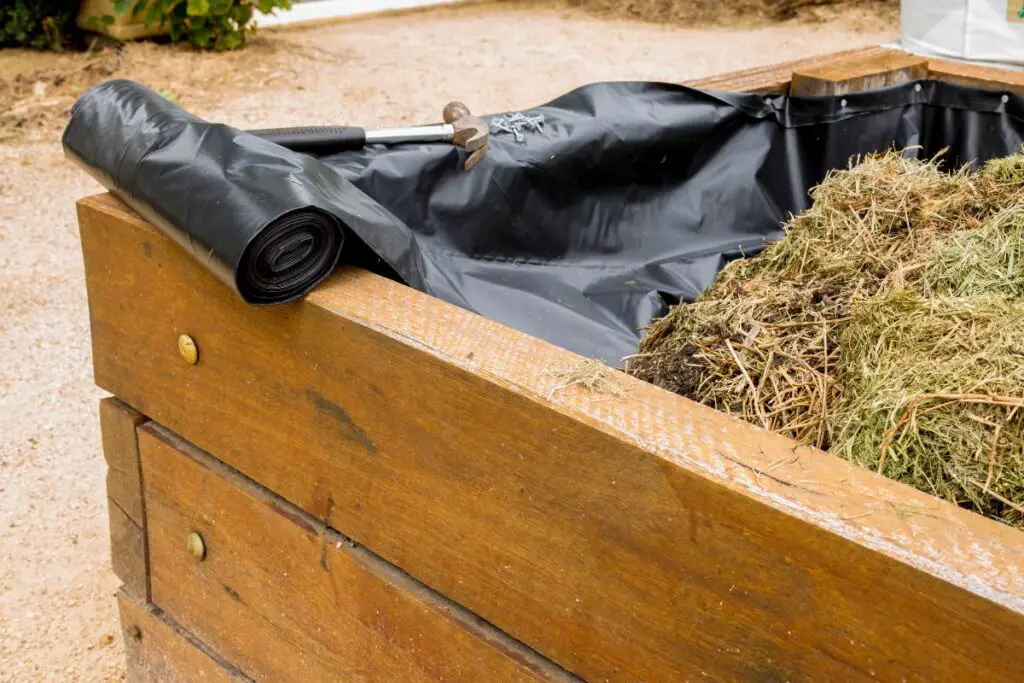
There are multiple wood materials for raised beds.
Every wood has its benefits and drawbacks.
Good wood materials are:
- Cedar
- Pine
- White oak
- Redwood
- Black locust
- Spruce
- Pressure-treated woods (avoid old-treated woods before 2004)
A standard bed size ideal for most of the plants is 2×6 feet.
Use strong, hard, and rough-cut woods as they are thick, strong, and will last long.
Nailing the woods can keep them in shape and give them good support.
Some materials like Insta braces can hold the woods in place; thus, many people don’t prefer screwing the beds.
But since you will be building it over a slope, screwing is a must.
Also read: 16 Best Types Of Wood For Raised Garden Bed (+Materials to avoid)
The size of the bed
Though the average size is 2×6 feet, for slope areas, it should be around 4 feet wide, 6 inches deep, and 8 feet long.
You can also make the depth around 12 inches since many vegetables and plants are slightly deep-rooted.
You can make any size of the bed according to your choice.
But ensure that the width remains a maximum of 4 inches, and the depth remains around 6-12 inches.
Also read: Can You Place A Raised Bed On Concrete? (Pros & Cons)
Do you need to level the raised beds over the slope?
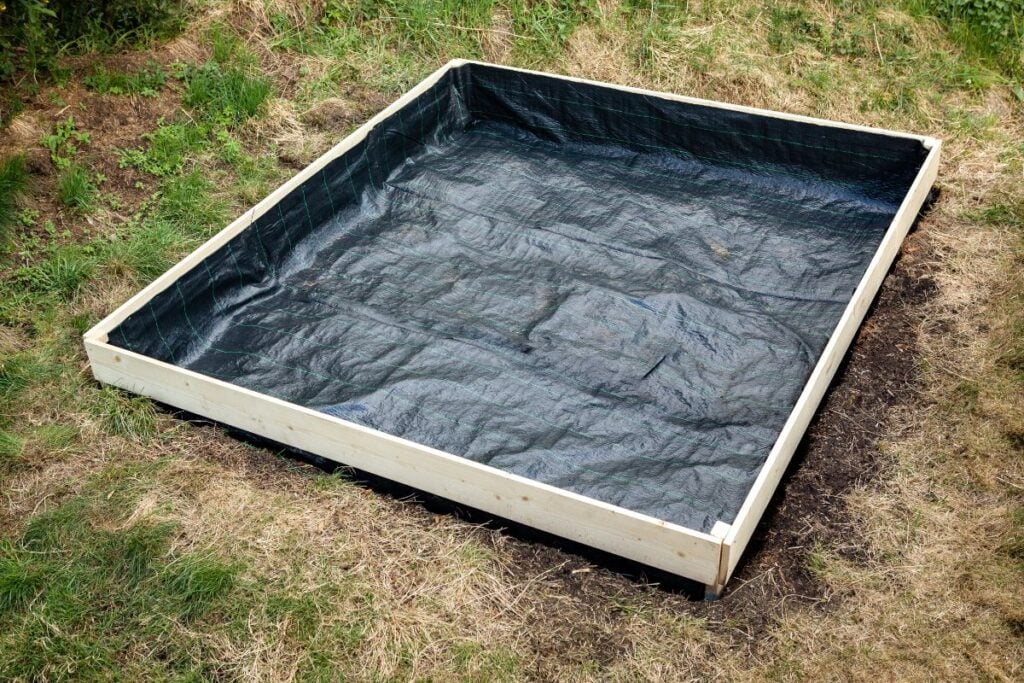
It is important to ensure that the raised beds are close to the ground level.
Leveling the raised bed allows the plants in the bed to have adequate amounts of moisture, nutrients, and fertilizers.
Due to the gravity, the beds will have more water at the bottom and less water at the upper portion of the plants.
As a result, this may lead to overwatering.
At the same time, the upper portion that runs short of water will remain dry.
That is why if you have placed the raised beds over a sloped area, you must level them out.
You don’t have to level the bed perfectly.
Still, at least it should be level enough so that the moisture and nutrients get distributed evenly.
How do I level the raised beds?
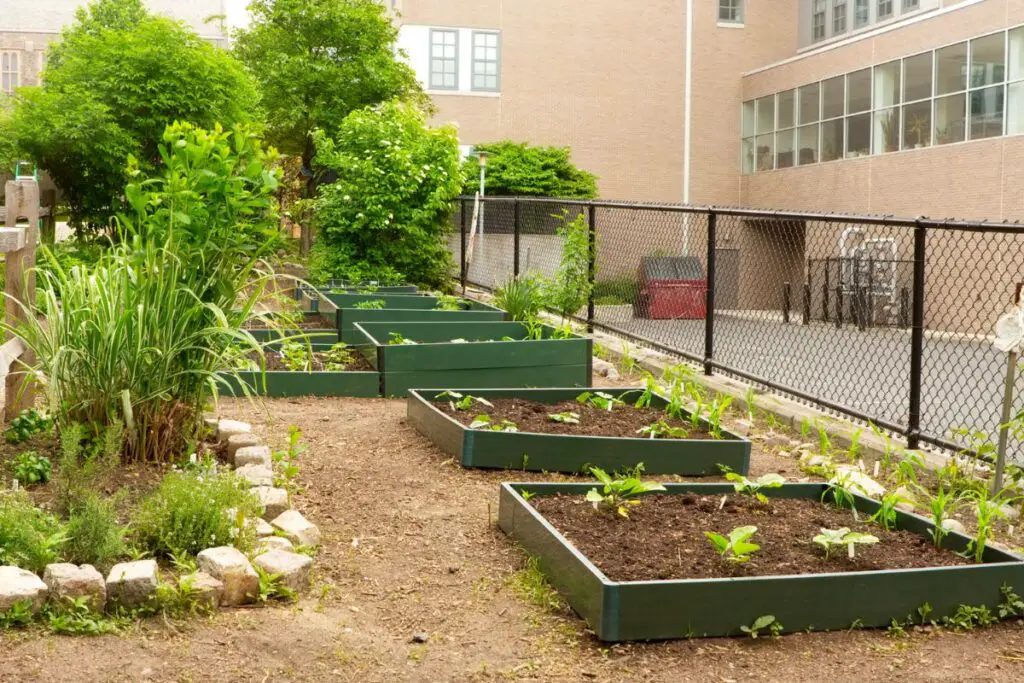
One easy way to level the raised beds is to dig up the soil around them and set the bed in the ground so that it sits properly.
Materials required:
- Spirit level
- Tape measure
- Shovel
- Garden bed, of course
- Nails
Steps to level the bed:
- First, place the planks properly and nail them to create a garden box or raised bed.
- Then, place the bed over the slope where you want it.
- Maintain a level on the top of any side of the garden bed. Then, lift the bed at the bottom to bring the bed to an equal level from each side. Let the spirit level read the lower level.
- Then taking the tape measure, measure the space from the bottom of the bed to the soil surface. You have to level that much space by digging the higher end of the slope to make the surface flat for the bed.
- Remove the grasses first, and dig the soil downwards from the higher side of the slope to make the level flat.
- After digging, place your bed over the ground. The bed should sit at a reasonable level.
- However, you have to shuffle and prop at one point to get a perfect level despite digging.
- You can add some gravel to level the lower side of the slope.
- Once your bed sits perfectly over the slope, you can start filling it with soil.
- For proper support, anchor the beds at the corners with stakes or metal rebars so that the bed doesn’t fall off or bow any sides.
How do I build raised beds on a slope?
Building raised beds over a slope is neither tough nor easy.
With the right steps and materials, you can easily make a bed of your choice.
Materials required:
- Wood planks of your chosen measurements, depending on what size of bed you want.
- Some extra planks to fill up gaps, framing supports, and anchoring.
- 3-inch ardox nails
- A saw
- Levels
- A hammer
- Protections like eye protectors, gloves, etc.
Simple steps to making a bed over a slope
- First, decide the size of the bed you want to make. I am taking it to be 4 inches wide, 8 inches long, and 6-12 inches deep.
- Then, make the wooden planks as per choice. Cut some 4-inch wooden planks for the breadth and some 8 inches wooden planks for the length.
- The number of wooden planks required depends on the depth of the bed.
- Now, join them one by one with nails using hammers.
- If you are using Insta braces, you might not have to screw them. The braces have channels through which you can slide in the planks. But, since it is a sloped area, screwing will help.
- Next, lift the bottom of the bed until the spirit level can read the lower level and measure the space from the bottom of the bed to the surface. Now, dig up the soil around to level the bed.
- Next, add metal braces to tighten every corner and avoid bending or bowing.
- Anchor every corner of the bed by driving the stakes or metal rebars deep into the ground.
- You may brace the bed with wood from inside at the corners or centers. It will keep the bed strong and prevent bending.
- You can also put the bed corners into the ground a few inches while digging and leveling. It will also level the bed and give extra support.
- Once your bed is ready, fill it with soil and start gardening.
Other ways of reinforcing a steep hillside
If you place the bed over a steep location, your bed will seem daunting to find a proper surface.
That is why the bed is leveled and anchored to encourage staying in a proper position without any daunting.
You can reinforce by retaining walls except for anchoring, bracing, and leveling.
Do this when there are no chances of rain.
Remove and carve the side of the slope area and create a proper level for your raised bed.
Make sure there is enough space for the raised beds and your retaining wall to put any extra reinforcement like staking.
Dig the soil more to create a good base for the wall, especially if you are making a concrete wall.
Add some leveling sand and tamp to prevent the wall from sinking into the soil.
Now, build the wall.
You may use both concrete and wood, depending on the slope level of your land.
If it is very steep, use concrete to make the wall.
A good measurement for retaining walls would be 24-28 inches thick so that they can handle the weight of the bed.
Take time while building this wall and keep enough space between the wall and the bed.
Gardening over a shallow sloped surface
Gardening over a shallow slope surface is much better, and you need less soil to remove for leveling.
You will only require leveling the soil slightly less than those landscapes with deeper slopes.
You need to ensure that the surface where the beds will stand is properly leveled and tamped down for more compactness.
Final thoughts
Building a raised bed over a slope is always an option, provided you need to level the bed.
Not all people have flat surfaces. Many people have slanted landscapes. For building beds over such areas, you must level your garden by digging some soil around and creating a proper surface for your beds to remain level.
Slope areas have flood risks, soil erosion, bed bowing, and bending. So, reinforcement, bracing, and anchoring are important besides leveling.
If the land is very little inclined, you might not need to level the surface for the bed. Anchoring will work well.
Reference: ScienceDirect, American Society of Agronomy, Noble Research Institute, Soil for Raised Beds, Raised Bed Gardening.
