
I usually plant asters when the air feels cool, but the ground’s still easy to dig. Perennial asters go in the ground right after the last spring frost, or in early fall if I’ve got at least 6 weeks before a hard freeze hits.
Since asters bloom late, timing really shapes their show. In mild climates, I’ll risk fall planting. But if I garden up north, I stick to spring—no sense letting young asters face winter’s worst.
Quick Tip: Plant on a cloudy afternoon or just before dusk. Less sun shock means happier, perkier asters from the start.
Best Seasons and Climate for Planting
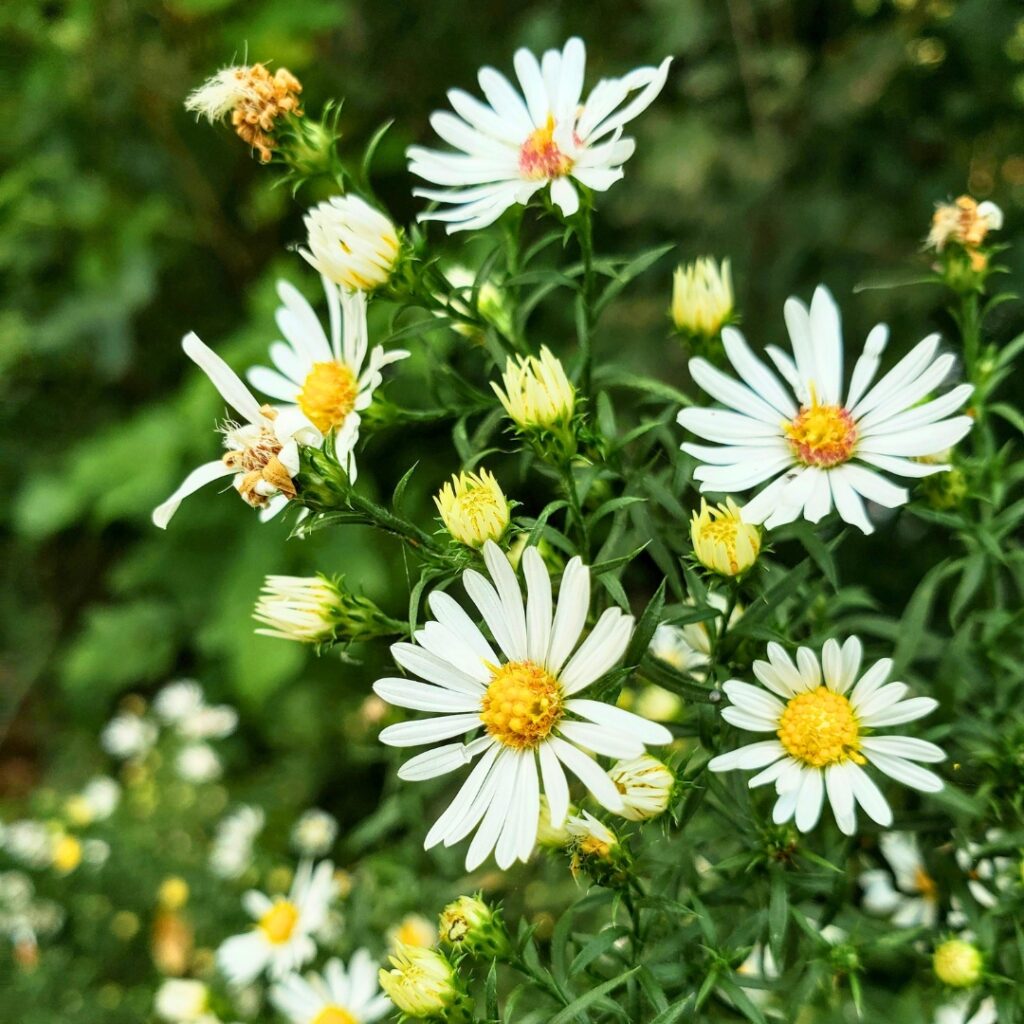
Matching asters to the right season makes a real difference. The timing shapes root growth, bloom color, and even how well they handle winter.
Spring vs. Fall Planting: What Works Best for Strong Roots and More Blooms
Most years, I tuck perennial asters into the garden in early spring. The ground’s cool but not frozen, and daytime temps hover above 50°F. That gives roots time to stretch before summer heat kicks in.
Fall planting can work, especially for michaelmas daisies and the tougher types. I just make sure to plant at least 6 weeks before frost. Warm soil in fall gives roots a running start.
If I’m sowing seeds, I start them inside about 6–8 weeks before the last frost. Once the ground warms, out they go.
Quick Tip: If the soil crumbles in your hand and isn’t icy, you’re good to plant.
Regional Climate Considerations: Adjusting Timing by Zone and Weather Patterns
I always double-check my USDA zone before planting. Most perennial asters thrive in Zones 3–8, but the best planting window depends on where you live.
In colder zones, spring planting is safer. Winters come early, and young roots need every chance to settle before the deep freeze.
Down south, I usually plant in fall. Brutal summer heat can fry new plants, so I avoid planting right before a heatwave.
If you’re near the coast, you can sometimes plant in late winter or early fall. Just steer clear of soggy, rain-soaked soil.
Quick Tip: In hot spots, give asters morning sun and some afternoon shade. They’ll thank you.
Frost Dates and Temperature Needs: Protecting Asters from Cold and Heat Stress
I always plan around the last spring frost and first fall frost. Asters shrug off a light frost, but young ones can’t handle a hard freeze below 28°F.
For spring, I wait until frost is done and soil temps hit 50–60°F. That’s when roots really get moving.
In fall, I count back at least 6 weeks from the first expected frost. That buffer gives plants a chance to root before winter.
Sometimes, mature asters look magical after a light frost, but don’t count on new plants liking sudden cold snaps.
Quick Tip: If frost sneaks up, I toss a light cloth over young asters overnight and pull it off in the morning.
Types and Varieties of Asters
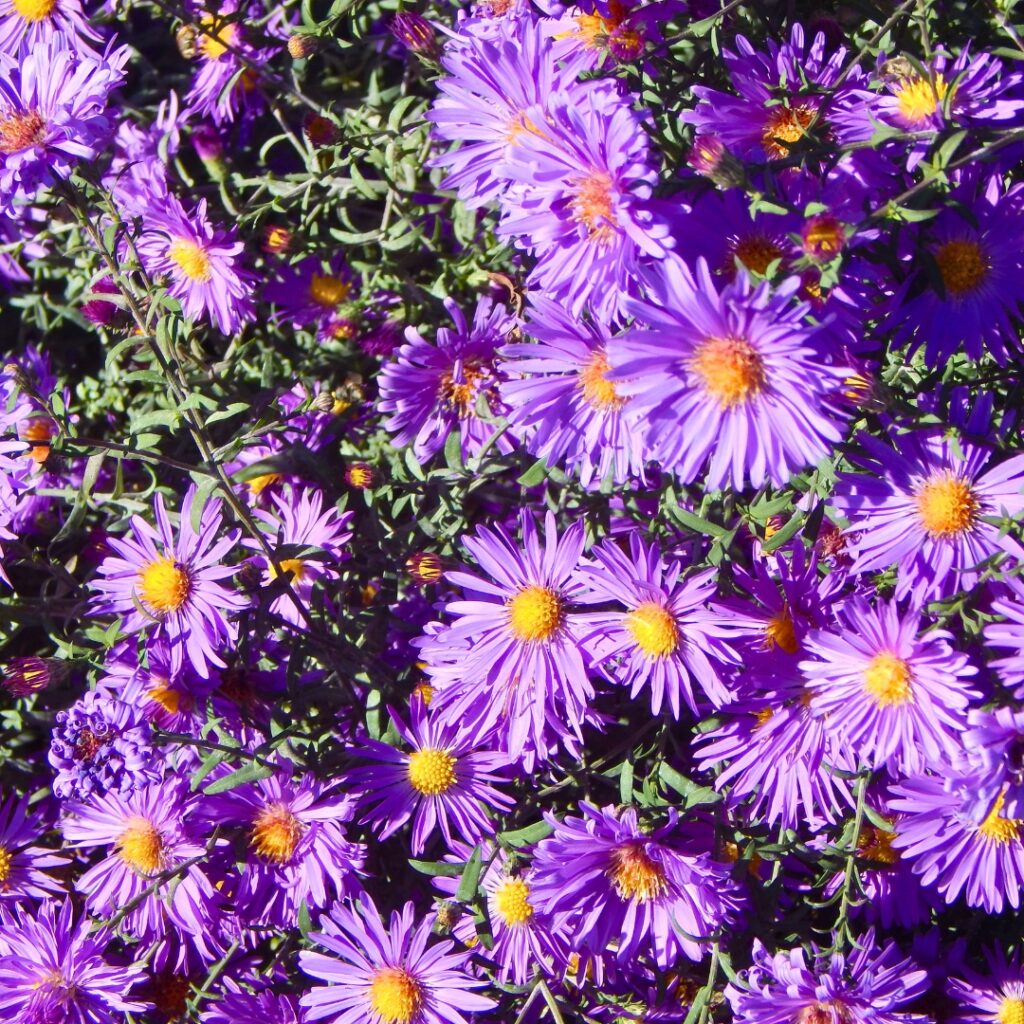
Asters come in all sorts of shapes—some tall, some bushy, some that sprawl. I always check the species, height, and bloom time before picking what fits my space.
New England and New York Asters for Bold Fall Color
When folks mention classic fall asters, they’re usually thinking of New England asters and New York asters. Both actually belong to the Symphyotrichum group, though plant tags don’t always keep up.
New England aster (Symphyotrichum novae-angliae) shoots up tall—sometimes 3–6 feet. The stems are hairy, and the flowers come in purple, pink, or white with those sunny yellow centers. Bees and butterflies love them.
New York aster (Symphyotrichum novi-belgii) stays a bit shorter and bushier, with smoother leaves and lots of branching stems. More stems, more blooms.
I always give these space and plenty of sun. Pack them in too tight, and mildew shows up, especially if it’s humid.
Quick Tip: In Zones 4–8, plant these in spring for best results. Down south, give them a spot with gentle afternoon shade.
Other Popular Species That Add Texture and Variety
There’s more to asters than just the classics. I mix in different types to keep flowers coming and add texture.
Aromatic aster (Symphyotrichum oblongifolium) makes low, tidy mounds and smells a bit spicy when you crush the leaves. It shrugs off dry spells.
Smooth aster (Symphyotrichum laeve) has blue-green foliage and stands upright, looking neat even before it blooms.
Heath aster (Symphyotrichum ericoides) covers itself in tiny white flowers—great for borders.
For shadier spots, I go with wood aster or blue wood aster (Eurybia divaricata). They don’t mind part shade.
Calico aster starts with white petals and yellow centers that blush red as they age. It gives a soft, wild look.
Sometimes I’ll plant China aster (Callistephus chinensis) for a quick splash of color. Not a true perennial, but it puts on a good show in summer.
Quick Tip: Always check the label for height—some stay low, others shoot up over five feet.
Choosing the Right Variety for Your Garden Space and Climate
First thing I think about is space. Small garden? Skip the giants and go for compact types like aromatic or smooth aster.
Sunlight’s next. Most asters crave full sun—at least six hours. Wood asters and a few Eurybia types handle part shade if you’re tight on sunny spots.
Soil makes a big difference. New England asters seem to cope with clay better than New York asters, at least in my yard. Wet feet? Forget it—roots will rot.
Mixing early and late bloomers keeps color rolling from summer into fall. A little planning goes a long way.
Quick Tip: Pick for hardiness and soil first, then color. A healthy aster always outshines a struggling one, no matter the bloom shade.
Site Selection and Soil Preparation
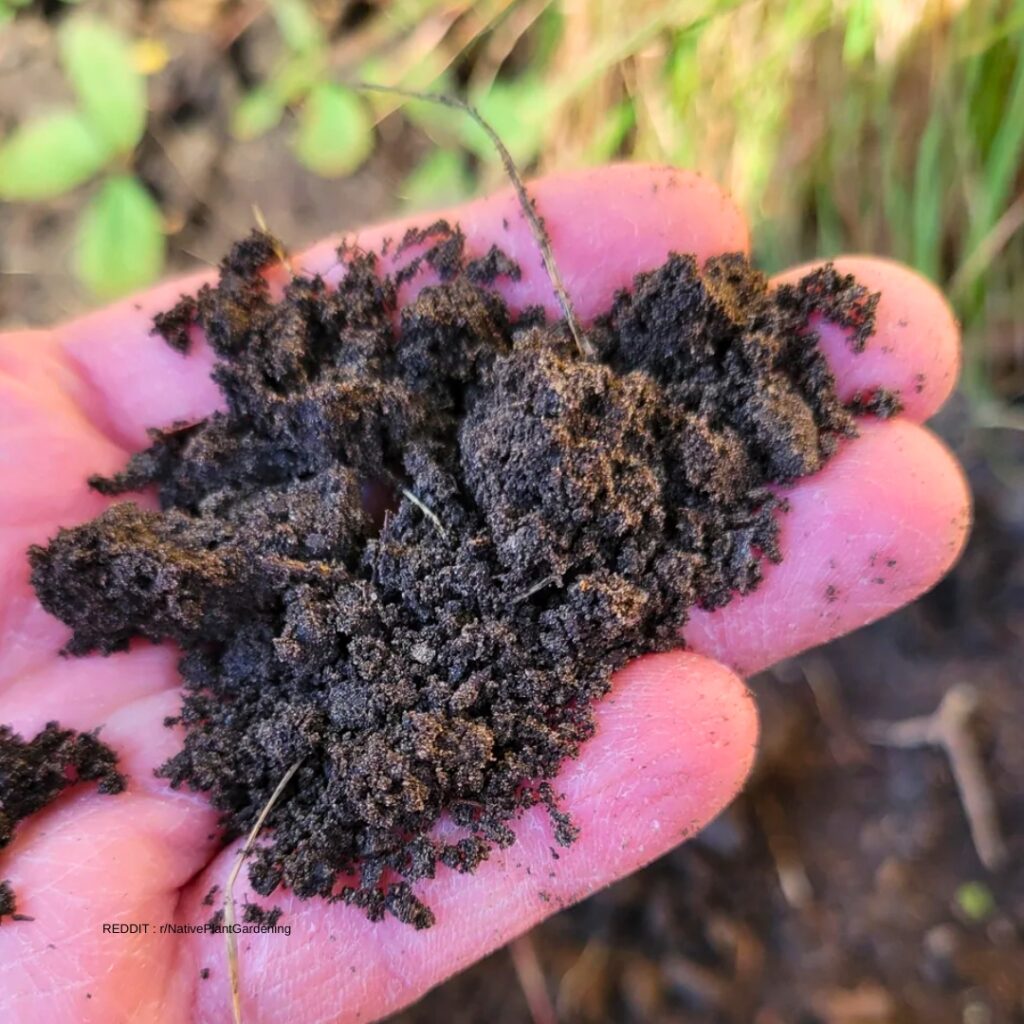
Picking the right spot and prepping the soil pays off with bigger, brighter blooms. Sun, soil texture, and drainage all matter more than you’d think.
Sunlight and Placement Tips for Strong Stems and Heavy Blooms
I put asters where they get full sun—six hours a day, minimum. Morning sun dries leaves fast, which cuts down on disease.
In the hottest zones, a bit of afternoon shade keeps them from wilting. Too much shade, though, and the stems flop and blooms shrink.
I like asters in perennial borders—they fill gaps after summer flowers fade. Rock gardens can work too, as long as water drains away fast.
Stuffy corners with no breeze? Avoid them. Mildew loves damp, still air.
Quick Tip: If stems start reaching toward the light, move the plant to a sunnier spot before it gets too leggy.
Improving Soil Quality Before You Plant for Healthier Roots
Asters thrive in loamy soil that feels crumbly and soft. If I squeeze a handful, it holds together but falls apart easily.
For tough or heavy soil, I dig in 2–3 inches of compost. It boosts nutrients and helps balance moisture.
I mix compost down about 8–10 inches. That’s where most roots end up.
Fresh manure? I skip it. It burns young roots and makes plants too leafy.
Quick Tip: Grab some damp soil and rub it. Sticky means clay—add compost. Gritty and dry? Compost helps it hold water.
Drainage and Soil Types That Prevent Root Rot
Asters hate soggy feet. I always check drainage before planting.
Dig a 12-inch hole, fill it with water, and see how fast it drains. If water sticks around for hours, I find a new spot or fix the soil.
In clay, I plant on a mound or in a raised bed to keep roots above standing water. Sandy soil? Compost slows down water loss.
Rock gardens drain fast, which asters love, but I watch for dry spells in hot weather.
Quick Tip: After a rain, check for puddles. If water lingers over a day, it’s time to rethink the spot or improve drainage.
Methods of Planting Asters
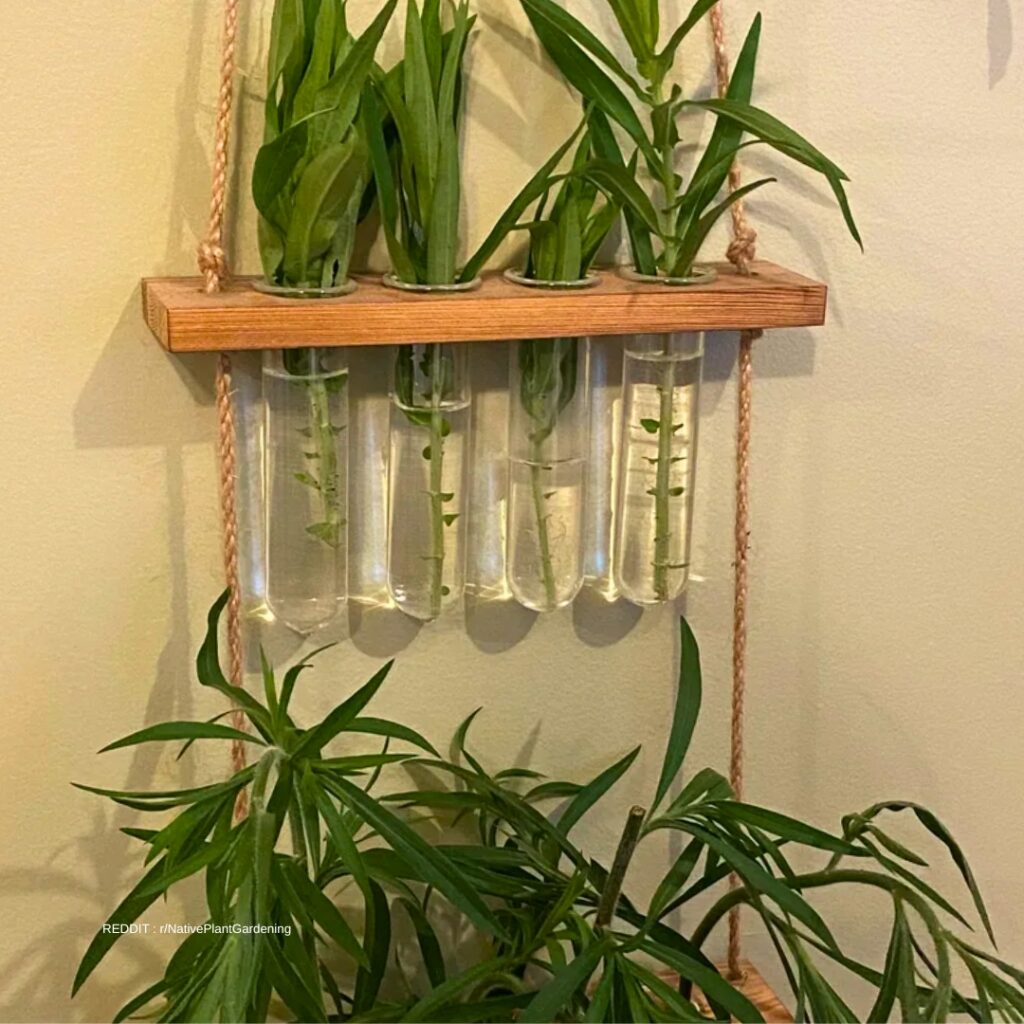
I’ve tried three ways: transplanting potted plants, sowing seeds, and growing in containers. Each has its perks, depending on your space and season.
Transplanting Nursery and Potted Asters for Faster Blooms
Grabbing potted asters from the nursery gets blooms faster. I look for green leaves and tight buds—open flowers don’t adjust as well after planting.
I dig a hole twice as wide as the root ball, but not deeper. If roots circle the pot, I loosen them up. The root ball should sit level with the soil surface.
I fill in with the same soil, press gently, and water until the ground feels evenly moist.
Quick Tip: Plant on cool, cloudy days or late in the afternoon. Hot sun stresses new asters.
I space most asters 12–18 inches apart—airflow stops mildew from moving in.
Planting Aster Seeds for Strong, Homegrown Plants
For seeds, I sow in early spring after the last frost, or start them inside 6–8 weeks sooner. Aster seeds need light, so I press them into the soil—don’t bury them deep.
Outside, I rake the bed smooth, pull weeds, scatter seeds, press them in, and water gently. The soil should stay just damp.
Inside, I use trays with drainage and set them by a sunny window or under a grow light. When seedlings have two sets of true leaves, I thin them for space.
Quick Tip: If the top inch of soil dries, water lightly. Those baby roots dry out fast.
I harden off seedlings for about a week before moving them outside. That slow transition helps them handle the real world.
Growing Asters in Containers for Patios, Balconies, and Cut Flowers
I like growing asters in containers when I want a punch of color on a patio or right by the front door. I always pick a pot with drainage holes and go for fresh potting mix, not garden dirt—trust me, that makes a difference.
The container needs to be at least 10 to 12 inches wide for a single plant. If I’m cramming in a few, I use a bigger pot and leave space for air to move around.
Watering feels like a daily check-in. Pots dry out fast, especially if it’s hot or a breeze kicks up.
Quick Tip: I feed my container asters every 3 to 4 weeks with a balanced liquid fertilizer. That keeps the blooms rolling in.
I set the pot where it’ll get about 6 hours of sun. If I’m in a blazing hot zone, I slide it into light afternoon shade. I cut stems for cut flowers pretty often—it tidies things up and actually brings on more blooms.
Essential Care After Planting
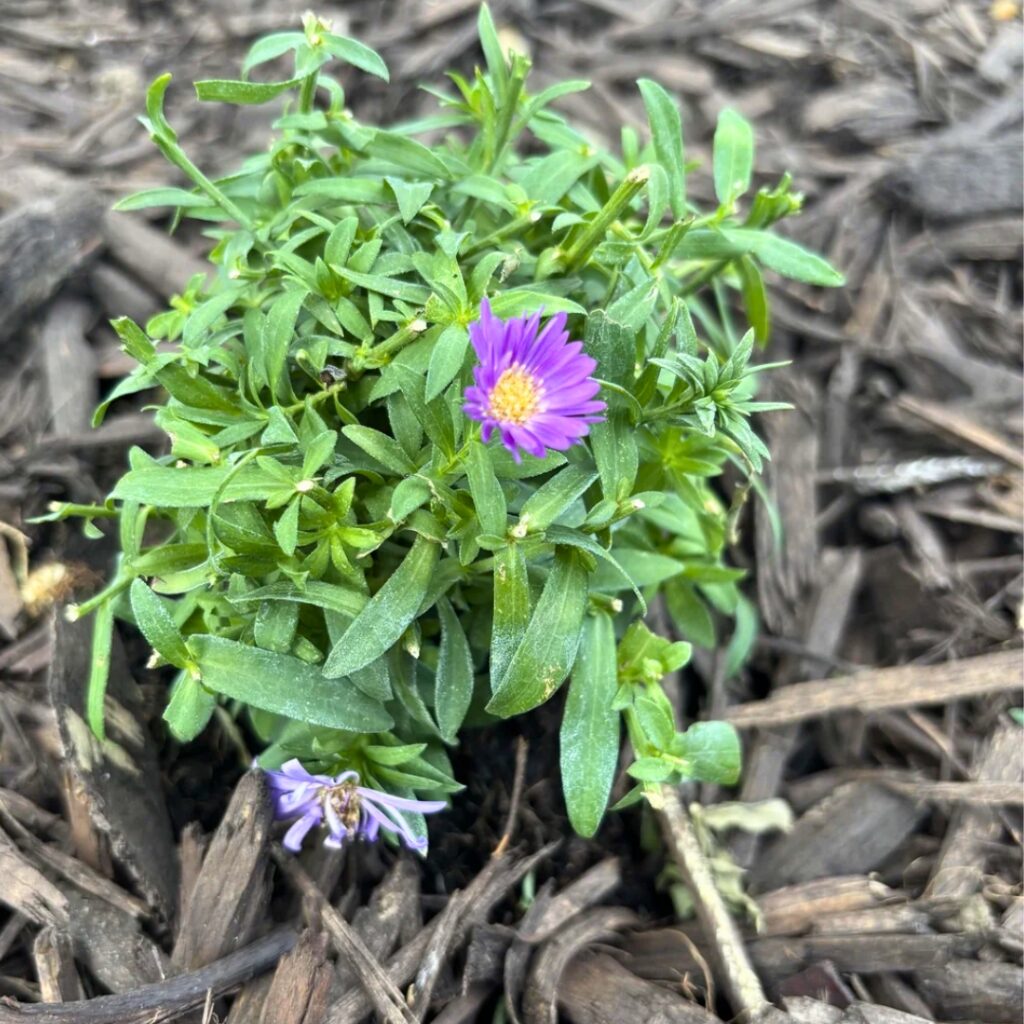
Once I get asters in the ground or a pot, I stick to steady watering, light feeding, and a bit of pruning. These basics help them put out those bright, daisy-like flowers.
Watering and Mulching
I water right after planting to settle the roots. For the first few weeks, I keep the soil just moist—not soggy, not dry.
I poke my finger in the top inch of soil. If it’s dry, I water slowly at the base. I try not to soak the leaves since damp foliage can bring on mildew, especially when it’s sticky outside.
Hot summers mean I water more. If it’s cool or rainy, I ease up so roots don’t drown.
I spread 2–3 inches of mulch around the base, but I keep it a few inches off the stems. Mulch helps the soil stay cooler and keeps weeds down.
Quick Tip: If you see droopy leaves in the morning, it’s probably time to water. If they only droop at night, it might just be the heat getting to them.
Fertilizing Asters
I don’t rush with fertilizer right after planting. If the soil is decent, that’s usually enough to get them going.
Three or four weeks later, I’ll use a balanced, slow-release fertilizer. I always go light—too much nitrogen just makes floppy stems and fewer flowers.
For container asters, I feed a little more often since nutrients wash out quickly. A diluted liquid feed every few weeks does the trick during active growth.
I stop fertilizing by late summer. That way, the plant puts its energy into flowers, not soft new shoots.
Quick Tip: If leaves look pale and growth is sluggish, nutrients might be low. If you can, test the soil before dumping on more fertilizer.
Pinching and Pruning for Full Blooms
Pinching back asters early on makes a real difference. When they hit about 6–8 inches tall, I just nip off the top inch or so.
This gets them to branch out, and more branches mean more blooms later.
I might pinch again in early summer, but I stop by mid-July. Any later and you risk pushing flowering back too far.
During the season, I snip off faded flowers. It keeps things neat and encourages new buds. If stems start flopping, I’ll either trim them or add a little support.
Quick Tip: Always use clean scissors or pruners when cutting asters. It’s a simple way to avoid spreading disease.
Long-Term Maintenance and Troubleshooting
Asters appreciate regular attention if you want them to look good year after year. I divide clumps when they get crowded, watch for common diseases, and do what I can to help them through winter and summer extremes.
Dividing and Propagating Asters to Keep Plants Vigorous and Full
Every 2–3 years, I divide asters so they don’t get thin in the middle and stop blooming well. Early spring is my favorite time, just as new shoots poke up a couple inches. In milder zones, I sometimes divide in early fall, about six weeks before frost.
I dig up the clump, slice it into sections with a sharp spade, and make sure each piece has good roots and a few shoots. Then I replant at the same depth and water them in well.
- Space divisions 12–18 inches apart.
- If the soil feels hard or sandy, I mix in some compost.
- I always water deeply right after replanting.
Quick Tip: If the center of your aster clump looks brown and hollow, it’s time to divide.
I’ve also had luck propagating asters from soft stem cuttings in late spring. I snip a 4-inch shoot, strip the lower leaves, and root it in moist potting mix. Pairing asters with ornamental grasses or black-eyed Susans helps with airflow and keeps diseases down.
Pest and Disease Challenges That Can Slow or Damage Growth
Asters aren’t trouble-free. I watch for aster yellows—it twists stems and makes flowers look weirdly green. Leafhoppers spread it, and there’s no fix, so I pull infected plants fast.
Fusarium wilt is another headache. You’ll see yellow leaves on one side and brown stems. Good drainage helps, and I never replant asters in a spot where wilt showed up before.
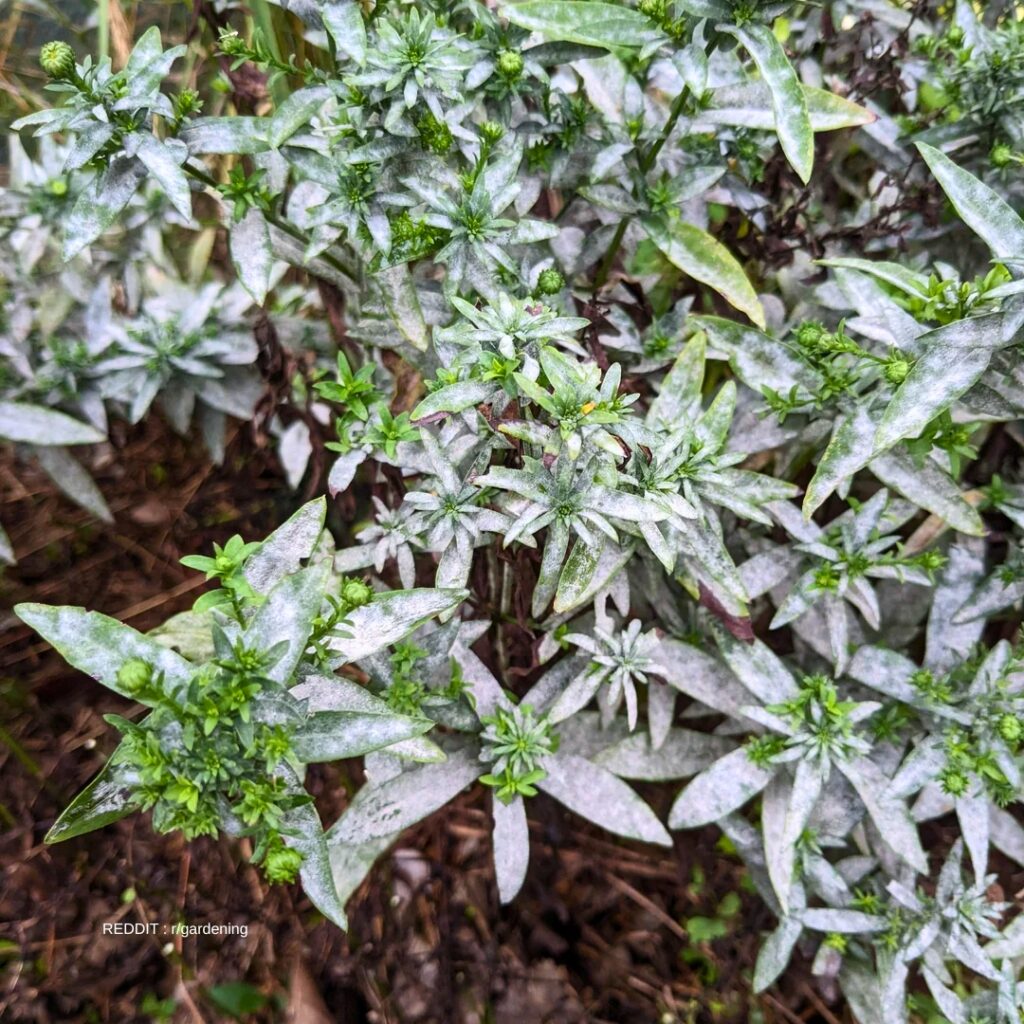
Powdery mildew looks like white dust on leaves, especially in muggy weather. I keep plants spaced out and water at the base, not overhead.
Quick Tip: If leaves start looking dusty or twisted, remove the bad bits right away before it spreads.
Aphids and spider mites pop up sometimes. Usually, a strong blast of water knocks them off.
Winter and Seasonal Care to Protect Asters Year After Year
Once the first hard frost hits, I cut stems down to about 1–2 inches above the soil. In colder zones (like 3–5), I pile on 2–3 inches of mulch after the ground freezes to keep roots safe from freeze-thaw swings.
In warmer zones, I mulch lightly and make sure water drains well during winter rains. Soggy roots are a recipe for rot.
Quick Tip: If your soil stays wet all winter, work on drainage before the next cold snap.
In spring, I pull off old mulch and keep an eye out for new shoots. If growth looks weak, a top-dress of compost helps. When summer heat returns, I water when the top inch of soil dries out. Consistent care keeps asters strong and blooming right on schedule.
Landscape Uses and Ecological Benefits
Asters bring late-season color and help pollinators when most flowers are done. I like tucking them into mixed beds—they’re a magnet for bees and butterflies in fall.
Companion Planting Ideas That Keep Beds Colorful and Balanced
I rely on companion planting with asters to keep my garden lively from summer into fall. Since asters bloom later, I match them with plants that peak earlier or overlap.
Some of my favorite combos:
- Sedum (especially upright ones like ‘Autumn Joy’)
- Ornamental grasses
- Black-eyed Susans
- Coneflowers
Sedum and asters look fantastic together. The pinks and purples blend well, and both like sun and well-drained soil. I give them 12–18 inches of space so air can move.
Quick Tip: If your soil puddles after rain, fix drainage before planting. Asters really hate wet feet, especially in humid spots.
I put taller asters in the back and short ones up front. That way, everything gets sun and the bed doesn’t look messy.
Supporting Bees and Butterflies When Other Flowers Fade
The aster plant is a late-season hero for bees and butterflies. When most blooms are finished, asters step up with fresh nectar.
I see bees gathering pollen early in the day. Butterflies—sometimes even monarchs—visit when it’s warm and sunny. Activity peaks on calm, sunny afternoons.
I plant asters in groups of three or more. Clumps make it easier for pollinators to spot them and feed without bouncing all over the garden.
Quick Tip: Don’t use pesticides while asters are blooming. Even a light spray can mess up visiting bees and butterflies.
In colder places, asters bloom until the first real frost. In mild climates, they sometimes keep going. I leave some old stems standing after the flowers fade—tiny insects use them for winter shelter.
Frequently Asked Questions
I get lots of questions about timing and care for asters. The right season, spacing, and a little attention really do make a difference in how they bloom.
What’s the best season to put asters in the ground for the strongest growth and fullest fall blooms?
I plant perennial asters in early spring, after the last hard frost. That gives roots time to settle before summer heat comes on.
In mild zones (7–9), I sometimes plant in early fall, about 6–8 weeks before frost hits. The soil should feel cool but not frozen.
Hot southern spots usually call for spring planting. Fall can stay too warm, and new plants might not settle in well.
Quick Tip: If the soil crumbles in your hand and isn’t soggy, you’re good to plant.
Can I start asters from seed, and how deep should I sow them for good germination?
I start seeds indoors about 6–8 weeks before the last frost. I press them gently into the soil and cover with just 1/8 inch of mix.
Asters need light to sprout, so I don’t bury them deep. I keep the soil just barely moist.
Seeds usually pop up in 10–14 days at room temp. A sunny window or a grow light keeps seedlings from stretching.
Quick Tip: Mist the soil gently so you don’t wash those tiny seeds away.
Are asters perennials or annuals, and does that affect when I should plant them?
Most asters in gardens are perennials. They come back each year and get bigger with time.
Annual asters only last one season. I plant those after the last frost, like other summer flowers.
Perennials need early planting so roots can settle in. Annuals just want warm soil and steady sun.
Quick Tip: Check the label—if it says “hardy to Zone 4–8,” it’s probably a perennial.
How tall do asters typically grow, and how much spacing do they need to stay healthy?
Most asters hit 1 to 4 feet tall. Compact ones stay under 18 inches.
I give small types about a foot of space. Tall kinds get 18–24 inches so air can move between them.
Crowded plants trap moisture, which can lead to powdery mildew, especially when it’s humid.
Quick Tip: If leaves touch and stay wet after rain, thin them out a bit.
Do asters spread over time, and should I plan for them to naturalize in the garden?
Perennial asters spread slowly by clumps. Every couple of years, I divide them in spring to manage their size.
They’ll fill in open spots but don’t usually take over. Good spacing keeps the patch tidy.
In cold zones, they spread slower. Warm zones with long summers see them expand a bit faster.
Quick Tip: If the clump’s center looks woody or thin, it’s time to divide.
How do I care for asters in pots so they stay healthy and bloom well all season?
I always use a pot with drainage holes. Asters just won’t tolerate soggy soil, so I stick with a regular potting mix that drains well.
Whenever the top inch of soil feels dry, I water. On hot days, I sometimes need to water every single day—these plants get thirsty fast in containers.
Potted asters really crave full sun, so I make sure they get at least 6 hours of direct light. Every few weeks, I give them a balanced liquid fertilizer while they’re growing—nothing fancy, just what I have on hand.
Quick Tip: After watering, I lift the pot. If it’s heavy for more than a day or two, I double-check the drainage. It’s surprising how often a blocked hole can sneak up on you.