
You can grow healthy, blooming roses by choosing the right variety and giving them sun, good soil, water, and steady care. I’ll help make rose plant care simple, whether you grow classic garden roses or compact Rosa spp. in a small space.
You’ll learn how to match roses to your garden, plant them well, and keep the soil evenly moist without soaking the roots. I’ll also cover feeding, pruning, and training so your plants produce more flowers.
Quick Tip: Check the top inch of soil before watering; if it feels dry, give your roses a deep drink. I’ll show you how to spot pests, disease, and weather stress before they spoil your growing roses.
Choose Roses That Suit Your Garden
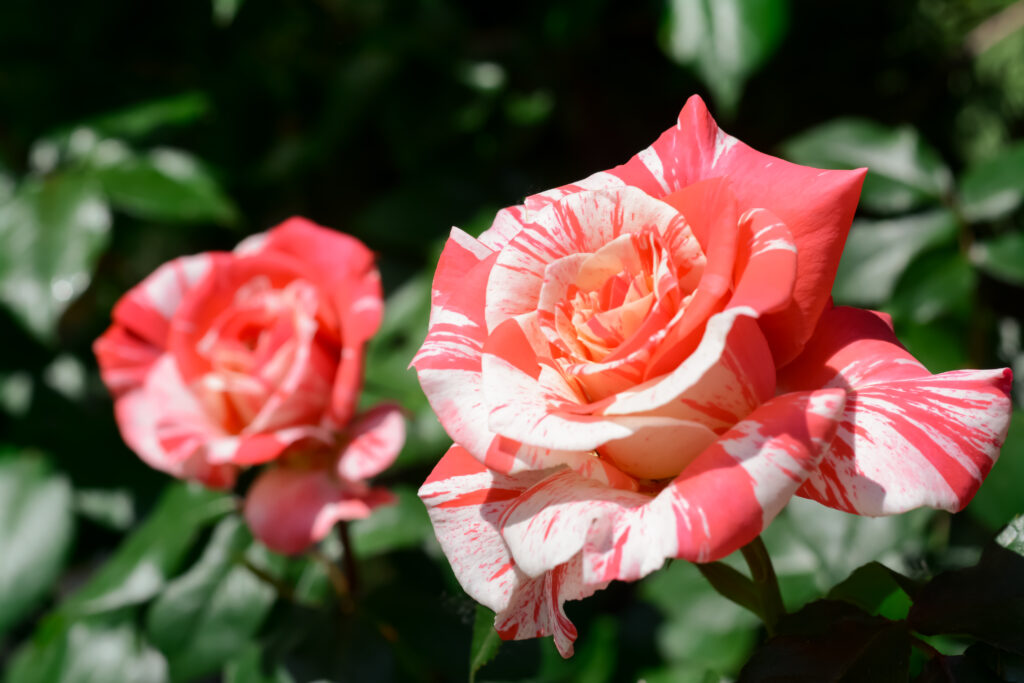
I choose roses by matching their size, bloom style, and hardiness to the planting spot. A rose that fits the space needs less pruning, less fuss, and fewer apologies later.
Compare Rose Types and Growth Habits
I look at mature height and width before buying a rose. Hybrid tea roses grow upright, usually 3 to 6 feet tall, with large blooms on long stems. They suit cutting gardens, but they often need more care than other modern roses.
Floribunda roses carry clusters of smaller flowers and make a fuller plant. Shrub roses, including many Knock Out roses, grow into rounded bushes and work well for easy-care planting.
Climbing roses need a trellis, fence, or wall and usually reach 8 to 15 feet. Rambling roses grow even larger, often flowering once in a heavy spring display. They can swallow a small fence, so I give them room.
Miniature roses and patio roses stay compact for pots and small beds. Quick Tip: I check the plant label for its mature size, not just its neat size at the garden center.
Prioritize Climate Adaptation and Disease Resistance
I choose roses rated for my USDA hardiness zone. A rose that survives winter in Zone 7 may struggle in Zone 4, while a rose bred for cool summers may not enjoy hot, humid weather.
Species roses and many old garden roses often handle cold well and have a strong scent, but some bloom only once a year. Tea roses prefer mild winters, while many modern roses repeat bloom through the growing season.
I also look for resistance to black spot, powdery mildew, and rust. English roses, including David Austin roses and David Austin English roses, mix old-fashioned flower shapes with repeat blooming, but disease performance varies by variety and climate.
Quick Tip: I ask local growers which roses stay clean after rainy, humid summers. A healthy leaf is worth more than a fancy catalog photo.
Select Roses for Beds, Borders, and Containers
I use shrub and floribunda roses for beds because they fill space with steady color. Plant them about 2 to 4 feet apart, based on their listed width, so air can move between the leaves.
For borders, I choose compact shrub roses, patio roses, or low-growing floribundas. Their blooms sit where people can see and smell them without blocking paths. Hybrid teas work best in a separate cutting bed or behind shorter plants.
I grow miniature roses and patio roses in containers at least 14 to 18 inches wide, with drainage holes. In cold zones, pots need winter protection because roots freeze faster than roots in the ground.
Quick Tip: I place fragrant roses near a door, bench, or walkway. There’s no point hiding a good scent at the back of the yard.
Create the Right Growing Conditions
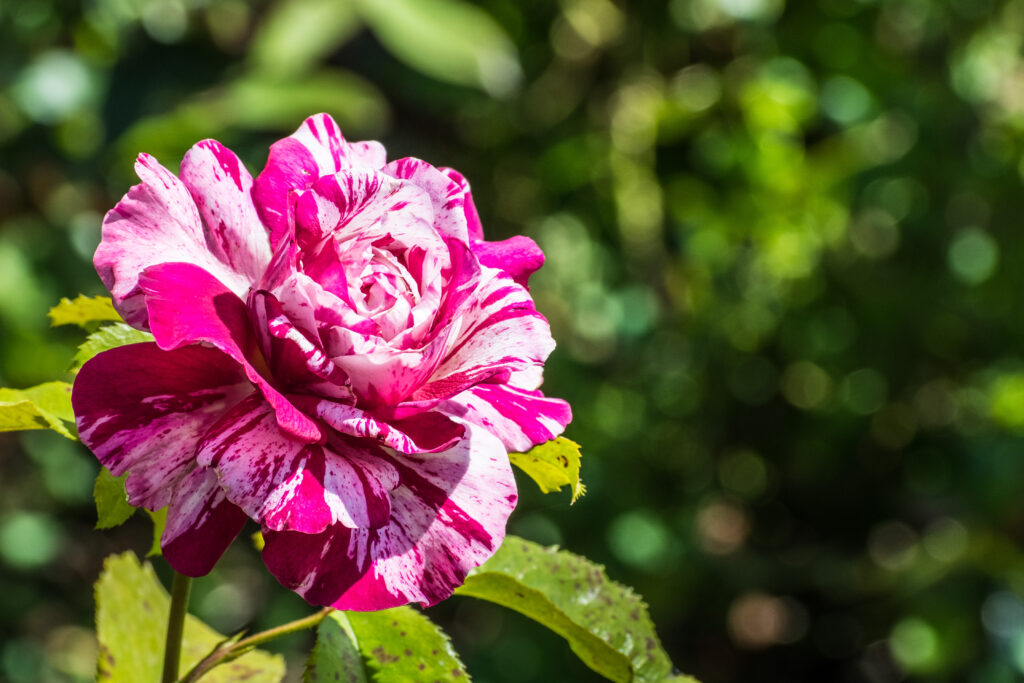
I give roses steady sun, loose soil, and enough open space to dry after rain. These basics help plants grow well and lower the risk of common problems.
Provide Full Sun and Sensible Shade
I plant roses where they get at least six hours of direct sunlight each day. Morning sun works especially well because it dries dew from the leaves before fungal diseases can take hold.
In very hot zones, I allow partial shade in the late afternoon. Harsh afternoon heat can scorch blooms and dry the soil fast. A spot with morning sun and light shade after 3 p.m. often suits roses in hot summer climates.
Quick Tip: I watch the site for a full day before planting. Less than six hours of sun usually means fewer flowers, weak stems, and insufficient light for healthy growth.
Prepare Loamy, Well-Drained Soil
I aim for loamy soil that feels crumbly and holds some moisture without staying wet. Sandy loam drains quickly but may need extra organic matter, while heavy clay soil holds water too long around rose roots.
I mix compost or well-rotted manure into the planting area before setting the rose in place. This improves soil texture and adds nutrients slowly. I avoid fresh manure because it can burn roots.
Roses grow best in well-drained soil with a soil pH of about 6.0 to 6.5. If water sits in the hole after rain, I improve drainage or use raised beds. Wet roots are a bad deal.
Quick Tip: I squeeze a damp handful of soil. It should form a loose ball, then break apart easily when I tap it.
Improve Airflow and Plan Proper Spacing
I leave enough room between roses for air circulation. Most bush roses need about 2 to 3 feet of space, while larger shrub and climbing roses may need 4 to 6 feet or more.
Crowded plants stay damp after rain, especially in cool or humid weather. That trapped moisture encourages fungal diseases such as black spot and powdery mildew. I keep roses away from solid fences, thick hedges, and tight corners when possible.
I also avoid planting roses under trees with dense canopies. They block sunlight, limit airflow, and compete for water. A little breathing room saves a lot of leaf trouble.
Quick Tip: I space roses based on their mature width, not the small size of the nursery pot.
Plant Bare-Root and Container Roses Correctly
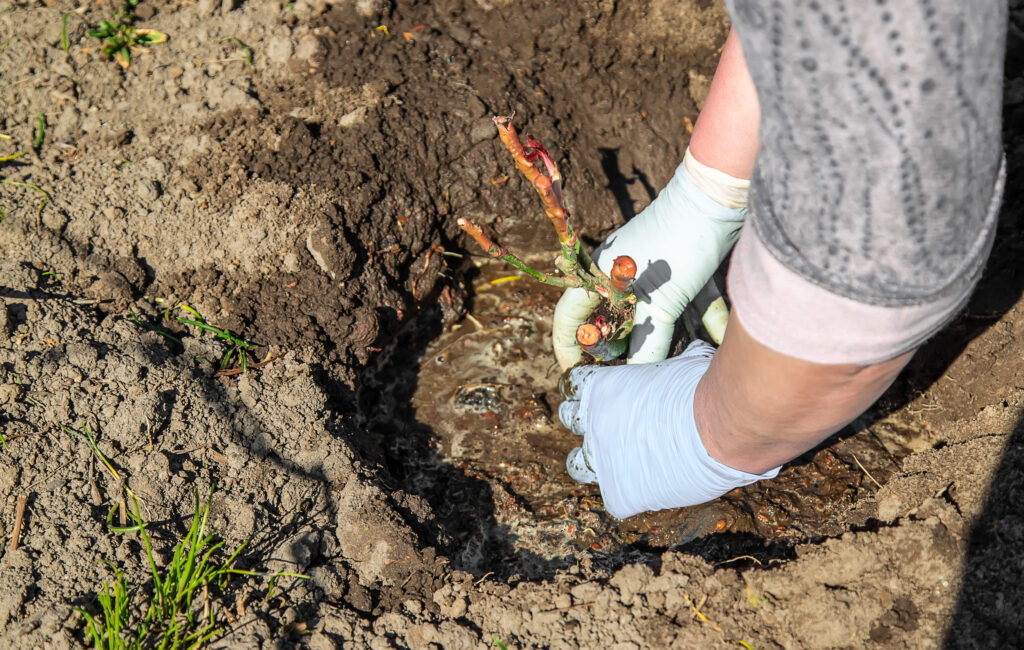
I plant roses in the right season, set their roots at the proper depth, and water them in well. Small planting details matter because rose bushes need time to settle before heat, frost, or dry weather arrives.
When to Plant for Your Climate
I plant bare-root roses while they’re dormant, usually from late winter to early spring. In cold climates, I wait until the soil has thawed and is no longer sticky with mud. In mild winter areas, I can plant from late fall through winter.
I plant container-grown roses in spring or fall when temperatures stay mild. I avoid planting in frozen ground, during heat waves, or in drought unless I can water closely.
Quick Tip: I choose a calm, cool day for planting. Wind and hot sun can dry exposed roots fast.
In USDA Zones 7 and warmer, fall planting gives roots time to grow before summer. In colder zones, spring planting reduces the risk of winter damage to young rose plants.
How to Plant Bare-Root Roses
I soak bare-root roses in a bucket of water for two to four hours before planting. The roots should feel firm and moist, not dry or brittle. I trim only broken or dead roots with clean pruners.
I dig a hole about 18 inches wide and 18 inches deep, then loosen the soil at the bottom. I mix the removed soil with compost, but I don’t fill the hole with pure compost. Roots need to grow into the native soil, not sit in a soft pocket.
Quick Tip: I make a small cone of soil in the center of the hole and spread the roots over it like spokes on a wheel.
I backfill halfway, add water, then finish filling the hole. I press lightly to remove large air gaps, but I don’t pack the soil hard. Bone meal is optional; I use it only if a soil test shows low phosphorus.
How to Plant Potted and Container-Grown Roses
I water potted roses before removing them from the container. A damp root ball slides out more easily and keeps its shape. I dig a hole twice as wide as the root ball but no deeper than its height.
I gently loosen circling roots around the outside. If roots form a tight mat, I make three or four shallow vertical cuts with a clean knife. This helps container roses send roots into the surrounding soil instead of circling forever.
Quick Tip: I keep the top of the root ball level with, or slightly above, the surrounding soil. A sunken rose often stays too wet.
I fill around the root ball with the original soil mixed with a little compost. Then I water slowly until the soil feels evenly damp several inches down. I check moisture often during the first growing season, especially in dry or windy weather.
Position the Graft Union and Add Mulch
I check whether my rose is a grafted rose before planting. The graft union is the swollen knob where the rose variety joins the rootstock. Its correct position depends on winter conditions.
In cold regions, I place the graft union 2 to 3 inches below the soil surface. Soil protects it from freeze-thaw cycles. In warm regions where hard freezes are rare, I keep the graft union at or just above soil level to discourage shoots from the rootstock.
Quick Tip: I look for shoots growing below the graft union and remove them. These rootstock suckers can take over the rose bush.
I spread 2 to 3 inches of organic mulch around the plant after watering. Shredded bark, leaf mold, pine needles, or finished compost work well. I keep mulch 2 inches away from the canes so the base stays dry and doesn’t rot.
Water, Mulch, and Feed for Strong Growth
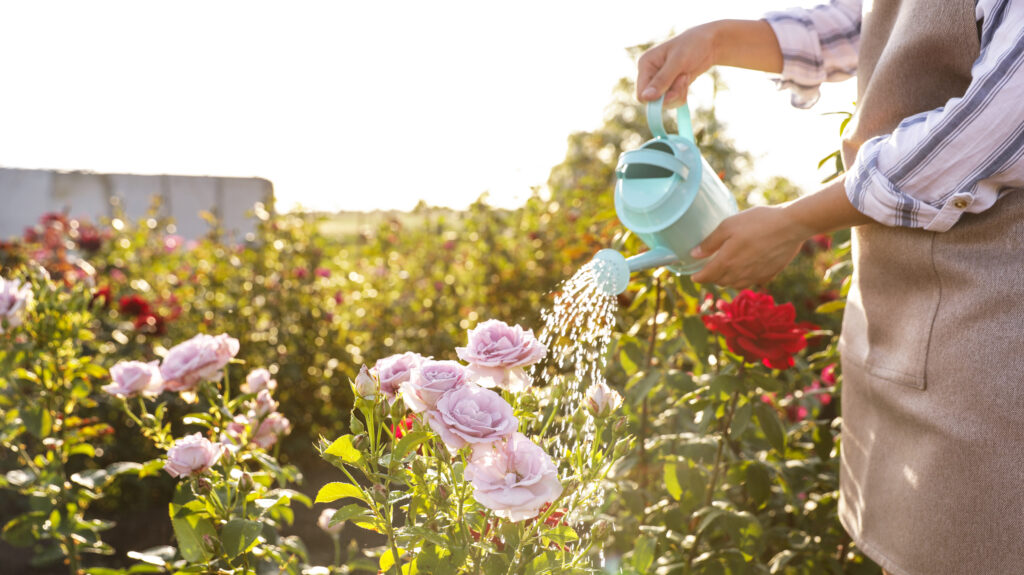
I keep rose care simple: water the soil deeply, cover it with mulch, and feed only when the plant needs support. These steps help roses grow steady roots and produce healthy leaves and flowers.
Water Deeply Without Wetting Leaves
I water roses slowly at the base, aiming for moist soil about 12 to 18 inches deep. A deep soak encourages roots to grow down instead of staying near the surface, where heat dries them quickly.
Most established roses need about 1 to 2 inches of water each week, including rain. Sandy soil dries faster and may need water twice a week. Clay soil holds water longer, so I check it before adding more.
Quick Tip: Push a finger 2 inches into the soil. If it feels dry, water deeply; if it feels cool and damp, wait a day.
I use drip irrigation or a soaker hose when possible. Both send water to the roots and keep leaves dry, which helps limit black spot and other leaf diseases. Water in the morning, especially during humid or rainy weather. Wet leaves at night are trouble waiting to happen.
Use Mulch to Hold Moisture and Protect Roots
I spread a 2- to 3-inch layer of organic mulch around each rose after watering. Shredded bark, pine needles, leaf mold, and chopped leaves all work well. Mulch slows water loss, blocks many weeds, and keeps roots cooler in summer.
Keep mulch about 2 inches away from the rose canes. Piling it against the stems can trap moisture and invite rot or pests. The mulch should look like a flat ring, not a small volcano.
Quick Tip: If the mulch looks pale, thin, or dry enough to blow away, add a fresh layer.
In cold zones, I add extra loose mulch after the first hard frost to protect the root area. In warm climates, I use a thinner layer so the soil doesn’t stay too wet. Pull mulch back a little in spring when new growth begins.
Follow a Balanced Fertilizing Schedule
I begin fertilizing roses when they show healthy new leaves in spring, not right after planting or pruning. A balanced rose fertilizer, such as 10-10-10 or a product labeled for roses, supplies nitrogen, phosphorus, and potassium.
I feed established roses every 4 to 6 weeks through midsummer, following the package rate. I stop feeding about 6 to 8 weeks before the usual first frost in cold areas. Late feeding can cause soft new growth that winter may damage.
Quick Tip: Water the soil before and after applying fertilizer. Dry roots and fertilizer do not get along.
I can also use an organic fertilizer or organic rose fertilizer, such as compost, alfalfa meal, or fish-based feed. These work more slowly, but they improve the soil over time.
I use compost tea as a mild supplement, not as the main food source. I avoid adding extra nitrogen fertilizer just to chase more blooms. Too much can produce leafy growth with fewer flowers.
Identify Nutrient Problems Before Adding More Feed
I look at the leaves before reaching for rose fertiliser. Yellow lower leaves may point to low nitrogen, but overwatering, poor drainage, or normal aging can cause them too.
Feeding a stressed rose without checking the soil can make the problem worse. Yellow leaves with green veins may suggest an iron or magnesium deficiency, and magnesium problems often show first on older leaves.
I check soil moisture and pH before adding any product, since roots cannot use nutrients well in soggy or very alkaline soil.
Quick Tip: Take clear photos of the leaves before treating the plant. New growth shows whether the change helped.
I use bone meal only when a soil test shows low phosphorus or when planting in soil known to lack it. It does not fix every bloom problem.
If leaves look damaged, spotted, or curled, I also check for pests and disease before adding more feed.
Prune, Train, and Maintain Flowering Roses
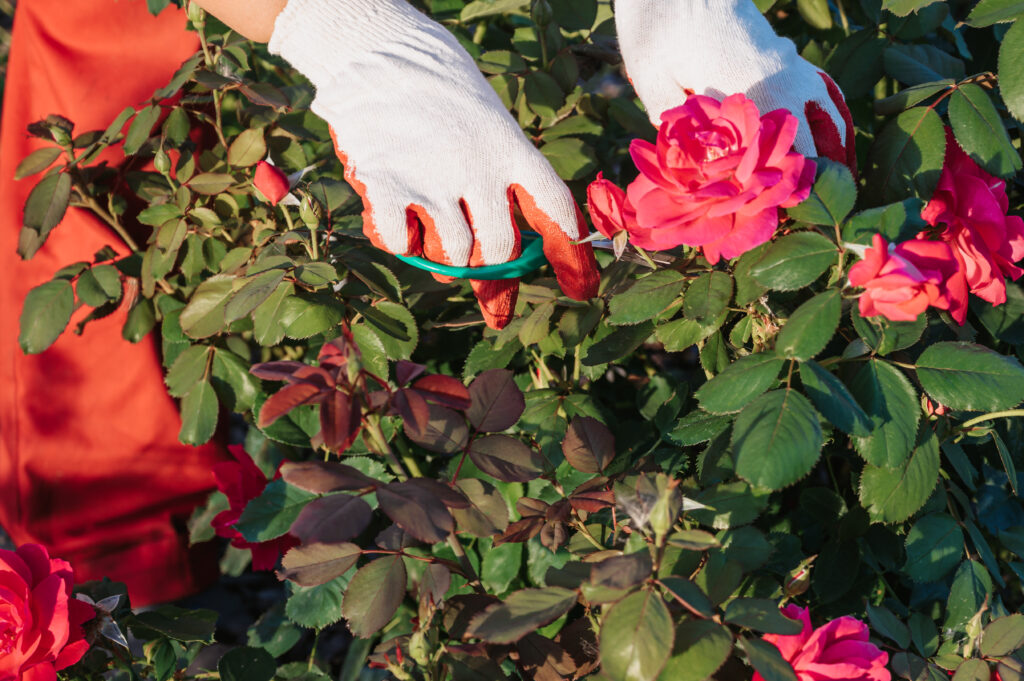
I prune to keep roses open, healthy, and full of flowers. I also deadhead spent blooms, tie long canes in place, and take cuttings from plants I want to keep.
How and When to Prune Different Rose Types
I use clean, sharp pruning shears and wear thick gloves. I cut dead, damaged, or diseased canes out first, then remove stems that cross and rub.
I make each cut about 1/4 inch above an outward-facing bud, slanting it away from the bud. For hybrid teas, floribundas, and other repeat-blooming shrub roses, I prune hard in late winter or early spring, just as buds begin to swell.
I shorten healthy canes by about one-third to one-half. I prune once-blooming old roses and many rambling roses after they finish flowering.
They set next year’s flowers on new growth, so spring pruning can remove the show before it starts.
Quick Tip: I wait until the worst frost has passed. In cold zones, I leave extra cane length until spring in case winter kills the tips.
Deadhead for Repeat Blooms Instead of Rose Hips
I deadhead repeat-blooming roses as soon as petals fade and turn papery. I follow the flower stem down to the first leaf with five leaflets, then cut just above an outward-facing bud.
This tells the plant to make new flowering shoots instead of putting energy into rose hips. I remove fallen petals too, especially after rain, because damp petals can hold disease against the leaves.
I stop deadheading in late summer or early fall, about six to eight weeks before my usual first frost. The plant can then form hips and slow its soft new growth before winter.
Quick Tip: I leave flowers alone on roses grown mainly for colorful hips or seed. Not every rose needs a tidy haircut.
Train Climbers and Ramblers on Supports for More Flowers
I train climbing roses and rambling roses onto a sturdy trellis, fence, arbor, or wire system. I begin while canes are young and flexible, because older canes snap with very little warning.
I spread main canes sideways or in a loose fan shape instead of letting them grow straight up. Horizontal canes produce more side shoots, and those side shoots carry flowers.
I tie stems with soft garden tape, cloth strips, or flexible plant ties. I keep ties loose enough for the cane to thicken, and I check them twice a year so they do not cut into the bark.
Quick Tip: I never force a stiff cane into place. I bend it a little at a time, especially in cool weather when stems feel less flexible.
Propagate Favorites From Cuttings With Simple Steps
I take hardwood cuttings from healthy, mature rose canes after leaf drop in fall or winter. I choose pencil-thick stems without flowers, then cut pieces about 8 to 10 inches long with several buds.
I make the bottom cut just below a bud and the top cut just above a bud. This helps me remember which end goes into the soil.
I dip the lower end in rooting hormone, though cuttings can root without it. I place them several inches deep in a pot of moist, well-drained mix or in a sheltered garden bed.
I keep the soil lightly moist, not soggy, and protect the cuttings from harsh winter wind.
Quick Tip: I take more cuttings than I need. Some will fail, and that is normal. Even experienced gardeners lose a few.
Prevent and Treat Pests, Diseases, and Seasonal Stress
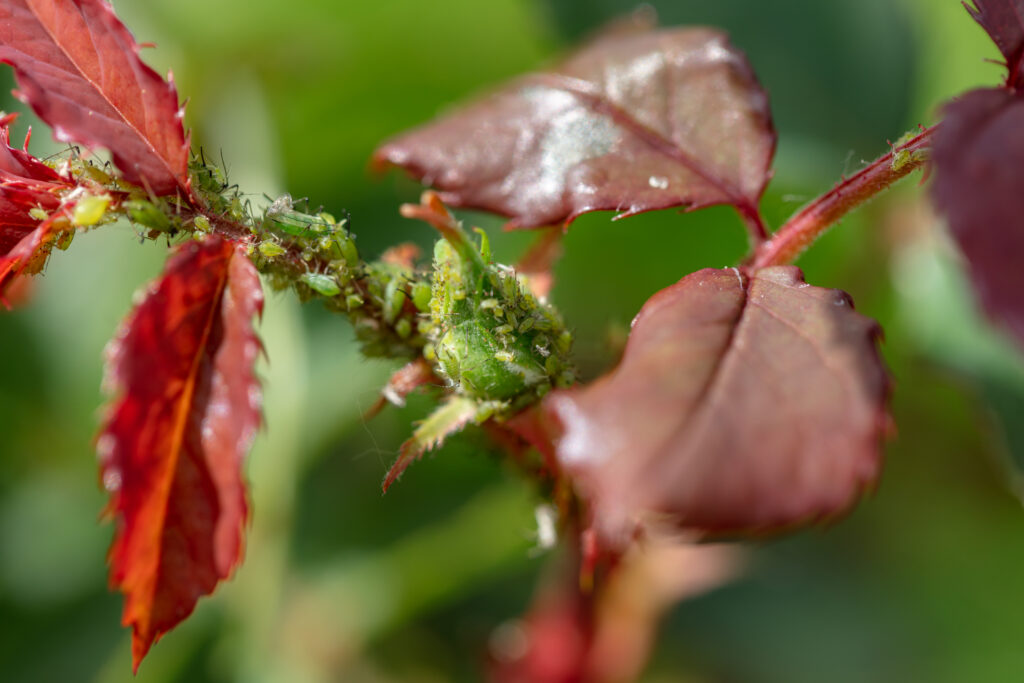
I check rose leaves, stems, and buds often, especially after rain or hot, dry weather. Fast action keeps small problems from spreading through the plant.
Recognize Common Fungal Problems
I watch for black spot, which causes round black marks with yellow edges. Infected leaves often turn yellow and drop, usually after wet weather.
I remove fallen leaves and prune badly affected stems with clean shears. I also look for powdery mildew when leaves or buds have a dusty white coating.
It often appears during warm days and cool nights. Rust causes orange or brown spots, often on the undersides of leaves.
Quick Tip: I water at the soil line in the morning, not over the leaves. Dry foliage helps prevent many rose diseases.
I give each rose enough space for air to move around it. I avoid composting diseased leaves, since fungal spores may survive.
If disease returns each year, I choose a rose variety bred for disease resistance and follow local fungicide labels if needed.
Manage Sap-Feeding and Leaf-Chewing Pests
I check new shoots and unopened buds for aphids, small soft insects that cluster together. A strong spray of water can knock them off.
For heavy groups, I use insecticidal soap and coat the pests directly. I look for spider mites when leaves seem pale, dry, or finely speckled.
Tiny webbing under leaves is a clear clue. Mites thrive in hot, dusty conditions, so I rinse the foliage early in the day during dry spells.
Quick Tip: I test insecticidal soap or neem oil on a few leaves first. I do not spray in full sun or when temperatures are very hot.
Thrips can scar petals and keep buds from opening well. I remove damaged blooms.
I hand-pick Japanese beetles in the cool morning and drop them into soapy water. Sawfly larvae, sometimes called rose slugs, chew leaf tissue; I remove them by hand or treat young larvae with insecticidal soap.
Encourage Beneficial Insects With Companion Plants
I plant flowers near roses to feed beneficial insects without crowding the rose roots. Ladybugs and lacewings eat aphids, while many small wasps help control caterpillars and other rose pests.
I use lavender, catmint, salvia, and alliums around the rose bed. Their flowers support pollinators and helpful insects, and their different leaf shapes make the bed look less like a rose buffet.
Quick Tip: I leave some healthy flowers blooming instead of deadheading every plant at once. Beneficial insects need nectar and pollen, too.
I avoid broad-spectrum insect sprays because they can kill ladybugs, lacewings, bees, and other helpful visitors. I also keep companion plants several inches from rose canes so air can move freely and fungal problems do not get a foothold.
Protect Roses From Heat, Cold, and Wildlife
I water deeply during heat waves, especially when the top few inches of soil feel dry. I add a 2- to 3-inch layer of mulch to cool the roots and slow water loss, while keeping mulch away from the base of each cane.
Quick Tip: I delay pruning during extreme heat. Fresh cuts and tender new growth can struggle in harsh sun.
In cold zones, I stop fertilizing in late summer so roses can slow down before winter. After the ground freezes, I mound loose soil or mulch around the base of tender roses.
I remove winter protection gradually in spring after hard freezes pass. I protect roses from deer with fencing, netting, or a labeled deer repellent.
Deer often nibble new shoots and buds, especially in dry weather. I reapply repellents after rain and rotate products so the scent does not become familiar.
Frequently Asked Questions
I plant roses in sunny, well-drained spots and adjust care for heat, rain, and winter cold. Regular watering, feeding, pruning, and pest checks help keep plants healthy and blooming.
How do I plant roses in the ground for the first time?
I choose a spot with at least six hours of direct sun and soil that drains well. I avoid low areas where water sits after rain.
I dig a hole about twice as wide as the root ball and just deep enough to keep the rose at its original soil level. In cold zones, I set the graft union 2 to 3 inches below the soil; in warm zones, I keep it at or slightly above soil level.
Quick Tip: I water deeply after planting, then add 2 to 3 inches of mulch around the base. I keep mulch a few inches away from the stems to prevent rot.
How often should I water a rose plant?
I water newly planted roses two or three times a week for the first month when rain is scarce. Once established, most roses need about 1 inch of water per week.
I soak the soil slowly at the base instead of spraying the leaves. If the top 2 inches of soil feel dry, I water; if they feel cool and damp, I wait.
Quick Tip: I water early in the morning. Wet leaves overnight can encourage black spot and other fungal problems.
What helps roses grow faster and produce more blooms?
I give roses full sun, deep watering, and room for air to move between plants. I remove faded flowers from repeat-blooming types to encourage more buds.
I feed established roses with a balanced rose fertilizer in spring, then again after the first heavy bloom cycle. I stop fertilizing about six to eight weeks before the first expected frost in cold-winter areas.
Quick Tip: I check leaves often for aphids, black spot, and chewing damage. Small problems are much easier to handle before they spread.
Can I grow a rose plant indoors?
I can grow a compact miniature rose indoors, but it needs bright light. I place it in a south- or west-facing window where it gets at least six hours of direct sun.
I use a pot with drainage holes and water when the top inch of soil feels dry. Indoor air can become dry in winter, so I keep the plant away from heating vents.
Quick Tip: I move indoor roses outside during mild weather when possible. Fresh air and stronger sunlight usually help them grow better.
How do I grow roses from cuttings at home?
I take a 6- to 8-inch cutting from a healthy stem after it finishes flowering. I cut just below a leaf node, then remove the flowers, buds, and leaves from the lower half.
I dip the cut end in rooting hormone before placing it in moist potting mix or a blend of perlite and peat-free mix. Then I loosely cover it with a clear plastic bag to hold in humidity, making sure the bag doesn’t touch the leaves.
Quick Tip: I keep the cutting in bright, indirect light and the soil lightly moist. Roots can take several weeks to form, so I try not to tug on the stem every day.
When and how should I prune a rose bush?
I prune most roses in late winter or early spring, when the buds start to swell but before strong new growth begins. In colder zones, I wait until the worst winter weather has passed.
First, I cut out dead, damaged, and crossing canes. Then I shorten healthy canes by about one-third, making each cut just above an outward-facing bud.
Quick Tip: I use clean, sharp pruners and remove fallen leaves from around the plant. That clears hiding places for pests and disease.