
Orchid leaves drooping can be a real downer. It’s something every orchid lover dreads. The most common reasons for drooping leaves are improper watering, lack of humidity, or insufficient light. Trust me, I’ve been there, and it’s not fun to see these beauties suffer.
I remember my first orchid had droopy leaves, and I wondered what I did wrong. Did I give it too much water or too little? Was it sitting in the wrong spot in my home? These are things we’ll dig into, so you can bring your orchid back to its vibrant self.
Ever tried using ice cubes to water your orchid? I did, and it was a game-changer! Feel free to share your experiences and tips in the comments 💬. Let’s help our orchids thrive together!
Understanding Orchid Care Basics
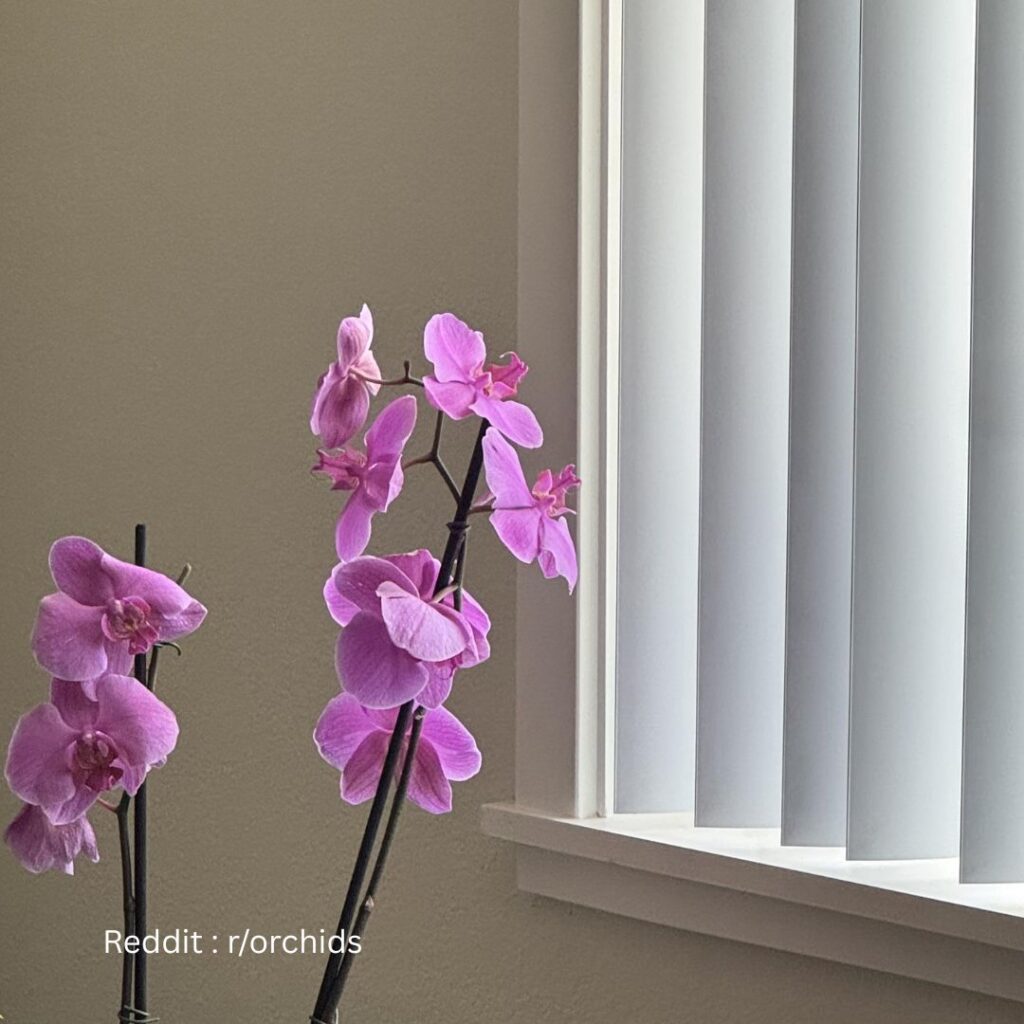
Orchid care can seem tricky, but it’s all about the basics! Let’s break it down. 🪴
First, orchids need the right light. They love bright, indirect sunlight. Too much direct sunlight can scorch their leaves, making them droop.
Second, let’s talk about water. Overwatering is a common mistake. Orchids like to dry out between waterings. I usually water mine once a week. How often do you water yours? 🌿
Next is the potting mix. Orchids don’t grow in regular soil; they need a special mix. Usually, it’s made of bark or sphagnum moss. This helps with drainage.
Air circulation is essential too. Good air movement prevents diseases. Do you use a fan or keep them near an open window?
Temperature is another important factor. Orchids prefer temperatures between 60-80°F (15-27°C). Too hot or too cold can make the leaves droop.
Don’t forget about humidity. Orchids love humidity around 50-70%. You can use a humidity tray or mist them regularly.
Feeding is the last key point. Orchids need special fertilizer, usually labeled “for orchids.” I feed mine once a month. How about you?
Got any tips or experiences with your orchids? Share in the comments below! 🌸✨
Causes of Drooping Orchid Leaves
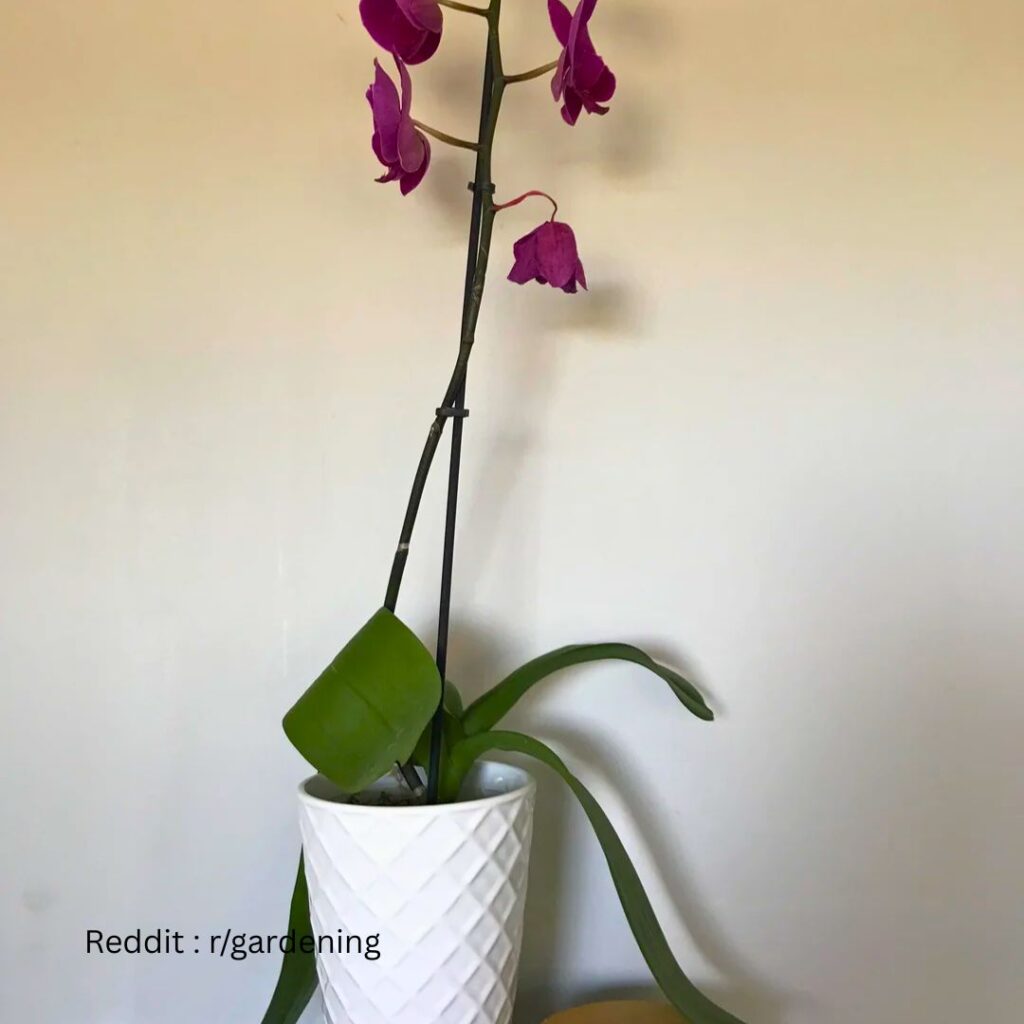
Orchid leaves can droop for several reasons, including watering issues, environmental stress, pests, diseases, and nutrient imbalances. Understanding these causes can help keep your orchid healthy and vibrant! 🌿
Improper Watering
One of the main causes of drooping orchid leaves is improper watering. If orchids get too much water, the roots can rot, leading to limp leaves. On the flip side, not enough water can cause the leaves to dry out and droop.
Finding the right balance is key. I usually let the top inch of soil dry out before watering. If you’re unsure, using a moisture meter can be a big help. Over-watering is often more harmful than under-watering.
Environmental Stress
Orchids are sensitive to their surroundings. Environmental stress like too much direct sunlight, extreme temperatures, or drafty spots can cause drooping leaves. For example, putting an orchid near a hot window or an air conditioning vent can stress it out.
Make sure your orchid gets bright, indirect light and stays in a spot with stable temperatures. I keep mine away from windows that get too hot or too cold. 🌞❄️
Pest Infestations
Little bugs can cause big problems for orchids. Pest infestations like aphids, spider mites, and mealybugs can sap the plant’s energy, leading to drooping leaves. I always check under the leaves and around the base for any tiny invaders.
If you find pests, use a mild insecticidal soap or neem oil to treat your plant. Regularly inspecting your orchid can help catch these issues early. 🕷️
Diseases and Fungal Infections
Orchids can also suffer from diseases and fungal infections. Common issues include root rot, leaf spots, and bacterial infections. These often cause leaves to droop or discolor. If your orchid’s roots look brown and mushy, it’s likely root rot.
To combat infections, ensure proper air circulation and avoid water sitting on leaves. If needed, use a fungicide to treat the plant. Healthy plants are less likely to get sick!
Nutrient Deficiencies or Toxicities
Orchids need the right balance of nutrients. Nutrient deficiencies or toxicities can cause the leaves to droop. Too much fertilizer can burn the roots, while too little can starve the plant. It’s all about balance.
I feed my orchid a balanced, diluted fertilizer every couple of weeks. Be careful not to overdo it. Less is more when it comes to feeding orchids. 🌿
What tips have you found helpful in keeping your orchid’s leaves perky? Share your thoughts in the comments! 😊🌸
Diagnostic Tips for Droopy Leaves
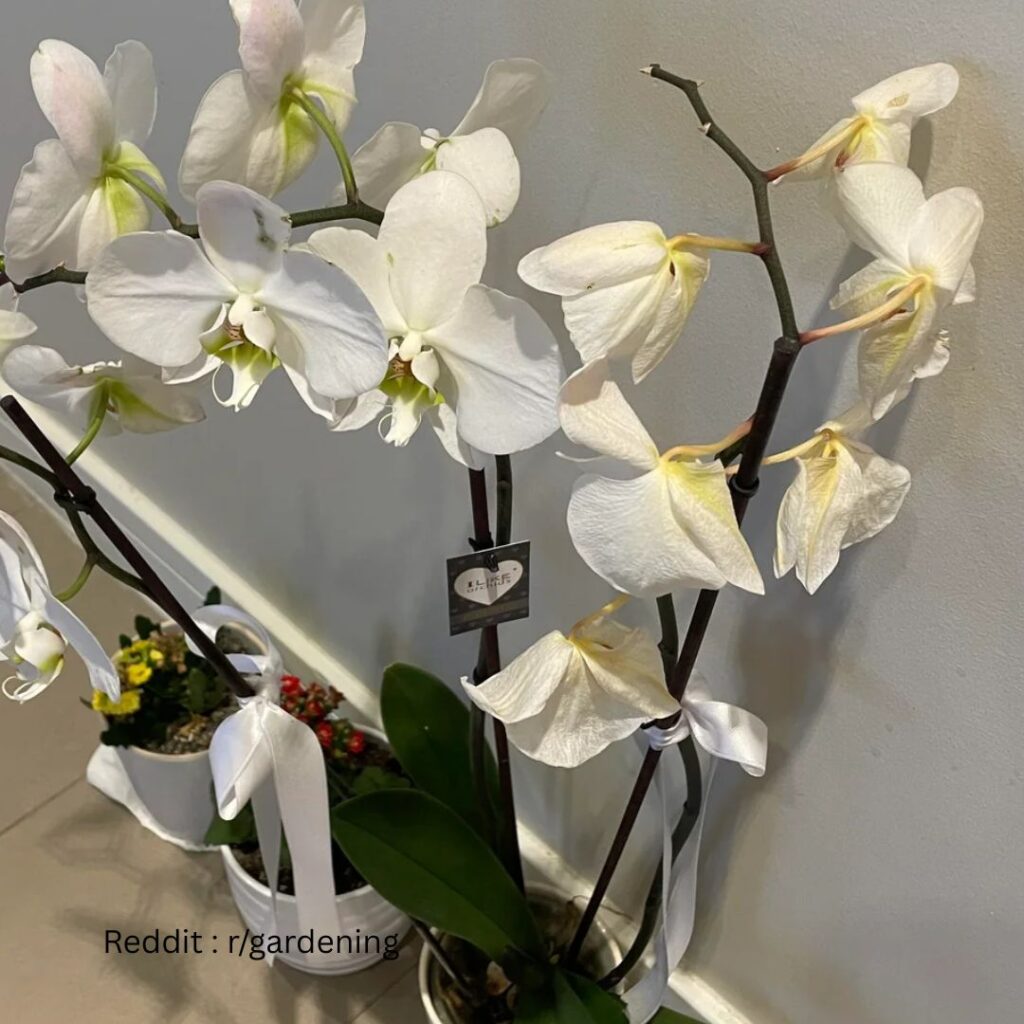
If your orchid has droopy leaves, don’t panic! It’s often just a sign that something needs adjusting. Here’s how we can get to the root of the problem and help our orchids thrive.
Examining Leaf Texture
Start by feeling the leaves. Are they soft and wilted? Soft leaves can mean underwatering. Orchids need a regular watering schedule, but they don’t like soggy roots. If the leaves are tough and leathery, you might be overwatering.
Also, check for blemishes or spots. Spots can indicate infections or pests. Spider mites, for instance, leave tiny dots on leaves. Do the leaves have a sticky residue? That could mean your plant has aphids. This texture and appearance tell a lot about what might be causing drooping.
Checking Root Health
Next, examine the roots. Healthy orchid roots are firm and green. Dead ones are brown or black, and they feel mushy. If you notice an unpleasant smell, root rot might be the culprit. 😓 It’s vital to cut away any dead roots with sterilized scissors.
Healthy roots mean good air circulation and proper watering. Orchids get nutrients through these roots, so keeping them healthy helps avoid droopy leaves. Have you repotted your orchid recently? Sometimes, even a slight shift in the position of the roots can impact their health.
Assessing Potting Medium
Lastly, let’s talk about the potting medium. Orchids usually prefer a mix of bark, moss, or perlite. If the medium has broken down or compacted, it doesn’t drain well, causing root problems which can lead to droopy leaves.
Check if the potting medium feels dense and stays too wet. It should allow for good airflow. A good trick: poke your finger into the medium about an inch deep. It should be damp, but not soaking wet.
Try repotting your orchid every 1-2 years with fresh medium to maintain optimal conditions for your plant. This helps prevent moisture buildup, which can harm the roots and cause leaves to droop.
🌱 Have you faced any issues with your orchid? Share your experiences in the comments, and let’s help each other grow beautiful, healthy plants! 💚
Correct Watering Techniques for Orchids
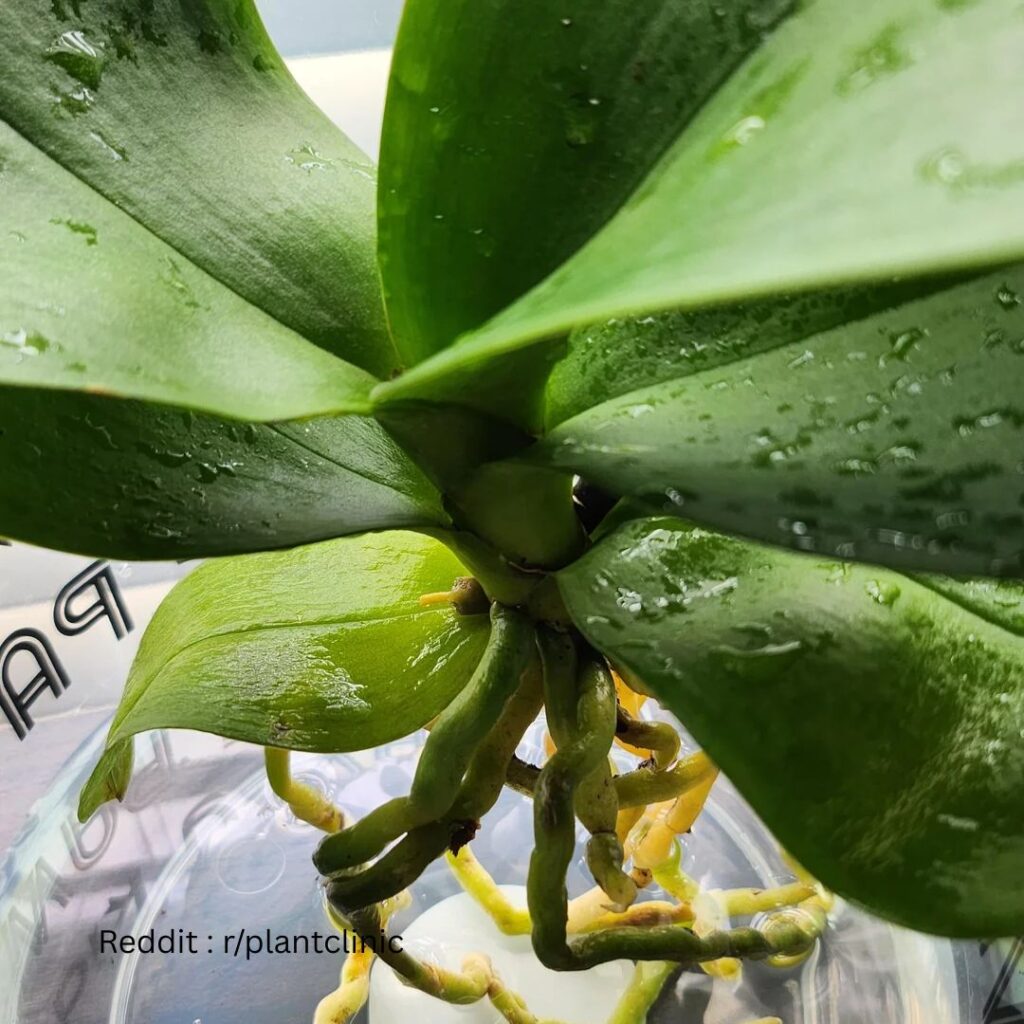
Watering orchids can be tricky. Too much water can cause soggy roots and drooping leaves, while too little can make them dehydrated. 🌱 Here’s what I’ve found works best:
I check the potting mix before watering. If it’s dry about an inch down, it’s time to water.
Using a spray bottle is great. Spray the roots until the water runs out of the bottom of the pot. This helps avoid overwatering.
Caring for orchids can feel like a balancing act. Remember, it’s better to underwater than overwater. Why? Orchids tolerate dryness better than being drenched.
Do you have any other tips for keeping orchids happy? Let’s chat in the comments! 💬
Ideal Environmental Conditions for Orchids
Growing orchids can be easy if you know a few key environmental needs. They thrive with the right light, temperature, humidity, and air circulation.
Light Requirements
Orchids need plenty of light, but not too much direct sunlight. Imagine sunbathing – a bit of sun feels good, but too much can burn! Place your orchid near a window with indirect sunlight. If your home is dark, a grow light can help.
- East or West-facing windows are ideal.
- Avoid placing them in direct sunlight for long periods.
- Too little light can cause leaves to become dark green, while too much light leads to yellow leaves.
Maybe even try a sheer curtain to filter the light. 🌞 How do you give your plants the right light?
Temperature and Humidity Needs
Orchids are like Goldilocks when it comes to temperature – not too hot, not too cold, but just right. They generally prefer daytime temperatures between 70°F – 80°F (21°C – 27°C) and cooler nights around 55°F – 65°F (13°C – 18°C).
- Keep them away from drafts or heating vents.
- Orchids love humidity! Aim for 50% to 70% humidity.
- Using a humidity tray or a room humidifier can help.
I often mist mine lightly in the morning. 🌿 Do you use a humidifier for your plants?
Proper Air Circulation
Orchids love fresh air, kind of like us! Make sure they have good air circulation, which helps prevent fungal diseases. Think about how nice it feels to open a window on a breezy day.
- Use a small fan to keep the air moving.
- Don’t overcrowd your orchids, as they need space to breathe.
- Place them in a room where air flows naturally.
Ever notice how stuffy rooms feel? Orchids dislike that too. 💨 How do you keep air flowing for your plants?
Would love to hear your thoughts or any tips you have! Drop a comment below! 🌸
Repotting Orchids for Healthier Growth
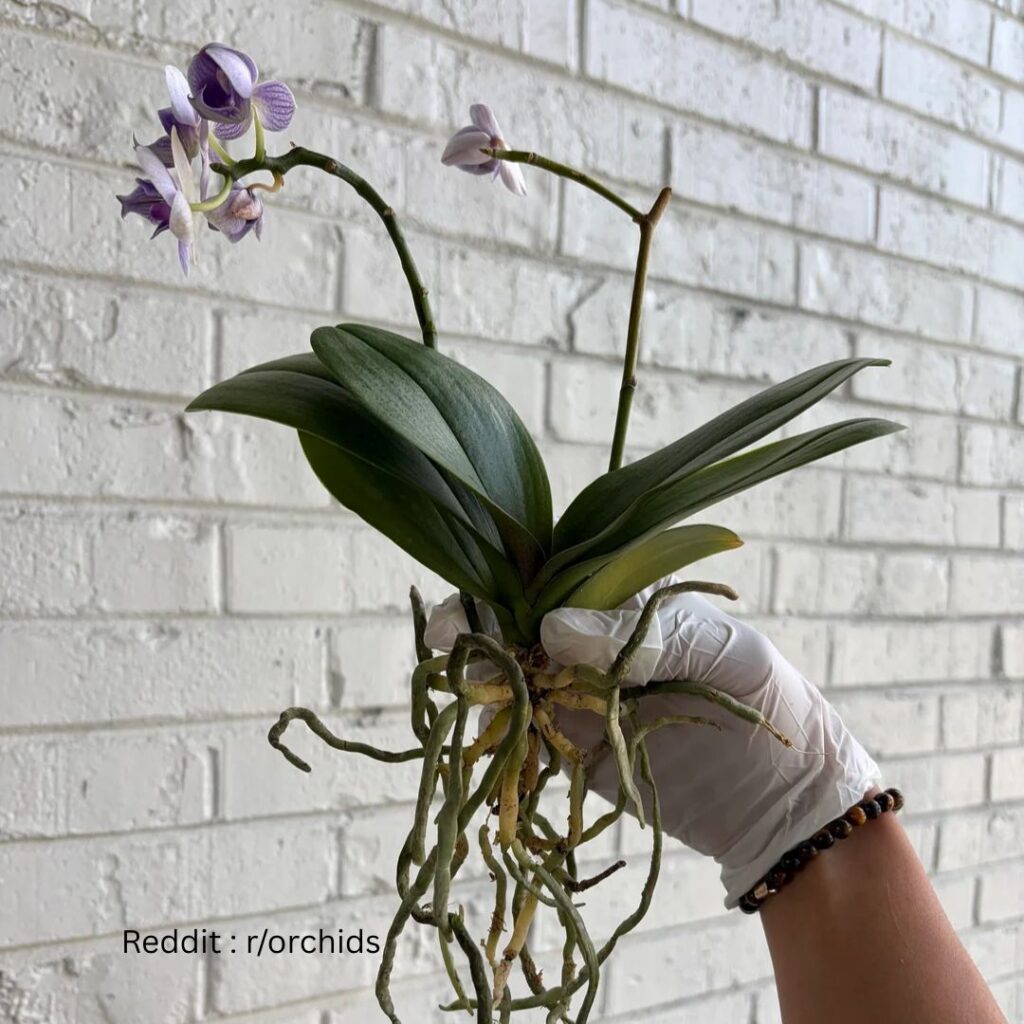
Ever notice your orchid leaves drooping like they just aren’t happy? 🌿 Sometimes, they just need a new home. Repotting can make a big difference!
First, check the roots. Healthy roots are firm and white or green. If they’re brown or mushy, it’s time for a change.
Here’s my quick guide to repotting:
- Choose the right pot: Select a pot that’s 1-2 inches larger than the current one. Orchids like to be snug!
- Use the right mix: Orchids love bark, moss, or a special orchid potting mix. Dirt is a no-go!
- Gently remove the orchid: Squeeze the pot to loosen the roots. Be gentle to avoid damage.
- Trim the dead roots: Use clean scissors to cut away any brown or soft roots.
- Position the orchid: Place it in the new pot, spreading out the roots.
- Add your mix: Fill around the roots, ensuring the plant is stable.
- Water lightly: Give your orchid a small drink to help it settle in.
Isn’t it amazing how something as simple as repotting can give an orchid a fresh start? 🌸 Have you tried repotting your orchid before? Share your experience in the comments!
Remember, happy roots mean happy leaves! Keep an eye on your orchid, and soon you’ll see those leaves perking up. 🌼✨
Choosing the Right Fertilizer
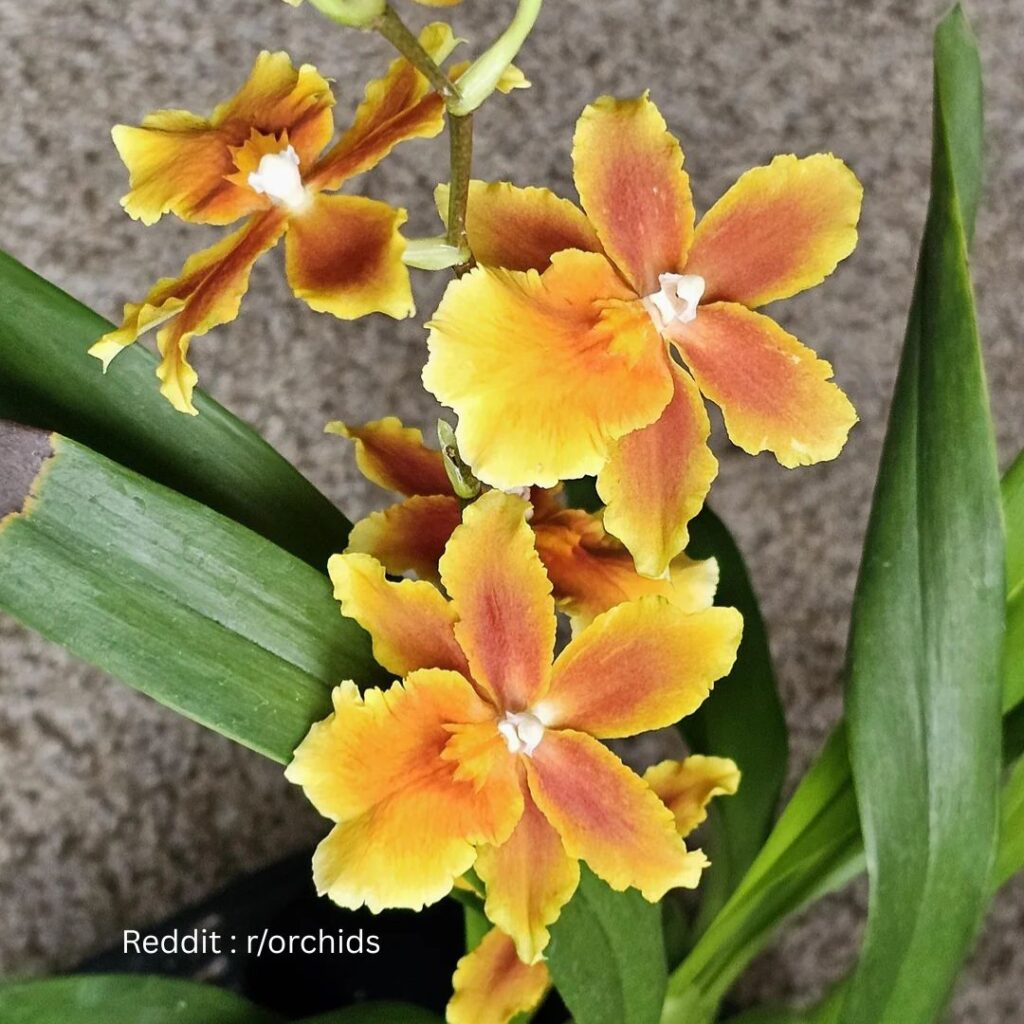
Picking the right fertilizer for orchids can make a big difference in their health.
I always go for a balanced fertilizer with equal parts nitrogen, phosphorus, and potassium. A 10-10-10 or 20-20-20 mix usually works well.
Tip: Orchids don’t need a lot of fertilizer. Less is more! 😉
Every two weeks is enough. Did you know that too much fertilizer can cause leaf burn? 😱
If you’re unsure, look for an orchid-specific fertilizer. They often have the right mix for these plants.
Quick example: I tried a balanced fertilizer on my orchid, and the leaves stopped drooping. Have you had a similar experience? Tell me in the comments! 💬
Here’s a little table to guide you:
| Fertilizer Type | Balanced Ratio | Frequency |
|---|---|---|
| General | 10-10-10 | Every 2 weeks |
| Orchid-specific | Custom mix | Every 2 weeks |
Pro tip: Mix it at half-strength. Your orchid will thank you! 🌸
Ever mixed your own fertilizer? Share your tips below! 🌿
Practical Steps to Revive Drooping Orchid Leaves
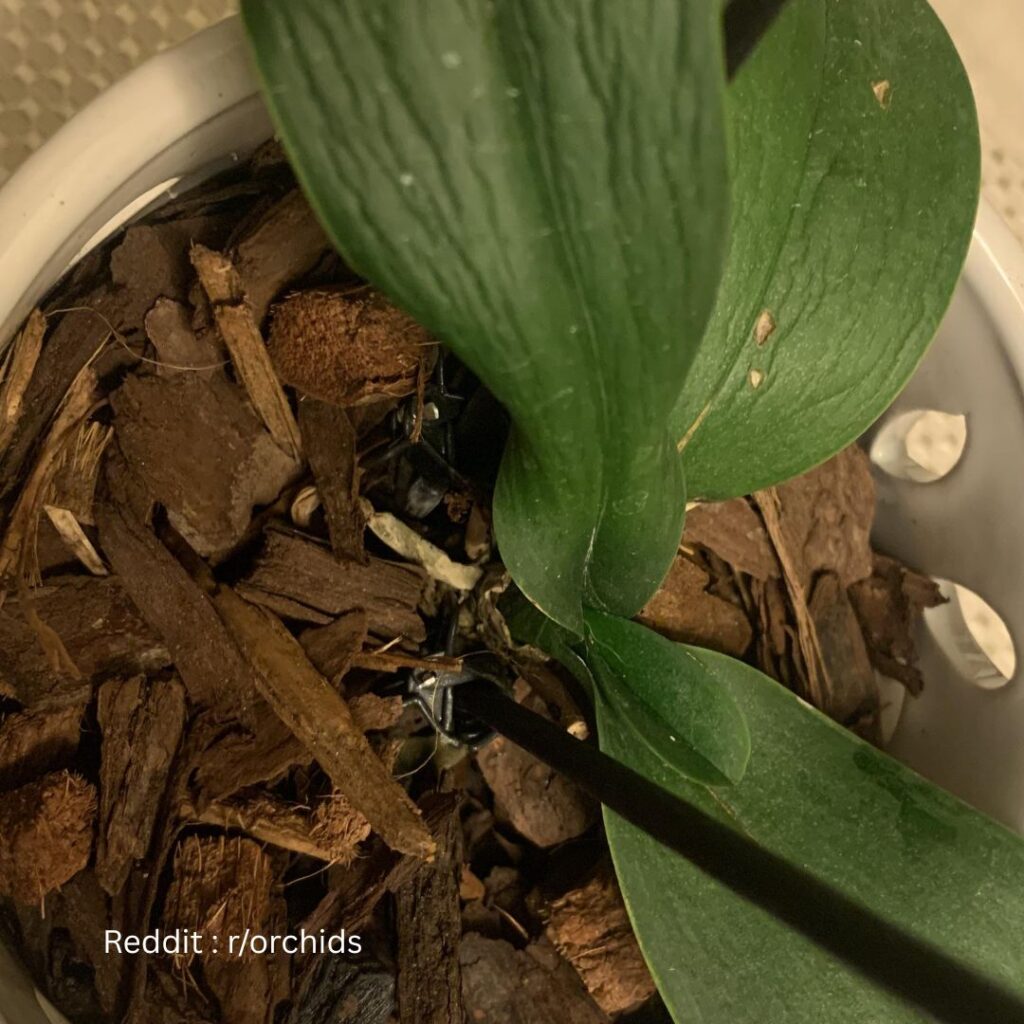
Ever notice your orchid leaves drooping? Don’t worry; I’ve been there too! Orchids can be finicky, but with some easy steps, we can bring those leaves back to life.
First things first, let’s check the watering routine. Overwatering can drown the roots, while underwatering can dry them out. I always make sure to water my orchids once a week and let the water drain completely.
Next, think about the light. Orchids love bright, indirect light. Too much direct sunlight can scorch the leaves. I place mine near a window with sheer curtains to filter the sunlight.
Humidity is another big deal. Orchids thrive in humid environments. I like to mist my orchid leaves every other day. Or, you can use a humidity tray. Just fill a tray with water and pebbles, then place your orchid pot on top.
Don’t forget about fertilizing! Orchids need nutrients to stay healthy. I feed mine with a balanced orchid fertilizer every 2-4 weeks. Just follow the instructions on the fertilizer packaging.
Lastly, inspect for pests. Sometimes tiny insects like aphids can cause drooping. I check my plants regularly and use a mild insecticidal soap if needed.
Have you tried these tips? 🌱 Do you have any tricks that work for your orchids? Drop a comment and let’s chat! 😊
Long-Term Orchid Care and Maintenance
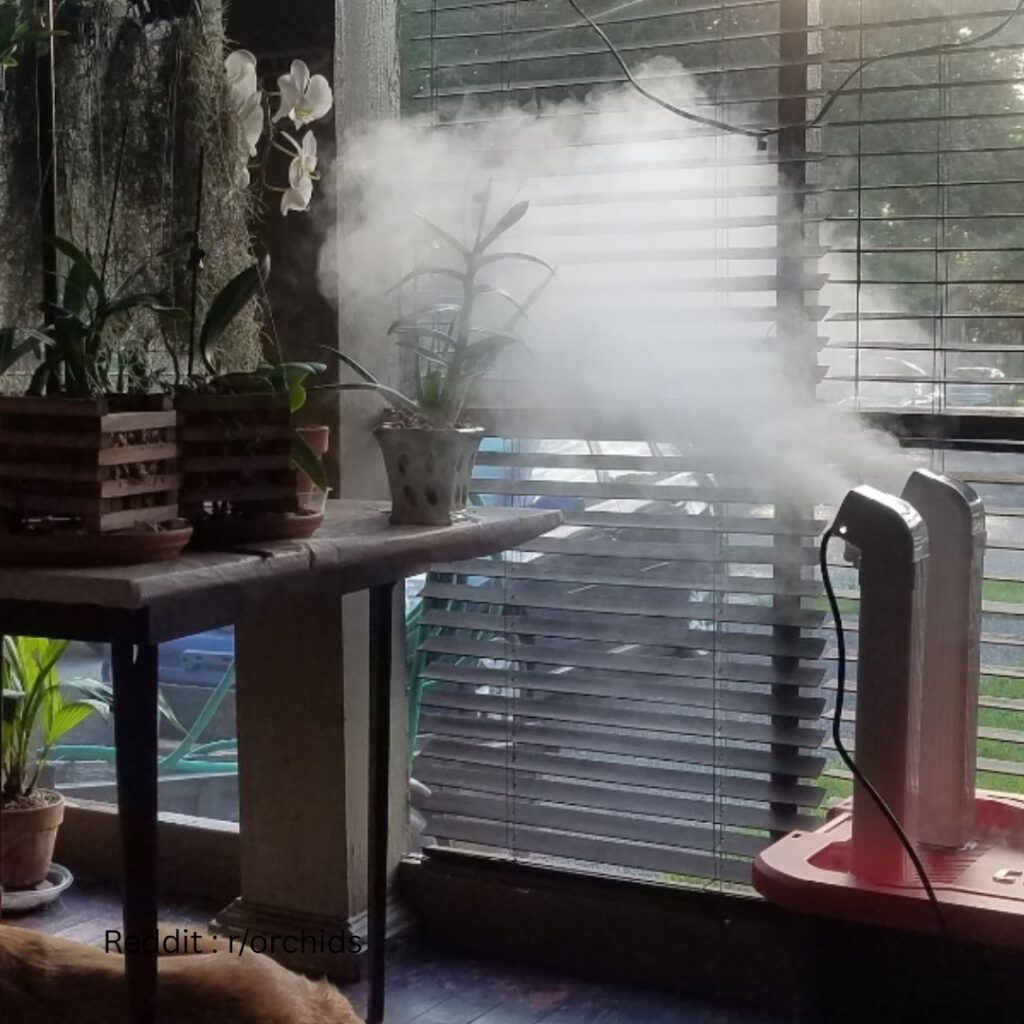
Taking care of orchids over the long term can be a fun and rewarding experience! 🌺
Watering: Orchids like their roots to dry out between waterings. I usually water mine every 7-10 days. If the roots look gray or white, it’s time for a drink! 🚿
Lighting: These plants love bright, indirect light. I place mine near a window with filtered sunlight. 🌞 Direct sunlight can burn the leaves.
Humidity: Orchids thrive in humidity, about 50-70%. If your home is dry, a humidifier or a pebble tray with water can help. 💧
Feeding: Feed your orchid a balanced fertilizer every couple of weeks. Look for one labeled for orchids. I always follow the instructions on the package to avoid overfeeding.
Repotting: Orchids need repotting every 1-2 years. I check for crowded roots and old potting media. Spring is a great time for this task!
Pests: Keep an eye out for pests like aphids or spider mites. If I spot any, I gently remove them with a damp cloth or use insecticidal soap.
Pruning: Trim any dead or yellow leaves with clean scissors. This helps the plant stay healthy and focus its energy on new growth.
Ever had an orchid with drooping leaves? It happens to all of us! Share your tips or questions below! 🌸💕🙏
Remember: Orchids might be a bit picky, but with love and patience, they will reward you with beautiful blooms. 🌼 Keep nurturing your green friends and watch them thrive! 🌿
Who else is an orchid enthusiast here? Share your stories and let’s chat! 💬🌲
Frequently Asked Questions
Troubles with orchid leaves can be frustrating, but don’t worry. I’ve got answers to some common questions that can help you keep your orchid leaves healthy and vibrant. 🌸
Why do orchid leaves become limp and how can I revive them?
Orchid leaves can become limp due to lack of water or overwatering. Check the roots; if they’re brown and mushy, you’ve overwatered. If they’re shriveled, they need more water. Make sure to water them just enough and not too often.
How should I care for orchid leaves that are drooping after repotting?
Repotting can stress your orchid. Make sure the new pot has good drainage and the orchid gets enough light but not direct sunlight. Also, avoid overwatering during this period. A little TLC and patience go a long way! 🌿
Can wilted orchid leaves be restored to their original state?
Wilted leaves may not fully bounce back, but improving care can help your orchid overall. Focus on the right amount of water, light, and fertilizer. Healthy new leaves will start to grow, showing you’re on the right track.
Why are my orchid’s leaves wilting and turning yellow?
If your orchid’s leaves are wilting and turning yellow, it’s likely due to overwatering, underwatering, or not enough light. Inspect the roots and adjust care as needed. Proper care helps prevent these issues.
Is it necessary to trim off limp leaves from my orchid plant?
You don’t need to trim limp leaves unless they’re yellow or brown and dead. If you do trim, use sterilized scissors to avoid spreading disease. It’s more important to adjust watering and lighting to help the plant recover.
What are the signs of overwatering in an orchid?
Overwatering signs include brown, mushy roots, yellowing leaves, and mold on the potting medium. With overwatering, let the plant dry out and reduce the frequency of watering to avoid root rot.
Have you dealt with drooping orchid leaves? Share your experiences and tips in the comments below! 😊🌺