
Chrysanthemums really fill out and brighten up when I prune them at the right moments. If I let them go, they get tall, thin, and just flop over.
I prune chrysanthemums by pinching back new growth in late spring and early summer, cutting stems to shape the plant, and deadheading spent blooms to keep flowers coming.
I always keep an eye on the season—timing makes a real difference. In warmer places, I start early, but in cooler spots, I wait for steady new growth.
With potted mums, or if I’m growing a different variety, I tweak my approach. I’ve made my share of mistakes, but learning what slows them down helps a lot.
Quick Tip: I stop heavy pruning by mid-summer so my chrysanthemums can set buds for fall blooms.
Essential Pruning Times Throughout the Year
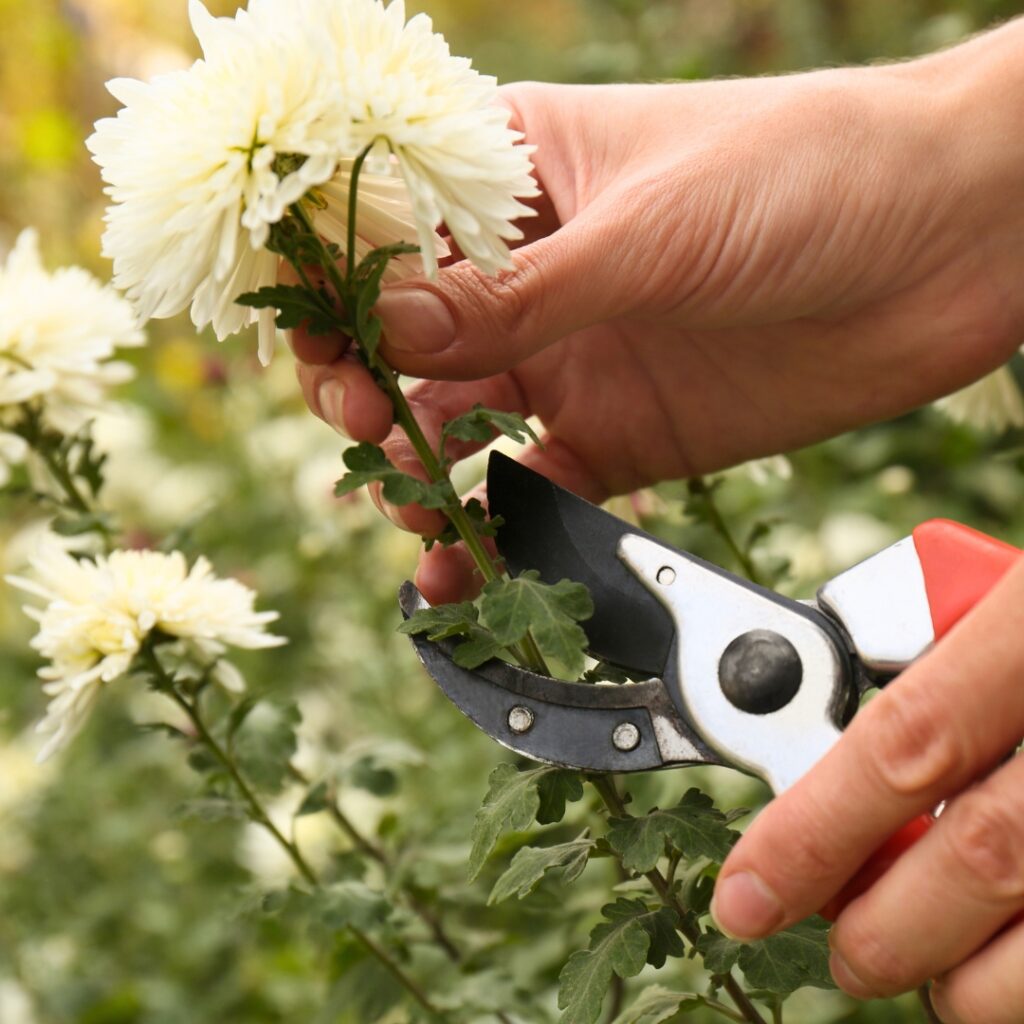
I prune chrysanthemums at three main times each year. Each round of cuts shapes the plant, keeps it from stretching too tall, and sets up bigger blooms.
Early Spring Shaping and Cleanup for Strong, Tidy Growth
Once I spot new green shoots at the base in early spring, I grab my shears. This usually comes after the last hard frost in my area.
For hardy mums, I wait until growth hits about 2–3 inches tall. Then I cut away all the dead stems from last year, trimming down to just above the new shoots.
Old stems snap off easily—they’re dry and brittle. If I find any mushy, dark, or soft spots, I cut those out too.
Sharp, clean shears matter here. I always wipe them down before I start, just to play it safe.
This shaping keeps the plant compact and pushes energy into new stems instead of old wood.
Quick Tip: If you’re gardening where late frosts happen (like Zone 5), wait until that risk is gone. A surprise freeze can really mess up new shoots.
Summer Pinching for Bushier Blooms and Fuller Garden Mums
From late spring through early summer, I pinch back the tips of growing stems. I usually stop by mid-July, since pinching later can delay fall flowers.
Using my fingers or tiny snips, I take off the top inch of each stem right above a set of leaves. This makes the plant branch out.
More branches, more flower buds—it’s that simple. The plant stays shorter, denser, and doesn’t flop over.
I repeat this every couple of weeks while the stems are still stretching. Hardy garden mums really respond to this.
If I see a stem that’s already thick and sturdy, I sometimes leave it be. I focus on the ones that look leggy.
Quick Tip: Once you spot tiny round buds at the tips, skip the pinching—let those grow.
Post-Flowering Cutback and Winter Prep to Protect Hardy Garden Mums
After the fall blooms fade, I decide how much to cut. In milder climates, I cut stems down to 6–8 inches.
In colder zones, I leave the stems standing through winter. The dry tops catch snow and help insulate the crown.
When frost turns leaves black and limp, I trim back the damaged parts and clear away fallen leaves from the base.
For mums I treat as annuals, I cut them low and toss them in the compost if they won’t survive the winter.
Quick Tip: If your winters are rough, wait until early spring to cut hardy mums to the ground. The extra stem length acts like a winter coat.
Step-by-Step Guide to Pinching and Cutting Back
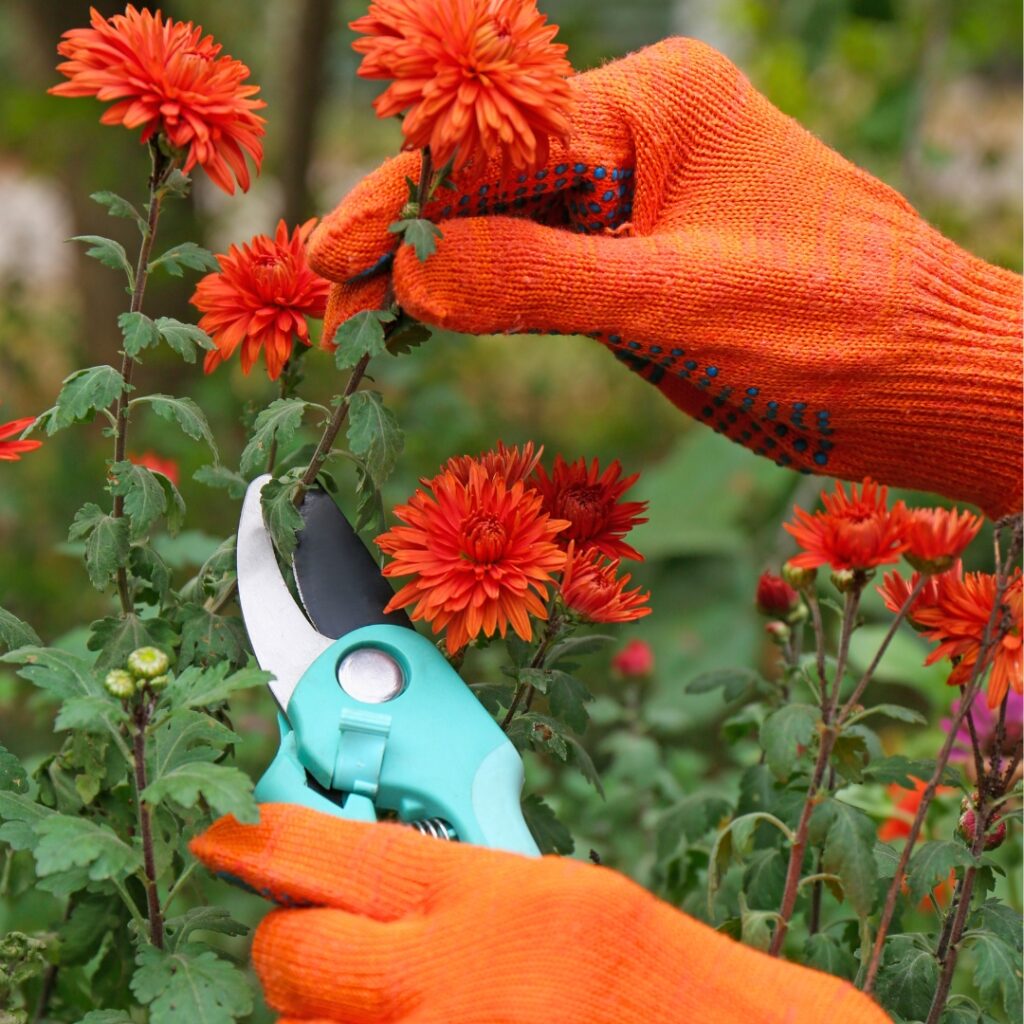
I use pinching and cutting back to keep mums bushy, compact, and loaded with blooms. The right cuts at the right time make a huge difference.
How to Pinch New Growth Properly for Bushier, Fuller Plants
When new shoots reach about 4–6 inches tall in late spring, I start pinching. I look for soft, healthy green tips.
With my thumb and forefinger, I snap off the top 1 inch just above a leaf set. The stem feels firm but still tender.
This forces side shoots to grow from the leaf nodes below the cut, giving me more stems and buds. If I skip this, the plant just stretches up and gets floppy.
I keep pinching every 2–3 weeks until early July, sometimes stopping sooner in colder zones. Early-blooming varieties don’t need as much pinching.
Quick Tip: Mid-summer is my cutoff for pinching, or I risk cutting off the forming flower buds.
Cutting Back Stems After Flowering to Keep Plants Strong
Once flowers fade, I snip off spent blooms first, cutting each stem back to the first set of healthy leaves.
When the whole plant is done blooming, I cut stems down to about 3–4 inches above the soil, always using sharp, clean pruners.
Pruning after flowering helps the plant rest and store up energy in its roots. It also keeps my beds looking tidy through the cold months.
In mild climates, I sometimes wait until spring to cut back fully, since old stems can help protect the crown. In colder places, I mulch lightly after cutting back.
Quick Tip: Always cut on a dry day—wet stems just make it easier for disease to spread.
Disposing of Pruned Material Safely to Prevent Pests and Disease
I never leave piles of cut stems near my mums. Old plant bits attract bugs and can hold onto fungal spores.
If everything looks healthy, I toss the cuttings into my compost pile, chopping thick stems so they break down faster.
If I spot black spots, mushy stems, or mildew, I bag that stuff and throw it in the trash—never the compost. Keeps the rest of my garden safe.
After pruning, I wipe my pruners with rubbing alcohol. It only takes a minute and helps stop problems from spreading.
Quick Tip: Bag and remove any diseased material the same day you prune.
Deadheading Chrysanthemums for Continuous Blooms
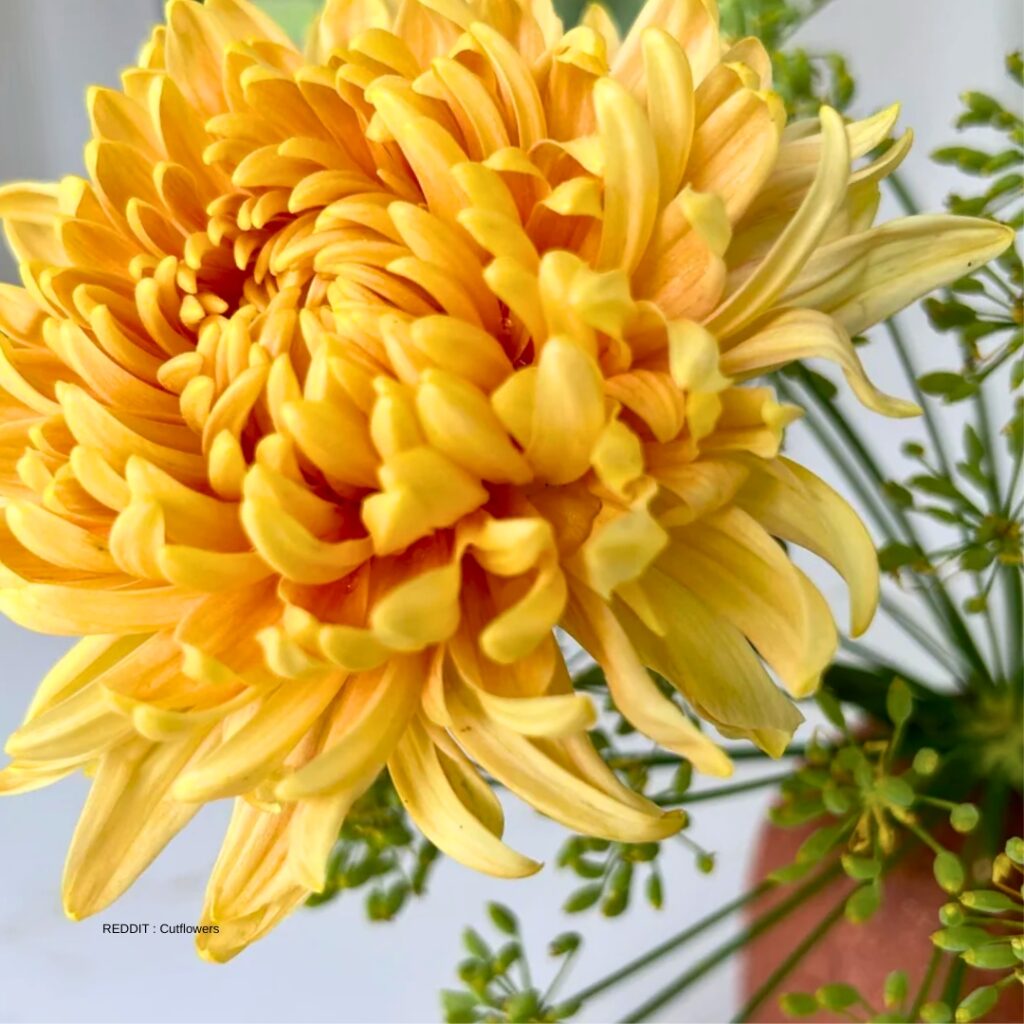
Deadheading keeps mums looking tidy and encourages more blooms instead of seeds. I remove faded flowers often to keep things fresh.
Recognizing Spent Flowers Before They Slow Down New Buds
I watch for blooms that have lost their color. Petals get dull, dry, or curl at the edges, and sometimes the centers turn brown first.
If a flower feels papery and thin when I touch it, it’s probably done. Fresh blooms are firmer and a bit springy.
Sometimes, old blooms sit right on top of new buds. I move petals aside to check for small green buds underneath.
Quick Tip: If a flower looks tired or brown, I pull it so energy goes to new buds, not seeds.
Cool fall weather makes blooms last longer, but hot spells in warm zones will speed up fading. I try to check every few days during peak bloom.
Proper Deadheading Techniques That Keep Chrysanthemums Neat and Blooming
For deadheading, I use clean fingers or small hand pruners. Soft stems pinch off easily just above the first set of healthy leaves.
If the stem feels thick, I snip it about a quarter inch above a leaf node or side bud. This helps the plant branch and set more flowers.
I don’t yank on the flower head—pulling too hard can tear the stem and mess up nearby buds.
Quick Tip: Always cut back to a leaf set, not just the flower head, or you’ll end up with dry, bare stems sticking up.
I clear away fallen petals as I go. It keeps air moving and helps prevent rot, especially when fall weather turns damp.
Special Care for Potted Chrysanthemums
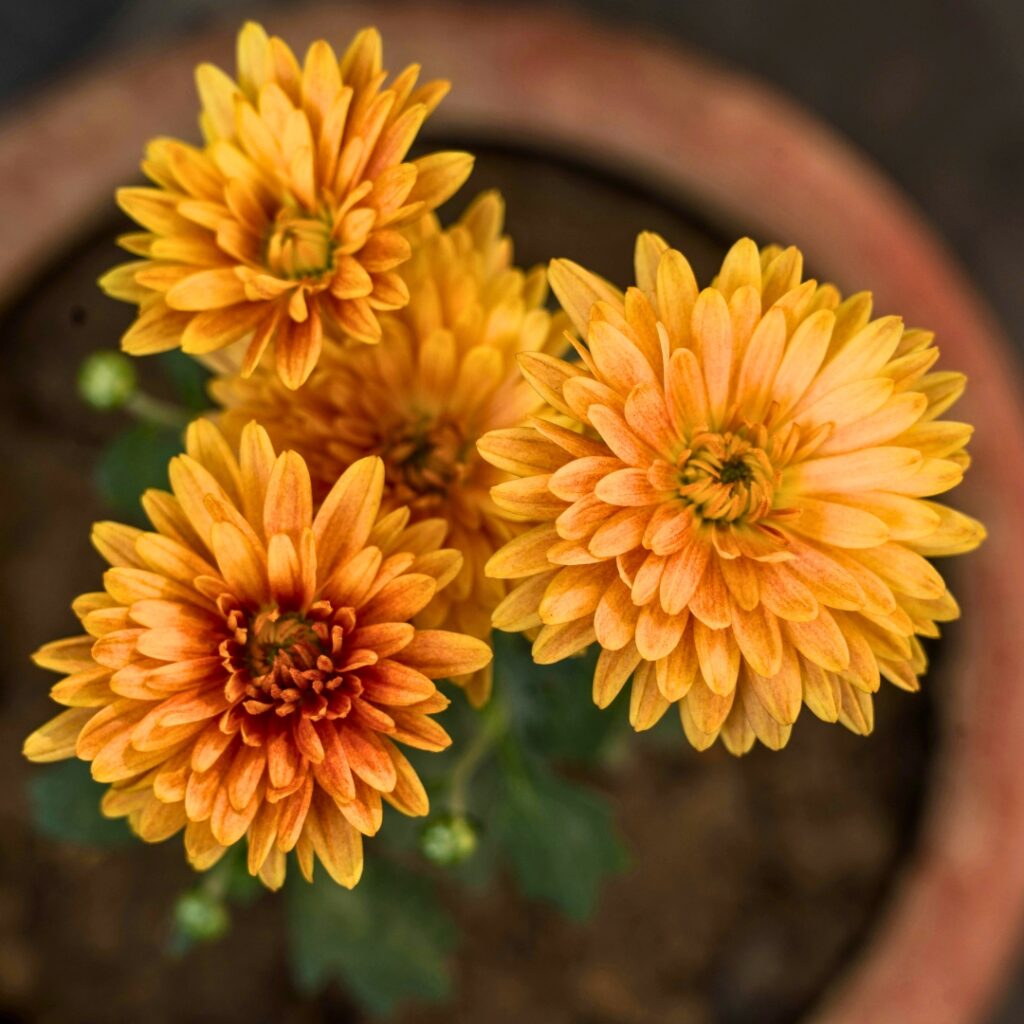
Potted mums dry out faster and have less room for roots, so I prune gently and pay close attention to watering and winter cold. A few tweaks keep them looking good and healthy.
Best Practices for Container Pruning to Keep Plants Compact and Blooming
I trim potted mums to control size and keep them bushy. Since roots are tight, I avoid heavy cuts all at once.
During active growth, I pinch soft tips with my fingers, removing about an inch of new growth above a leaf set. This encourages branching and more buds.
If stems get long and thin, I trim them back by about a third, always cutting just above a leaf node with clean scissors.
Quick Tip: I stop pinching by mid-summer (around July in most areas) so buds can set for fall.
After flowers fade, I deadhead right away, cutting stems down to the next healthy leaves. This keeps the pot tidy and helps the plant focus on new growth.
When I prune, I check the soil too. If the top inch feels dry, I water until it runs out the bottom. Mums in pots dry out fast, especially in heat.
Overwintering Potted Plants So They Survive Cold Weather
Potted mums get cold faster than those in the ground. Their roots are more exposed and frost can really hit hard.
After the first hard frost, I cut stems back to about 3–4 inches tall, leaving a stub so I can see where the plant sits in the pot.
Quick Tip: I move the pot to a sheltered spot—against the house or into an unheated garage—once nights drop below freezing.
In Zones 7 and colder, I wrap the pot with burlap or bubble wrap, or nest it inside a bigger pot and fill the gap with mulch. The idea is to keep roots cold, but not frozen rock solid.
Over winter, I water lightly maybe once a month if the soil feels bone dry. I keep it barely moist, definitely not soggy. When spring arrives, I move the pot back into light and start pruning again as soon as I see green shoots.
Choosing and Caring for Different Chrysanthemum Varieties

Not all mums act the same, so I adjust my pruning to fit the type I’ve got. Knowing the variety gives me better blooms, stronger stems, and plants that stick around longer.
Variety-Specific Pruning Needs for Florist Mums, Cushion Mums, and Specialty Types
Different mums react differently to pruning, so I always check the label before I start snipping.
Florist mums (usually in pots) bloom once and focus on big, showy flowers. I pinch them early to keep them compact, then cut back to 3–4 inches if I plan to overwinter indoors.
Cushion mums grow low and round. I pinch new growth at 4–6 inches tall in late spring to keep them dense and full.
Quick Tip: I stop pinching by mid-July in most climates so buds have time to form.
Specialty types, like spider or quill mums, tend to grow taller. I stake them early to keep stems straight. If I spot thin, weak shoots, I cut them out to push energy into the strong ones. Sharp shears are a must—crushed stems just don’t recover well.
Maximizing Performance of Hardy Garden Mums for Strong Roots and Full Fall Color
Hardy garden mums can handle winter in plenty of zones, but I always give them a hand. After the first hard frost turns their leaves black and mushy, I chop the whole plant back to about 3 inches tall.
I leave those trimmed stems as a sort of mulch. Then I throw on 2–3 inches of straw or shredded leaves if it’s a cold spot. In warmer places, I go lighter with mulch since soggy roots are a real problem.
Quick Tip: If your soil stays wet in winter, fix drainage before you even plant. Mums really hate soggy feet.
In spring, I watch for those little green shoots at the base. Once they hit 4 inches, I pinch off the tips—just a little.
I keep pinching every few weeks until early summer. That way, the plant thickens up with more stems and buds—exactly what you want for a big fall show.
Mistakes to Avoid for Healthy Growth
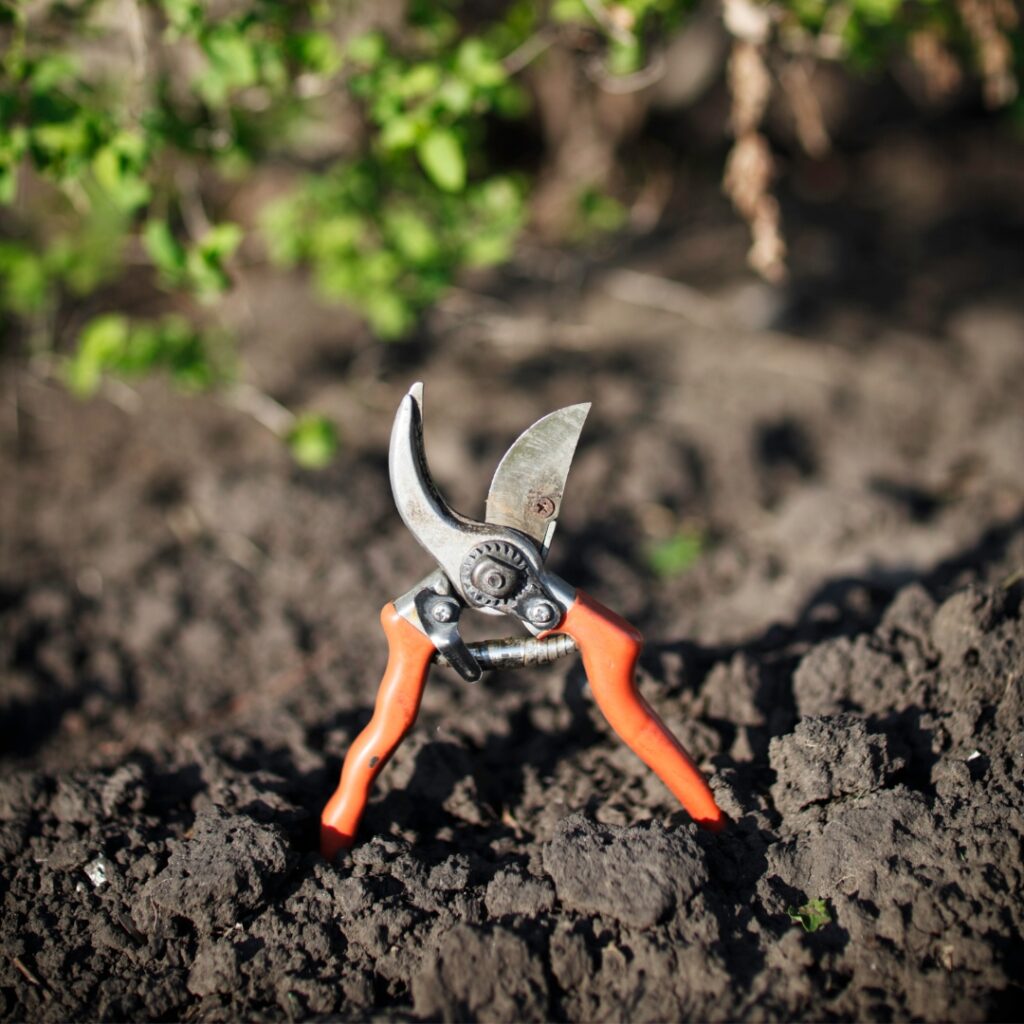
I see people make the same chrysanthemum pruning mistakes every season. Most issues come down to timing or taking off too much at once. A couple of quick checks can keep your mums full, sturdy, and loaded with blooms.
Common Pruning Errors That Reduce Blooms and Weaken Stems
I never prune mums too late in the season. If I snip after mid-summer, they often miss their chance to set buds for fall.
In colder zones (5–6), I stop any heavy pruning by early July. Warmer zones give a bit more wiggle room, but I still keep an eye on the calendar.
Cutting too low is another trap. If I take off more than the top inch or two when pinching, regrowth can get weak and spindly. I always cut just above a leaf node so new stems branch out right where I want them.
Dull or dirty shears? Big mistake. Crushed stems look rough and feel mushy, and that’s just begging for disease.
Quick Tip: I wipe down my pruners with rubbing alcohol and make sure every cut is sharp, right above a set of leaves.
Packed-in mums are another headache. When plants crowd together, air can’t move, and that still, damp air leads straight to mildew—especially in humid weather.
Signs of Over-Pruning and Recovery Tips to Help Chrysanthemums Bounce Back
Over-pruned mums look scrawny and worn out. I spot fewer leaves, sluggish growth, and a sad lack of flower buds.
If I see bare stems and hardly any leaves, I stop pruning immediately. The plant needs those leaves to rebuild energy.
I poke the soil too. If the top inch feels dry, I water deeply but don’t drown it.
Quick Tip: After a heavy prune, I go easy on the fertilizer—just a light feed—and make sure the soil stays evenly moist, never soggy.
During hot spells, I give the plant some afternoon shade if I can. Too much sun on a stressed, over-pruned mum just makes things worse. With steady attention, most mums will fill out again before bloom time, though sometimes it takes a little patience.
Frequently Asked Questions
I get asked all the time about the best way and time to prune mums without messing up next year’s flowers. Timing, weather, and how your plant’s growing all matter more than people think.
When is the best time to cut back mums for winter so they survive cold weather?
I wait until a hard frost takes the leaves down—usually late fall, somewhere around October or November in most zones—before I cut mums back.
I hold off because those old stems help shield the crown through winter. If I cut too soon, cold air sneaks in and stresses the plant.
I trim stems to about 3–4 inches above the soil and toss on a loose layer of mulch once the ground’s starting to freeze.
Quick Tip: In really cold zones (Zone 4 or colder), I leave stems until spring for extra protection.
How do I prune chrysanthemums after they finish flowering to keep plants neat and healthy?
Once blooms fade, I snip off each dead flower just above the first set of healthy leaves. That keeps things tidy and stops the plant from wasting energy on seeds.
If the whole plant looks worn out, I cut it back to about 6 inches. Always with clean, sharp pruners—no shortcuts there.
The stems will feel firm and a bit woody near the base. That’s totally normal. I just steer clear of cutting into the hard crown at soil level.
Quick Tip: Don’t let mushy, brown flowers hang around. They trap moisture and can start rot.
Should I prune chrysanthemums in the fall right after blooming or wait until spring for better growth?
For me, it depends on the winter. If it’s mild, I cut back in late fall after frost. If it’s a harsh winter area, I wait until spring.
Old stems catch snow and help shield the roots. When spring shows up and I see fresh green shoots, I cut away all the dead stuff to give new growth some space.
Quick Tip: If winter weather keeps flip-flopping, I leave stems until spring—less stress on the plant that way.
How do I prune chrysanthemums growing in pots or containers without shocking them?
Potted mums dry out fast and roots get stressed more easily. I prune lightly after flowering—never too hard.
I cut the stems back to 4–6 inches, then move the pot somewhere sheltered. Against a wall or in an unheated garage works in cold zones.
The soil should stay just a bit moist, not wet. I check every few weeks over winter, just to be sure.
Quick Tip: In really cold climates, I wrap the pot in burlap or move it indoors to a cool, bright spot.
Can I cut back my chrysanthemums right now without harming them if they look overgrown?
First, I check the season. In spring and early summer, I pinch or trim stems by 1–2 inches to shape things up.
Late summer or fall? I skip heavy pruning because it can cut off forming buds. If the plant’s just a bit leggy but still green, a light trim’s fine. But I never cut into woody, bare stems without leaves.
Quick Tip: I stop pinching by mid-July in most places, so buds have time to set for fall flowers.
How can I keep chrysanthemums from growing too tall or leggy during the season?
I pinch the tips every few weeks once spring rolls around. Usually, I take off about an inch of soft new growth from each stem.
This encourages the plant to branch out and get bushier. More branches usually means you’ll see more blooms later in the season.
I always make sure my mums sit in full sun. If they get less than six hours of direct light, they start to reach and lean, which just looks messy.
Quick Tip: I start pinching when plants hit about six inches tall, and I stop by mid-summer—otherwise, I risk ruining the fall buds.