
I like to propagate poinsettias (Euphorbia pulcherrima) from healthy stem cuttings, especially when I want more plants from a favorite holiday poinsettia. You can root poinsettia cuttings in a moist, well-draining medium if you keep them warm, give them bright indirect light, and maintain steady humidity.
I’ll walk you through when to take cuttings, how to pick a solid parent plant, and how to dodge rot while roots are forming. These Christmas flowers can be a bit dramatic about cold, soggy soil, or dry air, so a little extra care goes a long way.
Quick Tip: Take cuttings after the plant finishes blooming, when it starts sending out fresh green growth.
Best Time and Parent Plant Selection
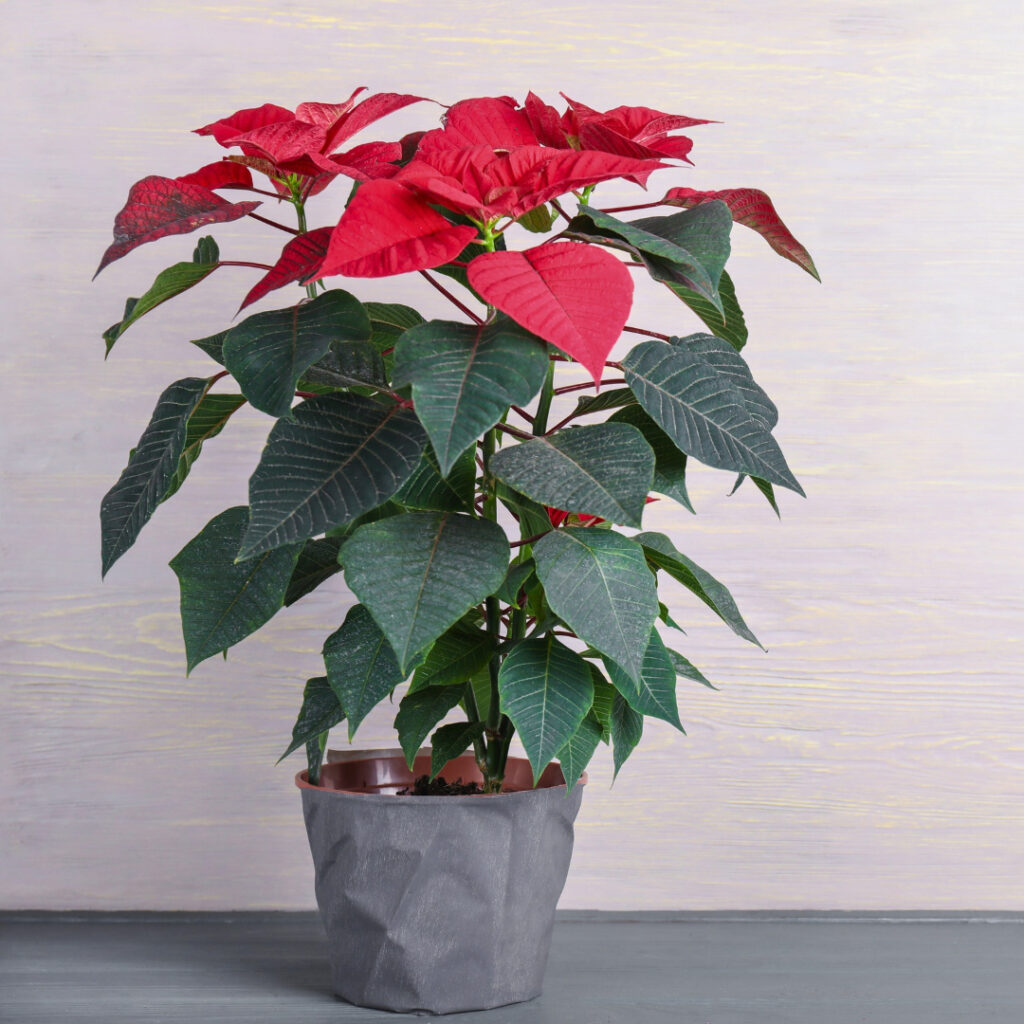
I always take cuttings when the parent plant is actively growing and pick stems that look firm, green, and free of pests. Timing and stem quality really make a difference for root success.
Why Late Spring to Early Summer Is Ideal
I usually propagate poinsettias in late spring or early summer, once the holiday blooms and colorful bracts have faded. That’s when the mother plant starts pushing out fresh green growth, which gives me better cuttings than old, woody stems.
Warm days and longer daylight help cuttings root. I wait until nighttime temperatures are above 60°F (16°C) if my plants are outside. If I’m in a cooler zone, I just start the process indoors near a bright window.
I avoid taking cuttings from a poinsettia that’s flowering, stressed, or drying out. Those stems are too busy trying to survive. I also skip very hot, dry weather—new soft stems wilt way too fast.
Quick Tip: I cut in the morning, when healthy stems feel crisp and full of moisture, not limp.
How to Choose Healthy New Growth
I always look for healthy new growth on a strong parent plant with clean leaves and firm stems. The best cutting is about 3 to 5 inches long, with a few leaf nodes—those little bumps where leaves meet the stem.
I check for green stems that bend a bit but don’t snap. If there’s an active apical bud (the growing tip), that’s usually a winner. I steer clear of pale, thin shoots, yellowed leaves, brown spots, sticky residue, or anything buggy.
I cut just below a leaf node, since roots pop out there. Then I strip off the lower leaves so they won’t sit in the rooting mix and rot.
Quick Tip: I only take a few cuttings from each mother plant, so it keeps enough leaves to bounce back and keep growing.
Supplies and Rooting Medium
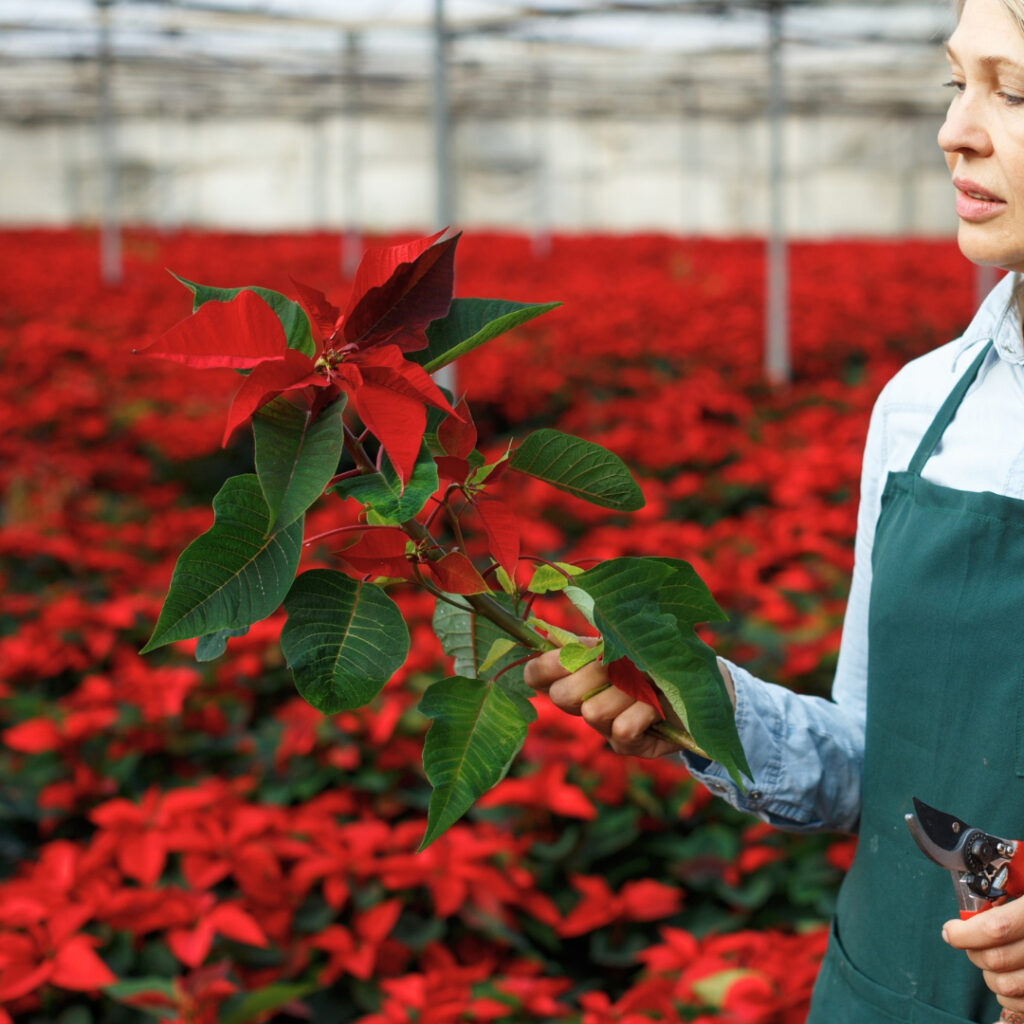
I use clean tools and small containers with drainage holes to keep rot away. A loose, moist mix gives poinsettia cuttings the air they need around their stems while roots get going.
Tools, Containers, and Cleanliness: Start With a Clean Cut
I grab sharp pruning shears or a clean knife for each cutting. Dull blades just crush stems and invite trouble.
Before I cut, I wipe the blades with rubbing alcohol or a household disinfectant. That sterilization step matters, because poinsettias can rot if germs sneak in through a fresh cut.
I use small starter cups or nursery pots with drainage holes. If I’m using plastic cups, I poke holes myself. Six-inch pots are too big for one cutting, but they work if I space a few cuttings apart.
Quick Tip: I label each cup with the date—poinsettia cuttings all look alike after a few weeks, and my memory isn’t perfect.
I dip the cut end in rooting hormone powder before planting. Rooting hormones help, but I just use a light dusting and tap off any extra. Too much powder can clump up on the stem.
Choosing a Light, Well-Draining Mix: Keep Roots Moist, Not Soggy
I skip heavy garden soil and regular potting soil for fresh cuttings. Those stay wet too long and pack down around the stem.
A well-draining potting mix is best. I usually grab a seed-starting mix or blend equal parts sphagnum peat moss (or coconut coir) with perlite. The mix should feel light and a little springy when you squeeze it.
| Material | What it does |
|---|---|
| Perlite | Adds air spaces and improves drainage |
| Peat moss or coconut coir | Holds gentle, even moisture |
| Vermiculite | Holds water; use a small amount only |
I moisten the rooting medium before filling the cups. It should feel like a wrung-out sponge—not dripping wet, just damp.
Quick Tip: I don’t use floral foam for poinsettia cuttings. It stays too wet and makes it tough to check root health.
Taking and Preparing the Cuttings

I go for firm, healthy stems and cut at the right spot to give new roots a solid start. I also deal with that sticky sap before using rooting hormone.
Making a Clean Cut Below a Leaf Node for Stronger Roots
I pick healthy stems with no yellow leaves, mushy spots, or pests. For poinsettia cuttings, I want a stem about 3 to 5 inches long with several leaf nodes.
I clean my sharp pruning shears with rubbing alcohol, then make a clean, angled cut about 1/4 inch below a leaf node. Roots love to form at those nodes.
I strip the leaves off the lower half of each stem. I leave two or three small leaves at the top so the cutting can still make energy, but I make sure nothing’s left that’ll sit in the growing mix.
Quick Tip: I cut in the cool morning, before the heat dries out the stems. If it’s hot or I’m in a warm zone, I stick the cut stems in the shade right away.
Managing Milky Sap and Applying Hormone Without a Sticky Mess
Fresh poinsettia cuttings ooze a white, milky sap. I rinse the cut end under cool filtered water for a few seconds, then let it drip dry. That helps stop the sap from sealing up the cut and slowing root growth.
I don’t soak the stems long—too much water softens the end, and soft stems rot fast.
Next, I dip the bottom inch of the cutting into rooting hormone powder. I tap off any extra; a thin layer is plenty. More rooting hormone doesn’t make poinsettias root faster.
Quick Tip: I keep rooting hormone in a tiny separate cup instead of dipping cuttings in the main container. That keeps moisture and sap out of the powder.
Planting and Creating the Right Rooting Environment
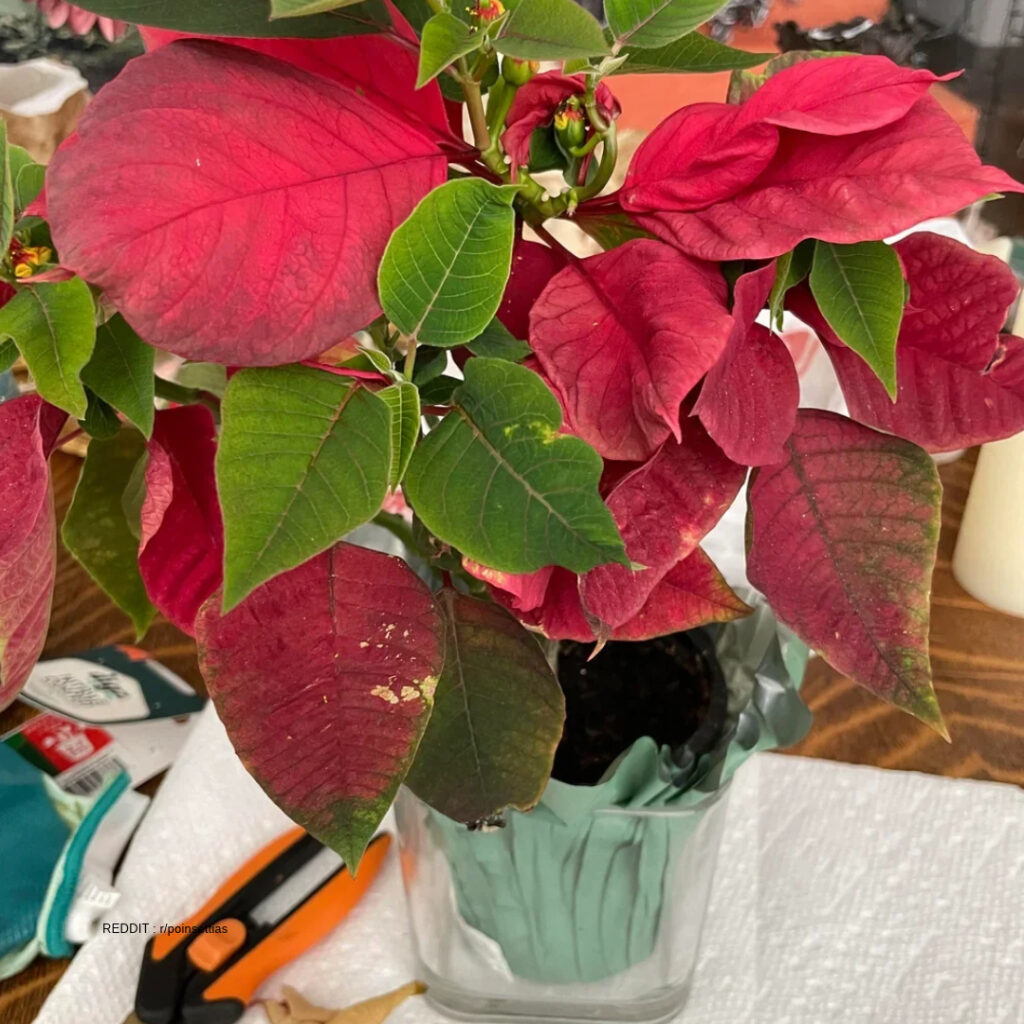
I plant each cutting at the right depth, then keep the medium moist, warm, and humid. Gentle light and some fresh air help roots form without drying out or rotting the stem.
How Deep to Plant Each Cutting for Steady Root Growth
I fill a small pot with a light, moist rooting medium that drains well. Seed starting mix or perlite mixed with peat moss works for me. The pot has to have drainage holes; soggy soil will rot a poinsettia cutting in no time.
I poke a hole with a pencil before planting. Then I drop the cutting in about 1 to 1½ inches deep, with at least one bare leaf node under the surface. Roots shoot out from those nodes.
I press the medium gently around the stem so it stands up straight, but I don’t pack it tight. A light watering is enough—just so the medium is evenly moist, not wet or shiny.
Quick Tip: If the cutting wobbles, I firm the soil around the base rather than shoving it deeper.
Light, Temperature, and High Humidity Without Rotting Cuttings
I put my cuttings in bright indirect light. A north- or east-facing window usually works, or I’ll use a grow light a few inches above. Direct sun heats up the plastic cover and can scorch the leaves.
I keep the temperature between 65°F and 75°F. I avoid cold windows, vents, or drafts. In chilly weather, I move pots away from the glass at night.
High humidity keeps leaves from drying out before roots form. I cover the pot with a clear dome or a loose plastic bag propped up with sticks. The leaves shouldn’t touch the plastic.
I open the cover for a few minutes every day for air. If I see heavy condensation, I wipe it off or crack the cover. Too much trapped moisture leads to mold.
Quick Tip: I check the rooting medium every day. If the top feels dry, I add a splash of water—never enough to turn it muddy.
Monitoring Root Growth and Potting Up
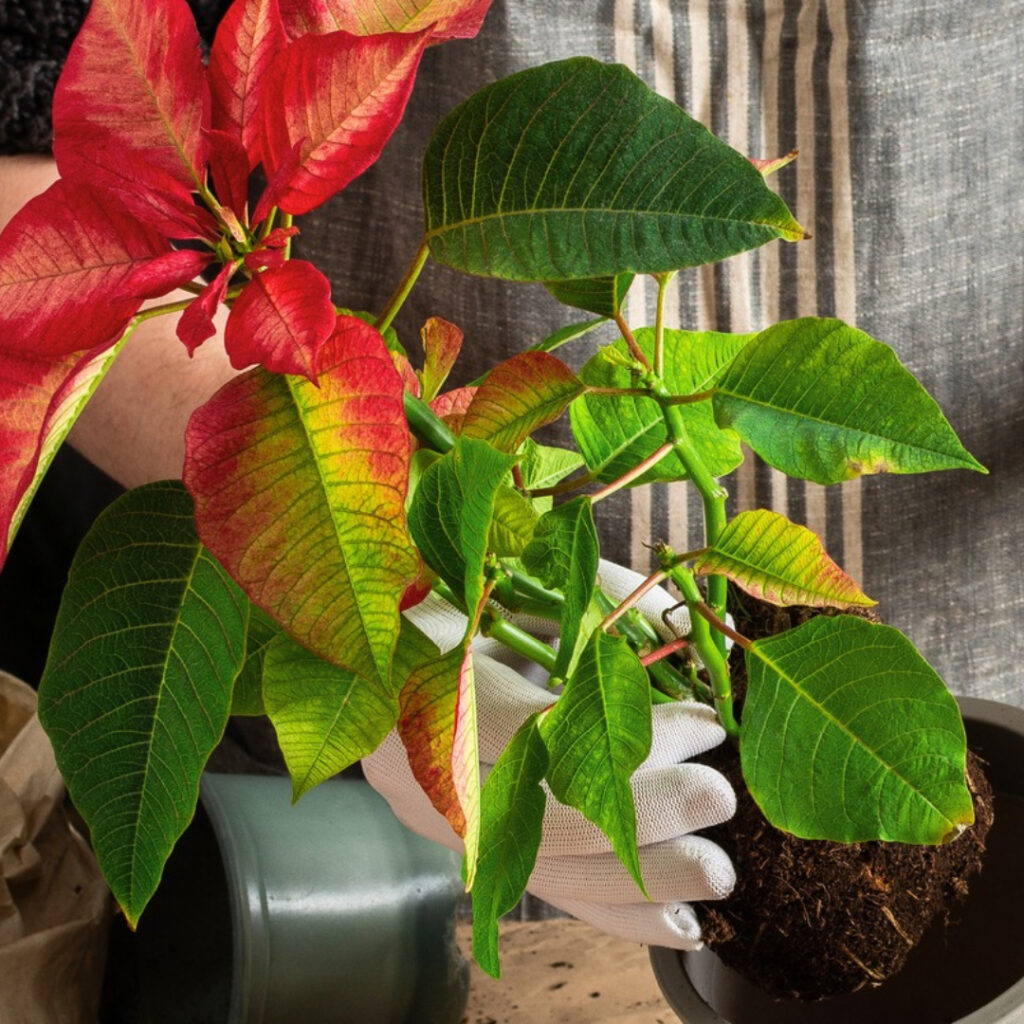
I watch for healthy roots before moving cuttings to bigger pots. Gentle handling and a loose, well-draining mix help new plants settle in without stress.
How to Tell When Cuttings Have Rooted and Are Ready to Move
I usually check for root growth three to six weeks after planting poinsettia cuttings. Timing depends on warmth and light—cuttings root slower in cool rooms or on short, gray days.
I give the cutting a gentle tug at its base. If there’s resistance, roots have started growing. I don’t yank—new roots snap easily.
I also watch for:
- New leaf growth at the tip
- A cutting that stays upright and firm
- Fine white roots peeking out drainage holes or along the pot’s edge
- Soil drying a bit faster as the roots fill in
Quick Tip: I move cuttings once roots hold some soil together, but before they circle tightly around the container.
Transplanting Without Damaging the Young Root System
I prep a six-inch pot with drainage holes and fill it partway with fresh, well-draining potting mix. Houseplant mix works; I avoid heavy garden soil since it stays too wet for young roots.
I water the cutting’s current pot first, then tip the whole root ball out, supporting the stem between my fingers. I keep the soil around the roots—no need to tease them apart.
I set the rooted cutting at the same depth it grew before, then add potting soil around the sides. I press gently to get rid of big air pockets and water until a little drains from the bottom.
Quick Tip: I keep the pot in bright, indirect light for about a week after transplanting. If I’m in a warm outdoor zone, I protect it from harsh sun and wind until it’s growing again.
Avoiding Common Propagation Problems
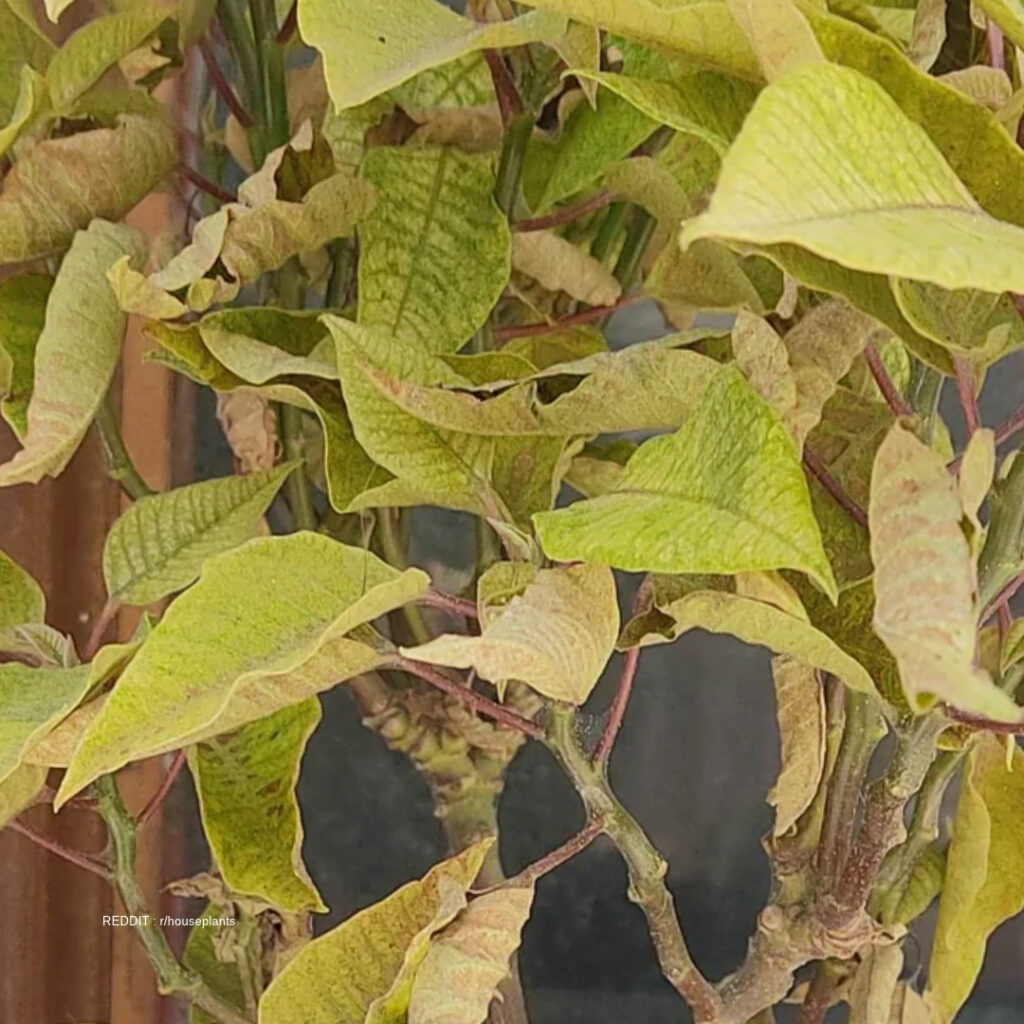
I keep cuttings warm, lightly moist, and clean to avoid most early problems. Good airflow and regular check-ins help stop pests or moisture issues before they get out of hand.
Preventing Rot, Fungus, and Leaf Drop Before They Spread
Overwatering is the quickest way to trigger root rot in poinsettia cuttings. I use a small pot with drainage and a light mix, watering only when the surface feels dry. The mix should be damp, not soggy or muddy.
Quick Tip: If water sits in the saucer more than 10 minutes, I pour it out.
A humidity dome or loose plastic bag helps cuttings hold moisture, but too much wet air invites fungus. I make sure covers don’t touch leaves and open them daily for air. That keeps things fresh.
If I spot yellow, soft, or spotted leaves, I remove them right away. Leaf drop can happen if the cutting stays too wet, gets cold, or dries out suddenly. I keep it in bright, indirect light and away from cold windows or blasting vents.
Managing Pests and Moisture Issues Without Soaking the Cutting
I check the stems and leaf undersides twice a week for aphids and spider mites. Aphids show up as tiny green, black, or pale bugs around new growth.
Spider mites? They leave tiny pale dots or sometimes a bit of fine webbing.
Quick Tip: I rinse pests off with a gentle stream of room-temperature water. Then I look the cutting over again a few days later.
Dry indoor air, especially in winter with the heat on, seems to encourage spider mites. I boost humidity nearby with a pebble tray, but I never let the pot sit in water.
A plastic bag can hold in moisture for a bit, though I vent it every day so things don’t get too damp.
I don’t keep poinsettia cuttings in water for long. They tend to rot before roots get strong.
If I start a cutting in water, I move it into a moist rooting mix once roots start to show.
Frequently Asked Questions
For rooting poinsettia cuttings, I stick with warm temps, bright indirect light, and a light potting mix. Water rooting works, but honestly, soil usually gives sturdier plants.
Can poinsettia cuttings be rooted in water?
I can root poinsettia cuttings in clean water, but it’s not my favorite for long-term success. Water-grown roots get pretty fragile and can struggle when I move the cutting into soil.
I change the water every few days. Only the stem base goes under water.
If the water gets cloudy or the stem feels mushy, I just start over with a new cutting.
Quick Tip: I move the cutting to soil when roots hit about 1 inch long.
How long does it take for poinsettia cuttings to grow roots?
Usually, I see roots in two to four weeks if the cuttings stay warm—about 70–75°F. Cooler rooms slow things down, sometimes to five or six weeks.
After two weeks, I give the cutting a gentle tug. If I feel a little resistance, roots are probably forming.
Quick Tip: I skip pulling the cutting out to check roots; that can snap those new, thin roots right off.
What is the best time of year to take poinsettia cuttings?
I take cuttings in spring or early summer, after the plant’s finished blooming and is pushing out fresh green growth. That gives new plants time to get established before fall.
I never take cuttings from a stressed plant or during cold, dark weather. In warm places like USDA Zones 9–11, I can take cuttings later if the plant is still growing well.
Quick Tip: I go for a healthy, non-flowering stem that’s about 3 to 5 inches long.
Should poinsettia cuttings be rooted in water or soil?
I root poinsettia cuttings in soil because they seem to settle into pots better. I use a small pot with drainage and a moist mix of potting soil and perlite.
The mix should feel damp, never soggy. Wet soil will rot the cut stem before roots even appear.
Quick Tip: I dip the cut end in rooting hormone before planting. The cutting can still root without it, though, if you’re out.
How do I care for poinsettia cuttings indoors while they root?
I put cuttings in bright, indirect light—maybe near an east window or a few feet from a sunny one. Direct sun just bakes the leaves and dries them out fast.
I keep the soil lightly moist and the air a bit humid. A loose clear plastic bag over the pot holds in some moisture, but I open it every day to keep air moving and avoid mold.
Quick Tip: I water when the top inch of mix feels dry. No strict schedule—just a finger test.
Is it legal to propagate poinsettias at home?
I always check the plant label before taking cuttings. A lot of named poinsettia varieties have plant patent protection.
This can actually make it illegal to propagate them without permission, even if it’s just at home. I can usually get away with propagating an older, unpatented plant, but the rules change depending on where you live.
If I see a patent number or the label says “propagation prohibited,” I don’t take cuttings. It’s not worth the trouble.