
Asters light up the garden with daisy-like blooms just as other flowers start winding down. If you want more of these cheerful plants without heading to the nursery, you can multiply what you already have.
You can propagate asters by dividing mature plants, taking stem cuttings, or starting them from seeds.
I usually divide when my clumps get too crowded, reach for cuttings if I want to clone a favorite, and start from seed when I’m after something new or unexpected. Each method has its perks and quirks, so you’ll want to pick what fits your mood, your garden, or maybe just your patience level.
Quick Tip: Propagate in mild weather—early spring or early fall works best in most zones—so new roots don’t get hammered by heat or frost.
Choosing the Best Propagation Method
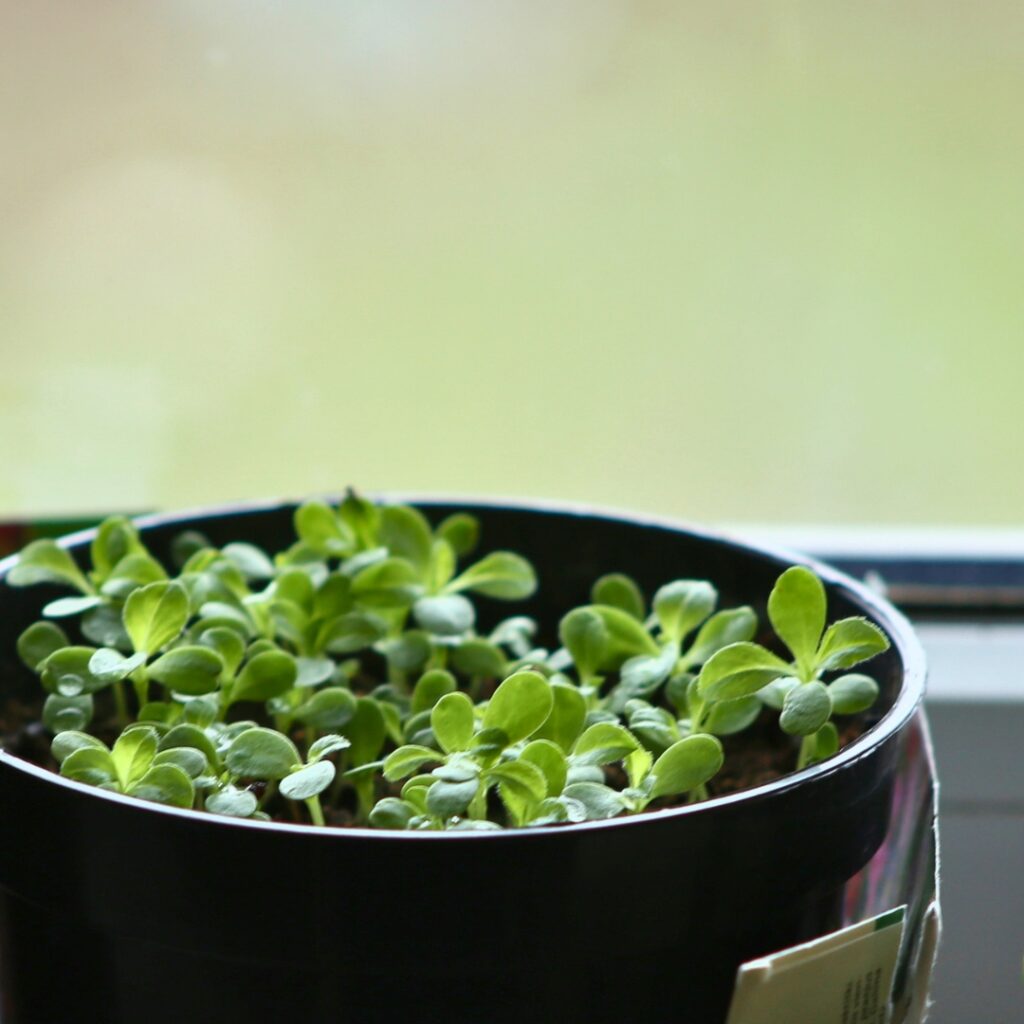
My choice depends on the plant’s age, the season, and honestly, how many new asters I want. Division is fast, seeds bring surprises, and cuttings let me make a perfect copy of a plant I already love.
Dividing Established Plants for Fast, Reliable Aster Propagation
When I’m after quick results, division is my go-to. Early spring or early fall feels just right—cool air, moist soil, and less stress on the roots.
I dig up the whole clump and shake off any loose dirt to see what’s going on with the roots. Then I pull or slice the plant into smaller chunks.
Each piece has to show off healthy roots and a few strong shoots. If the center looks dead or woody, I just toss it—no point babying old growth.
The young, outer sections always bounce back better, so I stick with those. I plant divisions at the same depth and give them a good soak. In hot areas, mulch helps keep the roots from baking.
Quick Tip: Dividing every 2–3 years keeps asters from getting overcrowded and sad-looking.
Starting from Aster Seeds for More Plants and New Varieties
Seeds are my pick when I want a rainbow of choices or just a lot more plants. It’s cheaper, but it takes some patience.
Indoors, I sow seeds about 6–8 weeks before the last frost. I press them into moist seed mix—don’t bury them too deep—and keep things damp but not soggy. A sunny window or a grow light keeps the seedlings from stretching out and flopping over.
They usually sprout within two weeks. If the top inch of soil feels dry, I water gently.
Once they show two sets of true leaves, I start hardening them off outside for a week before planting in full sun and well-drained soil.
Quick Tip: Label seedlings early, or you’ll lose track—most young asters look exactly alike.
In warmer places, I sometimes sow directly outdoors after frost. Seed-grown asters may take their sweet time to bloom, so patience is key.
Taking Aster Cuttings to Clone Your Favorite Plant Exactly
Cuttings are perfect if you want a carbon copy of a plant you trust. I go for this method in late spring or early summer.
I snip a 4–6 inch soft stem without flowers, strip the lower leaves, and dip the cut end in rooting hormone—though honestly, asters root fine without it.
I stick the cutting in moist potting mix or sand, then keep it in bright, indirect light with high humidity. A loose plastic cover traps moisture, which helps.
Roots usually show up in 2–4 weeks. I give a gentle tug to check—if there’s resistance, it’s working.
Quick Tip: Keep soil barely damp. Overwatering turns stems to mush fast.
Cuttings give me consistent, reliable plants. Once you get the hang of it, you can fill your beds with clones of your best asters.
Dividing Mature Aster Plants
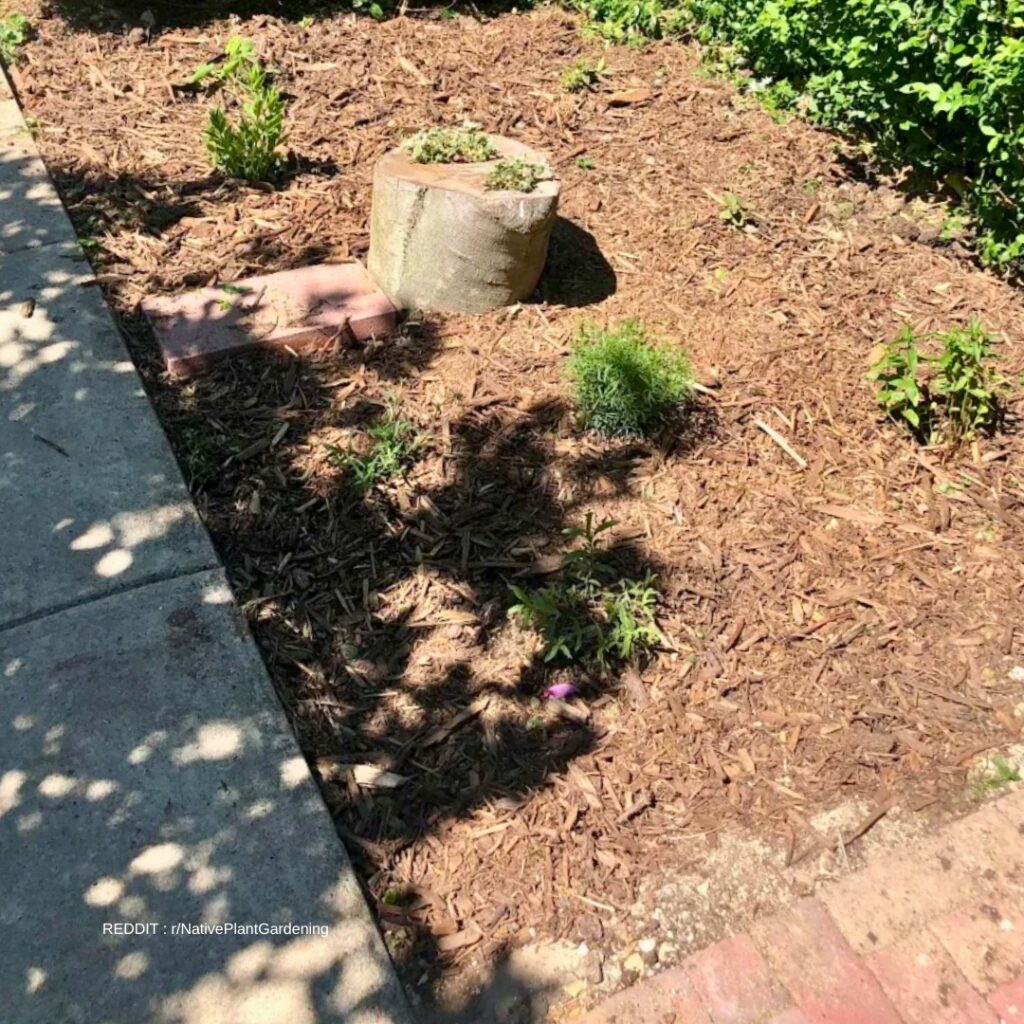
If my asters start crowding each other or the blooms thin out, I know it’s time to divide. It’s a simple way to keep them healthy and get bonus plants for free.
Preparing the Parent Clump Before You Divide Asters
I check the plant first. If the center is sparse or woody but the edges look lively, it’s probably ready for division.
The day before, I water deeply so the soil is soft and cool. That makes digging less of a battle and keeps roots in better shape.
Here’s what I grab:
- Sharp spade or garden fork
- Clean knife or pruning saw
- Gloves
- Compost
Quick Tip: Wipe tools with rubbing alcohol to dodge spreading disease.
I prep the new planting spots by loosening soil about 8–10 inches deep and mixing in compost. Asters do best in well-drained soil and full sun, but in blazing hot zones, I give them a bit of afternoon shade.
If the clump is huge, I cut back the top growth by a third. It makes the whole process easier and less stressful for the plant.
Step-by-Step Division Process That Keeps Roots Strong
I dig a wide circle, about 6 inches out from the base, and lift the clump. If it’s stubborn, I use two forks back-to-back to pry it apart. For the thickest roots, a sharp knife does the trick.
Each division should have healthy roots, a few strong shoots, and no mushy or rotten bits. I pitch the old woody center—it never really recovers.
Quick Tip: If roots seem dry, I mist them or keep them shaded until I’m ready to replant.
I replant divisions right away at their original depth, firming the soil around them to kick out any air pockets. Then I water thoroughly.
Spacing really matters. I leave 12–18 inches between plants so they have room to breathe.
Best Time to Divide Asters for Healthy Growth and More Blooms
Early spring is my favorite time to divide. I wait until new shoots are a couple of inches tall.
Cool weather lets roots settle before summer heat. The soil should be workable—not frozen, not swampy.
In milder climates, early fall works too, but I make sure to finish at least six weeks before the first frost so roots have time to get established.
Dividing during peak bloom never works out—it’s just too much for the plant to handle.
Quick Tip: If daytime highs hover between 50–70°F, you’re in the sweet spot.
Aftercare for Divisions So New Plants Settle In Fast
Right after planting, I water deeply so the soil feels moist a couple of inches down—never soggy though.
For the first two weeks, I keep an eye on moisture. If the top inch dries out, I water again. Young divisions dry out faster than older plants.
I spread a thin layer of mulch—about two inches—around the base, but I keep it an inch away from stems to avoid rot.
Quick Tip: If leaves wilt in hot sun, I rig up a bit of afternoon shade for a few days.
I hold off on heavy fertilizer. After four weeks, if growth seems slow, I’ll use a balanced slow-release fertilizer.
With steady water and sunlight, new divisions usually get established in a season and bloom the following year.
Propagation by Stem Cuttings: Easy Cloning
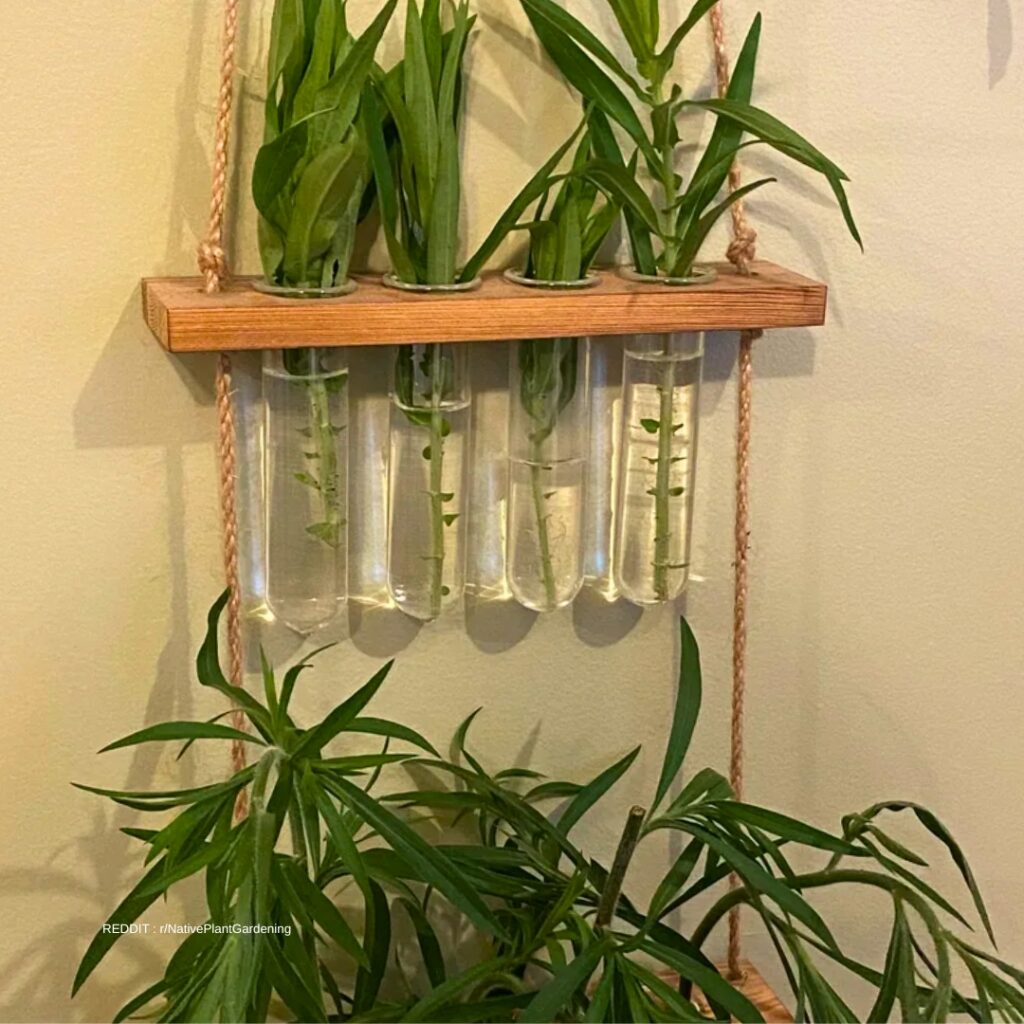
When I want more of a particular aster, I go with stem cuttings. Fresh stems, moist soil, and a little protection from extremes—pretty simple, honestly. With decent timing, the cuttings root quickly and grow on strong.
Selecting and Preparing Cuttings for Strong, Healthy Roots
I pick non-flowering stems in late spring or early summer. The stem should feel firm but not woody. Woody or blooming stems just don’t root as well.
Each cutting should be 4–6 inches long with at least two leaf nodes. I make the cut just below a node with sharp, clean scissors. Then I strip off the lower leaves and leave a couple at the top.
If the top leaves are huge, I cut them in half to cut down on water loss. In hot zones, I take cuttings early in the morning before the sun gets fierce.
Quick Tip: I keep cuttings shaded and barely moist while working so they don’t dry out before rooting.
I dip the end in rooting hormone for a speed boost, but honestly, asters often root fine without it.
Rooting Cuttings Successfully in Soil or Water Without Stress
I usually root cuttings in a small pot with moist potting mix and perlite. The mix should feel like a wrung-out sponge—never soggy. Too much water is a surefire way to lose them.
I poke a hole first, then insert the cutting about 1–2 inches deep. I firm the soil around it so it stands up straight.
Quick Tip: If the top inch of soil feels wet, I skip watering. If it’s dry, I add just enough to moisten.
The pot goes in bright, indirect light—north windows are perfect. Direct sun is too harsh at this stage.
To keep humidity up, I loosely cover the pot with a clear plastic bag, leaving a gap for air. In humid places, I skip the cover to avoid mold.
Roots usually show up in 2–4 weeks. A gentle tug tells me if it’s working.
Avoiding Common Mistakes That Slow or Ruin Aster Cuttings
I never take cuttings from stressed or sick plants. If the parent looks wilted or rough, I wait until it rebounds. Healthy parents mean healthy clones.
Overwatering is the enemy. Soggy soil leads straight to rot. Good drainage is more important than frequent watering.
Quick Tip: Always use pots with drainage holes—no holes, no roots, no kidding.
Full sun is a no-go for rooting. Bright, indirect light is plenty. In cooler climates, I keep cuttings inside until nights stay above 50°F.
If leaves turn yellow, I check soil moisture first. Nine times out of ten, it’s too much water, not too little. Once you get the hang of this, you’ll get consistent, healthy clones every time.
Growing Asters from Seeds for Diversity
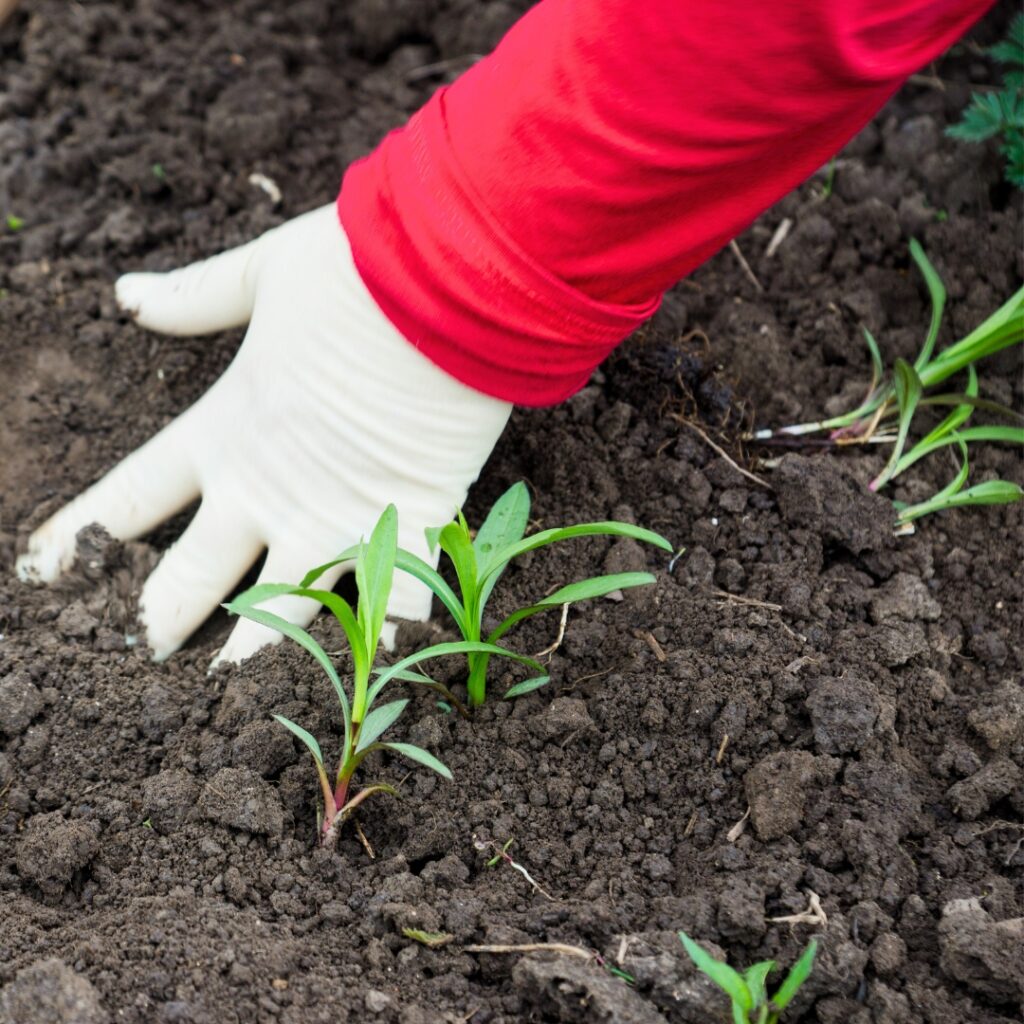
I turn to seeds when I’m craving new colors, shapes, or bloom times. Growing from seed is cheap, fun, and always a bit of a surprise.
Harvesting and Storing Aster Seeds the Right Way for Strong Future Plants
I wait for flowers to fade and get dry and fluffy before collecting seeds. Seed heads should feel brown and papery, not green or squishy. If they feel crisp when I squeeze, they’re ready.
I snip stems on a dry day and drop them in a paper bag. They hang out indoors for a week to finish drying—humidity is the enemy here.
After that, I shake the bag to loosen the seeds, pick out the big bits, and stash the clean seeds in a labeled envelope or jar.
Quick Tip: Store seeds in a cool, dark place. A dry drawer works; basements are usually too damp.
Stored right, aster seeds stay good for one to three years, depending on the variety and how you treat them.
Sowing and Germinating Seeds for Healthy, Even Growth
I usually start asters from seed indoors about 6 to 8 weeks before my last frost date. In warmer zones—think zones 8 to 10—I sometimes just sow them straight into the garden in early spring or fall.
I fill small trays with seed-starting mix and press the seeds lightly onto the surface. Most aster seeds really need some light to get going, so I just add the barest sprinkle of soil on top.
A quick mist with water keeps the mix damp but not soggy. Then, I set the tray in a bright window or under grow lights.
Germination takes anywhere from a week to two. If the top inch dries out, I water gently; if things get musty or moldy, I back off a bit.
Quick Tip: Aim for 65–70°F (18–21°C) to give those seeds the best shot at sprouting.
Transplanting Seedlings Outdoors Without Shock
Once my seedlings have 2 or 3 sets of true leaves, I start thinking about moving them outside. I never rush—sun and wind can hit young plants hard.
I harden them off by putting them outdoors for a few hours at first, then a bit longer each day over a week or so. They get used to the real world gradually.
When it’s time, I plant them in full sun and well-drained soil. I give each one a good 12 to 18 inches of space, depending on the type.
After planting, I water deeply to help the roots settle in. It’s a small thing, but it matters.
Quick Tip: If you can, transplant on a cloudy day or late afternoon. Plants seem to appreciate the gentler conditions.
Caring for New Aster Plants
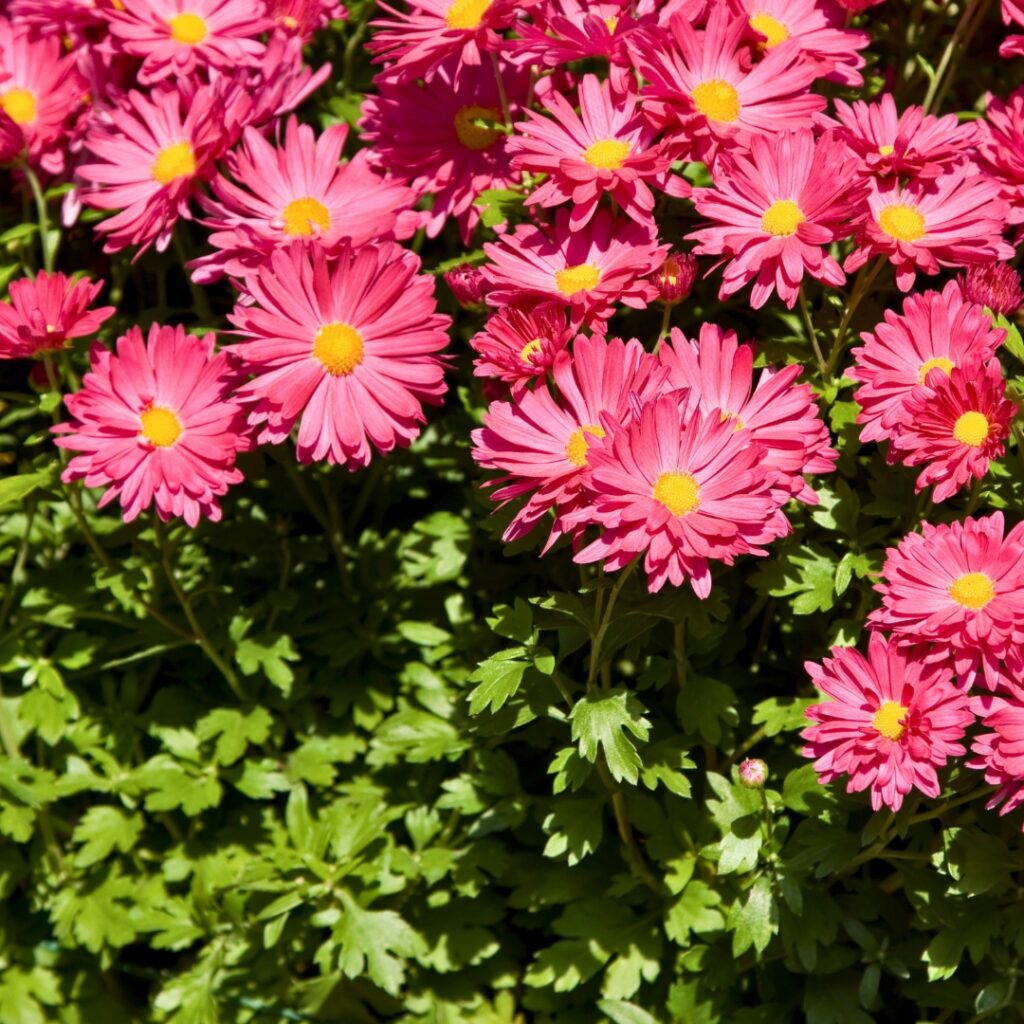
New asters need steady water, light feeding, and a gentle touch. After propagating from cuttings or division, I focus on keeping the soil just moist and the stress level low so roots get established quickly.
Watering and Moisture Management So Roots Stay Firm and Rot-Free
I keep the soil evenly moist for the first few weeks. If the top inch feels dry, I water slowly until water trickles out the bottom.
Overwatering is a fast way to lose new plants. Soggy soil suffocates roots and brings on rot, even if leaves look fine at first.
I water in the morning so leaves can dry out before nightfall. On hot days, I check daily, but during cool or rainy spells, I water less.
Quick Tip: Stick your finger into the soil about an inch deep—if it’s cool and damp, hold off. If it’s dry, water.
For pots, I stick with containers that have drainage holes. In heavy clay, I mix in compost to help water move through.
Fertilizing and Supporting Growth for Strong Stems and More Blooms
I wait for new growth before feeding. Then I use a balanced liquid fertilizer at half strength every few weeks. Too much, and the stems get floppy.
Asters thrive in full sun. I try for at least six hours, though in really hot places, a little afternoon shade keeps them happier.
If stems shoot up thin and spindly, I pinch the tips at about six inches tall. That encourages branching and keeps plants neater.
Quick Tip: Feed lightly and keep an eye on the leaves. Pale green might mean they need a boost, but dark green and floppy usually means too much nitrogen.
Spacing matters too. Good airflow keeps leaves dry and lowers the chance of disease outdoors.
Transplant Shock and Troubleshooting When Plants Look Stressed
After moving new asters outside, I expect some drooping for a day or two. Roots need a little time to get used to their new home.
If leaves wilt badly and don’t bounce back by evening, I check the roots. Dry roots need water, but mushy roots usually mean too much water or poor drainage.
I transplant on cloudy days or late in the day to reduce heat stress. In windy spots, I add a small stake or two until stems toughen up.
Quick Tip: In hot weather, I shade new transplants with a light cloth for a couple days to ease the shock.
Yellow leaves at the bottom usually signal stress, not disease. I snip off any damaged leaves and look for new green shoots as a sign things are improving.
Tips for Healthy, Blooming Aster Clusters
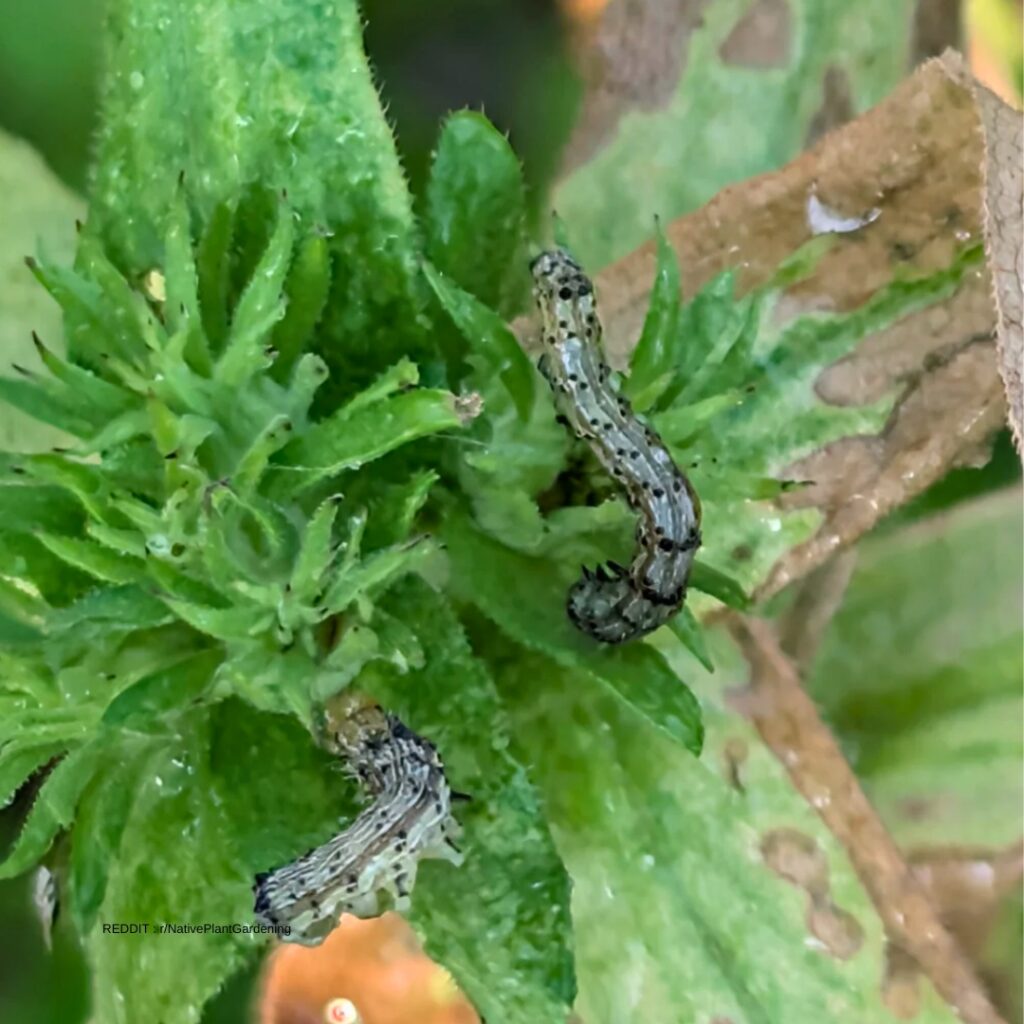
I keep asters healthy by giving them plenty of sun, clean soil, and room to breathe. Strong roots and good airflow make for bigger, longer-lasting flowers.
Maintaining Daisy-Like Flowers with Proper Light, Water, and Deadheading
I plant asters where they get six to eight hours of direct sun. In the southern heat, a little afternoon shade helps, but too much shade shrinks the flowers and weakens the stems.
I water at the base when the top inch feels dry. Wet leaves? That’s just asking for trouble.
Quick Tip: If the soil feels dry about an inch down, water deeply and let the extra drain away.
I deadhead faded blooms every few days during peak season. That keeps the plant focused on new flowers. I also pinch stems in early summer to keep everything bushy and tidy.
A light layer of compost in spring gives steady, gentle nutrition. I skip heavy fertilizer—too much and you’ll get leaves instead of blooms.
Preventing Disease and Pests Before They Take Over Your Asters
I space asters 12 to 18 inches apart, depending on the variety. Airflow is my main weapon against powdery mildew, which shows up as a white film on leaves.
I water in the morning so leaves dry quickly. Any yellow or spotted leaves go straight into the trash, not the compost.
Quick Tip: If you spot white dust on leaves, trim those parts and open up space around the plant to slow it down.
Aphids and spider mites sometimes cluster on new growth. I spray them off with water or use insecticidal soap if they get stubborn. I check under leaves often, especially in warm, dry spells.
Healthy soil helps too. When I propagate or divide asters, I always plant them in well-drained soil to avoid root rot.
When to Repeat Propagation to Keep Clumps Vigorous and Blooming
I divide asters every couple of years in early spring or fall. If the center of a clump stops blooming, that’s my cue it’s time to dig in.
I dig up the clump and slice it into smaller sections with good roots and a few strong shoots each. No need to save the woody, bare center—just replant the younger, healthier parts.
Quick Tip: If the middle looks tired or hollow, toss it and stick with the outer, fresher sections.
Dividing keeps asters vigorous and prevents overcrowding. In cold climates, I divide in spring so roots settle before winter. In milder places, fall works, too.
Fresh divisions bounce back fast and usually bloom better the next year, filling out with more of those bright, daisy-like flowers.
Frequently Asked Questions
Asters grow well from cuttings and seeds if I time things right and give them steady light and good drainage. Pot care, plant height, and the season all shape how lush or sturdy the plants get.
Can I root aster cuttings in water, and how long does it usually take to see roots form?
I can root aster cuttings in water, but I actually prefer moist potting mix—roots seem stronger that way. If I do use water, I change it every few days to keep it fresh.
Roots usually show up in 10 to 14 days. If it’s chilly, I sometimes wait almost three weeks. I look for little white roots about an inch long before moving them to soil.
Water rooting works, but the roots stay thin and fragile. Once I plant them, I keep the mix just damp for a week or so to help them settle.
Quick Tip: I always put the jar in bright, indirect light—never direct sun—so the cuttings don’t rot or overheat.
What’s the best time of year to take cuttings from asters for strong, healthy new plants?
Late spring or early summer works best for me. The stems are soft but not floppy, so they root quickly.
I cut a 4- to 6-inch stem before the plant blooms. If there are buds, I pinch them off so the cutting puts energy into roots instead of flowers.
In hot areas, I take cuttings early in the morning before the sun gets strong. Heat can stress fresh cut stems.
Quick Tip: I always pick stems with fresh green growth and no flowers for the best rooting.
How do I start asters from seed indoors step by step, and when should I transplant them outside?
I start seeds indoors 6 to 8 weeks before my last frost date. I fill a tray with light potting mix and press the seeds gently onto the surface.
I keep the soil just moist and put the tray in bright light. Seeds usually sprout in 7 to 14 days at about 65–70°F.
Once seedlings have a few true leaves, I move them to small pots. I harden them off for a week before planting outside after frost danger passes.
Quick Tip: I set seedlings outdoors for a few hours each day, adding more time daily so they get used to wind and sun.
What kind of soil and light help newly rooted asters grow strong and avoid weak, leggy stems?
I plant rooted asters in well-drained soil with some compost mixed in. Heavy clay holds too much water and can rot roots.
Asters like full sun—about six hours daily. In really hot spots, a little afternoon shade can help prevent wilting.
If stems stretch and lean, they probably need more light. I move potted plants to a sunnier spot if that happens.
Quick Tip: I poke my finger into the soil about an inch deep. If it’s dry, I water deeply and let the extra drain away.
How tall do asters typically grow, and does the height change depending on the variety I choose?
Asters range from about 8 inches to 4 feet tall. Dwarf types stay compact—great for borders or pots.
Tall varieties can reach 3 to 4 feet and sometimes need staking. I always check the label so I’m not surprised.
Height depends on both the variety and how you grow them. Rich soil and full sun usually mean taller plants.
Quick Tip: I pinch back tall types in early summer so they stay bushier and don’t get too leggy.
How do I care for asters in pots so they stay healthy and bloom well through the season?
I always start with a pot that has drainage holes—otherwise, you’re just asking for root rot. Garden soil? Way too dense for containers, so I grab a good-quality potting mix instead.
Potted asters get thirsty fast. I stick my finger in the soil, and if the top inch feels dry, it’s time to water. On those blazing hot days, I sometimes check them twice.
I like to feed my asters with a balanced liquid fertilizer every few weeks while they’re growing. Whenever I spot spent blooms, I snip them off—seems to encourage more flowers to pop up.
Quick Tip: Full sun is non-negotiable for me, so I set the pots where they catch plenty of rays. Every week or so, I give the pot a little turn so all sides get their fair share of sunlight. Keeps things looking even and healthy.