
Chrysanthemums burst with color just when most flowers start calling it quits for the year. Their wild variety of shapes and shades makes them a go-to for fall gardens, porch pots, or even a quick pop of color on the patio.
To keep chrysanthemums healthy and blooming year after year, you need to give them the right sunlight, water, soil, and seasonal care.
Grow mums as annuals for fast color, or put in a little extra effort, and they’ll return as hardy perennials. Planting and pruning at the right times helps them build strong roots that can handle winter’s chill.
Learning when to pinch, feed, and shield them from frost means longer blooms and more vibrant plants. If you plan ahead, your mums can go from ordinary to garden standouts in no time.
With a good care routine, you’ll get those bright colors from late summer through fall and maybe even a repeat show next year.
Key Takeaways
- Pick healthy plants and give them full sunlight and well-drained soil.
- Water regularly and prune to keep growth strong and blooms fresh.
- Protect mums from frost and pests to keep them thriving.
Understanding Chrysanthemum Varieties

Chrysanthemums come in all sorts of colors, bloom shapes, and growth habits. Knowing your type helps with pruning, spacing, and figuring out what care they’ll need through the year.
The flowers also handle temperature, light, and container life differently depending on the variety.
Major Types of Chrysanthemums
Chrysanthemums fall into several main groups based on bloom form. The 13 official flower types include spoon, anemone, quill, pompon, and spider mums.
Each group sports its own petal style. Spider mums have long, skinny petals that curl, while pompon mums look like little round balls.
Some, like decorative and incurved mums, are favorites for garden beds thanks to their full, uniform look. Single or daisy-type mums look more relaxed, which is perfect for informal gardens.
Bloom time varies too. Early-flowering types start in late summer, while late-blooming varieties keep going into fall. That way, you can stretch the color in your garden as long as possible.
Type Common Use Typical Bloom Shape Incurved Garden beds, displays Rounded, dense center SpiderCut flowers: Long, curved petals Pompon borders, pots Small, ball-like blooms
Choosing the Right Cultivar for Your Needs
When you’re picking a cultivar, look at climate adaptability and your garden goals. If you’re in a colder spot, go for hardy garden mums that shrug off a bit of frost.
In warmer climates, seek out heat-tolerant hybrids or early-blooming types. For borders and beds, compact or cushion types fill in nicely, while taller varieties shine in bouquets.
Mums love well-drained soil and at least six hours of sunlight daily. Don’t forget to consider bloom color families—whites and yellows can brighten shady corners, and deeper reds or bronzes add drama.
Mixing cultivars with different bloom times keeps the show going all season.
Differences Between Indoor and Outdoor Varieties
Indoor chrysanthemums, often called florist mums, grow in pots and bloom under controlled light. They’re bred for looks and don’t handle outdoor life well.
Florist mums stay compact and need frequent watering and indirect light. Outdoor chrysanthemums, or garden mums, are much tougher. They handle temperature swings and work in beds or patio pots.
After they flower, trim and overwinter garden mums in mild climates, and they’ll return. Florist mums usually last just one bloom indoors, while garden mums can stick around for years if you divide and prune them.
Pick an indoor or outdoor type based on where you want your blooms—makes life easier.
Optimal Growing Conditions

If you want chrysanthemums to thrive, give them steady sunlight, good air flow, and well-draining soil. They’re a bit picky about temperature and soil, but it’s worth the effort for those blooms.
Ideal Light Requirements
Chrysanthemums do best with at least six hours of full sun each day. Direct light means stronger stems and more flowers.
Too much shade, though, and you’ll get leggy plants with fewer blooms. If you’re in a hot climate, some afternoon shade helps prevent leaf scorch.
Move container mums around to catch the best light. Indoors, park them near a bright south- or west-facing window.
Don’t plant in beds shaded by tall trees or buildings. Sunlight keeps leaves dry, which helps with fungal issues. Rotating potted plants now and then gives you even growth.
Temperature Preferences
Most garden mums like daytime temperatures between 60°F and 70°F (15°C–21°C), with cooler nights. These steady conditions build strong roots and keep blooms coming.
When it gets hotter than 85°F (29°C), buds slow down or dry out. In chillier spots, cover plants or mulch lightly to guard against early frost.
Frost can zap buds but rarely kills mature roots. To overwinter mums, stash them in a sheltered spot with good airflow. Avoid cold, windy, or soggy areas.
If you’ve got potted mums, storing them in a cool, dark spot just above freezing helps them make it through winter.
Soil Composition and pH
Chrysanthemums crave well-drained, fertile soil loaded with organic matter. Heavy clay causes root rot, and sandy soil dries out too fast.
Mix compost or aged manure into the top 8–12 inches before planting. Aim for a pH between 6.0 and 7.0 for best nutrient uptake.
Check your soil’s acidity with a test kit. Add lime to boost pH, or sulfur to bring it down.
Here’s a simple soil mix that works well:
Component Purpose Recommended Ratio Garden soil Structure 40% Compost Nutrients 40% perlite or coarse sand drainage, 20%
Prepping your soil right keeps water where it’s needed, fights off disease, and gives you fuller, longer-lasting blooms.
Propagation Techniques
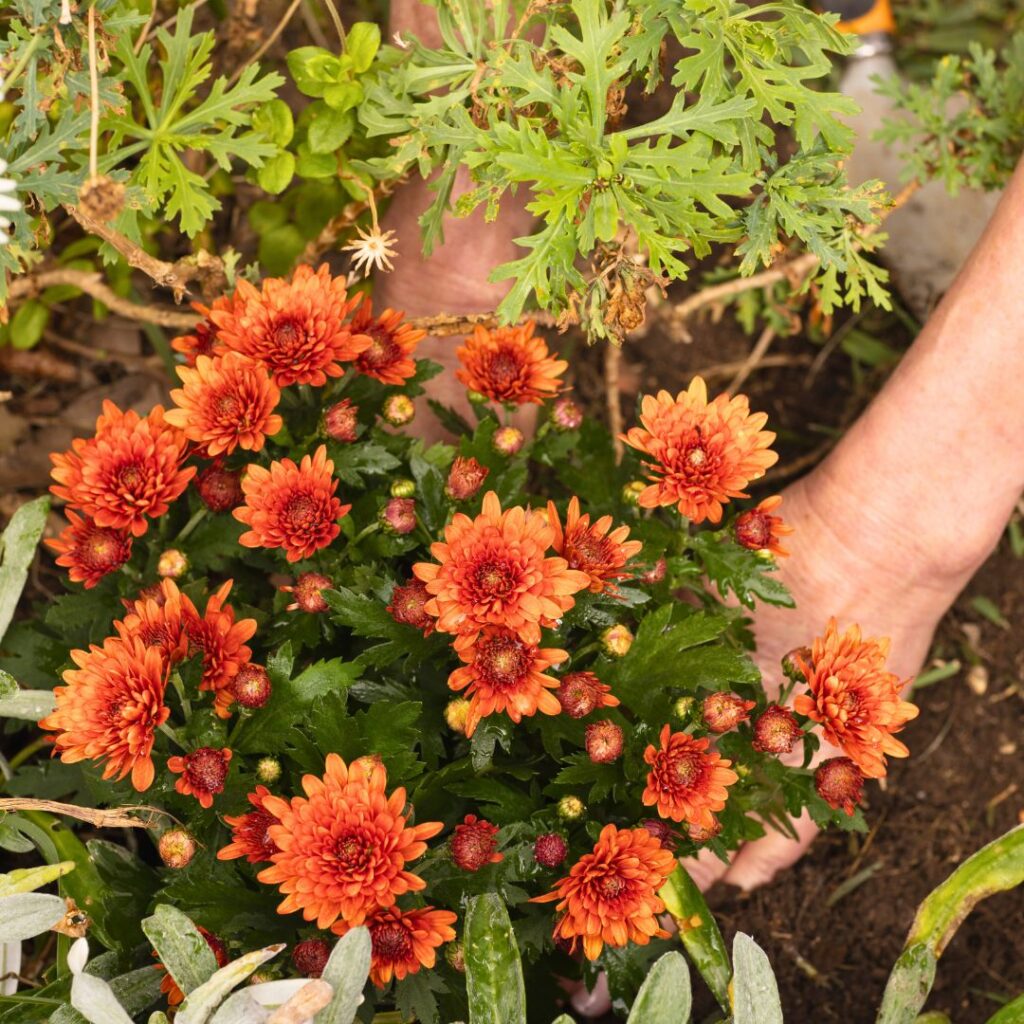
You can start new chrysanthemums from seeds, by dividing older plants, or by rooting stem cuttings. Each method has its perks, but they all need the right soil, moisture, and light to get healthy plants.
Starting From Seeds
Growing chrysanthemums from seeds takes patience, but you’ll end up with a bunch of plants. Start indoors about 8 to 10 weeks before the last frost.
Use a shallow tray with moist, well-draining seed mix, and press seeds gently into the surface. They need light to sprout, so don’t bury them deep.
Keep the soil damp and around 70°F (21°C). Seeds usually pop up within two weeks.
Once you see two sets of true leaves, move seedlings to their own pots. When it’s warm enough, get them used to the outdoors a little at a time, then plant them in the garden after frost danger has passed.
Seed-grown mums might surprise you with new colors or sizes, which honestly keeps things interesting.
Dividing Established Plants
Division is best for moms older than two years that are starting to crowd themselves. It helps keep them vigorous and under control.
Divide in early spring, just as new growth shows up. Water the plant well the day before, then dig up the whole root ball.
- Use a sharp knife or spade to separate sections, aiming for 3–5 shoots and healthy roots per piece.
Replant the divisions right away into loose, fertile soil, spacing them about 18–24 inches apart. Water well after planting.
Doing this every few years keeps your moms blooming strong and stops them from getting weak or crowded.
Rooting Stem Cuttings
Cuttings are a quick way to clone your favorite mum. Take 3–4 inch softwood cuttings from healthy stems in late spring or early summer.
Snip just below a leaf node, remove the lower leaves, and leave the top two or three. Dip the cut end in rooting hormone powder for a little boost.
Stick the cutting in a small pot with moist, sterile potting mix or a sand and peat blend. Cover loosely with a clear bag or humidity dome to keep moisture in.
Set the pot in bright, indirect light and keep the soil moist. Roots usually show up in about three weeks.
Once new leaves appear, move the cutting to a bigger pot or plant it outside when it’s strong enough to handle the elements.
Routine Maintenance and Care
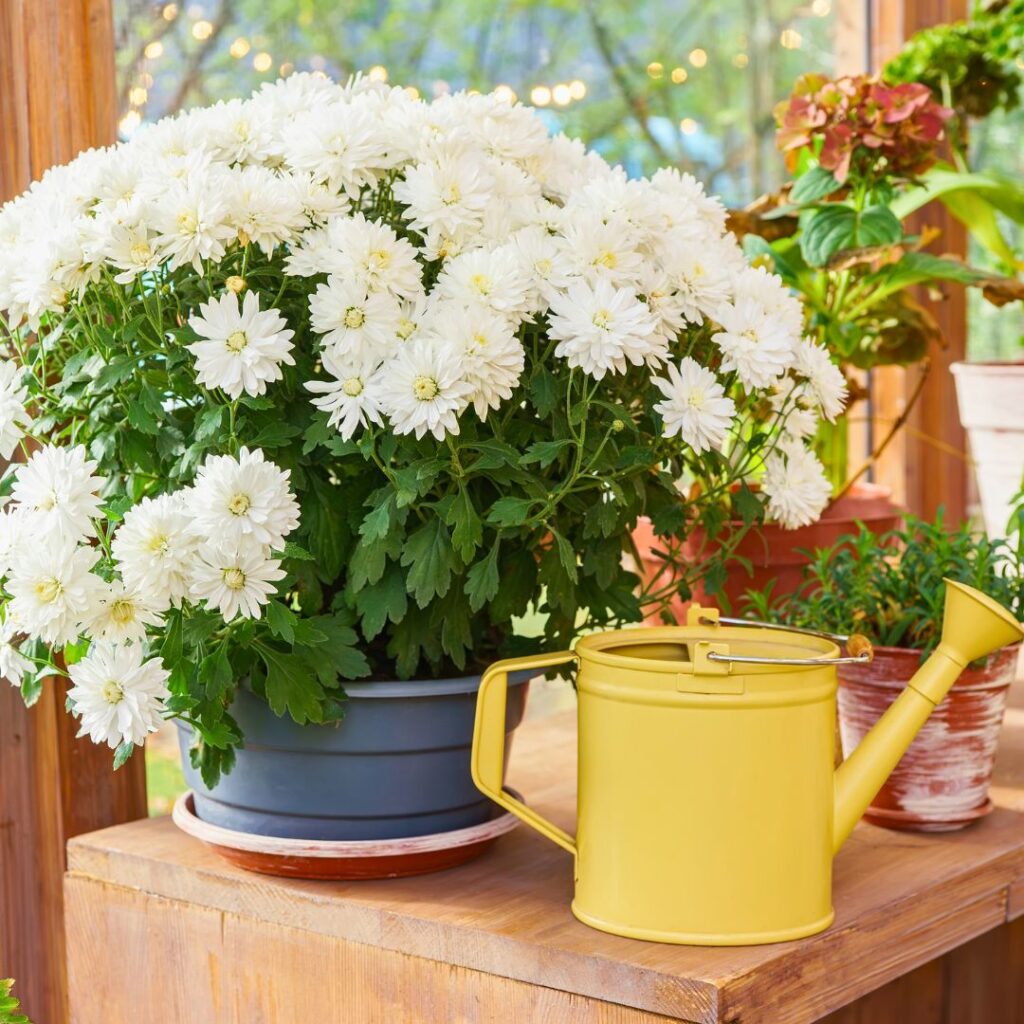
Keeping chrysanthemums happy means staying on top of watering, feeding, and pruning. These habits build strong plants and fuller blooms and help them fight off disease.
Get these basics down, and you’ll have mums that last longer and bloom more reliably every year.
Watering Best Practices
Chrysanthemums like even moisture in well-draining soil. Water deeply when the top inch of soil feels dry.
Don’t let the soil get soggy—root rot is a real headache. Mulch around the base helps hold moisture and keeps roots cooler, especially in summer.
Early morning’s the best time for watering. That way, leaves dry out before night, and you cut down on fungal issues.
Try not to water overhead; aim for the soil with a hose or drip system instead. It just saves you trouble down the line.
In hot, dry spells, you might water every other day. When it cools off, once or twice a week usually does the trick.
New mums need more frequent drinks until they settle in. As they mature, you can ease up but keep soaking to the same depth each time.
Growth Stage Frequency Method Newly planted Every 1–2 days Deep soil watering Established 1–2 times per week Slow, steady soak Blooming season: As needed to keep soil evenly moist Avoid overhead spray.
Fertilization Schedules
Feeding your chrysanthemums keeps them leafy and loaded with blooms. Use a balanced fertilizer like 10-10-10 or 20-20-20 when new growth shows up in spring.
Apply every three to four weeks and stop when buds start forming. Once buds appear, switch to a low-nitrogen formula—this helps flowers, not just leaves.
Don’t overdo it; too much fertilizer means floppy stems and fewer blooms. Liquid feeds work fast, but slow-release is easier if you’re busy.
Keep fertilizer about six inches from the main stem, or you might scorch the roots. Always water after feeding so the nutrients actually reach the plant.
Pruning for Health and Shape
Regular pruning helps air move and stops the plants from crowding each other. Start pinching back new shoots once they hit six inches tall.
Take off about an inch or two at the tips to get bushier plants. Keep pinching every couple of weeks until midsummer, then let them be so buds can develop.
Deadhead spent blooms as you go to keep things tidy. In late fall, after flowering, cut stems back to six inches above the ground.
Clear out debris from the base—less mess means fewer pests and less fungus over winter.
Managing Pests and Diseases
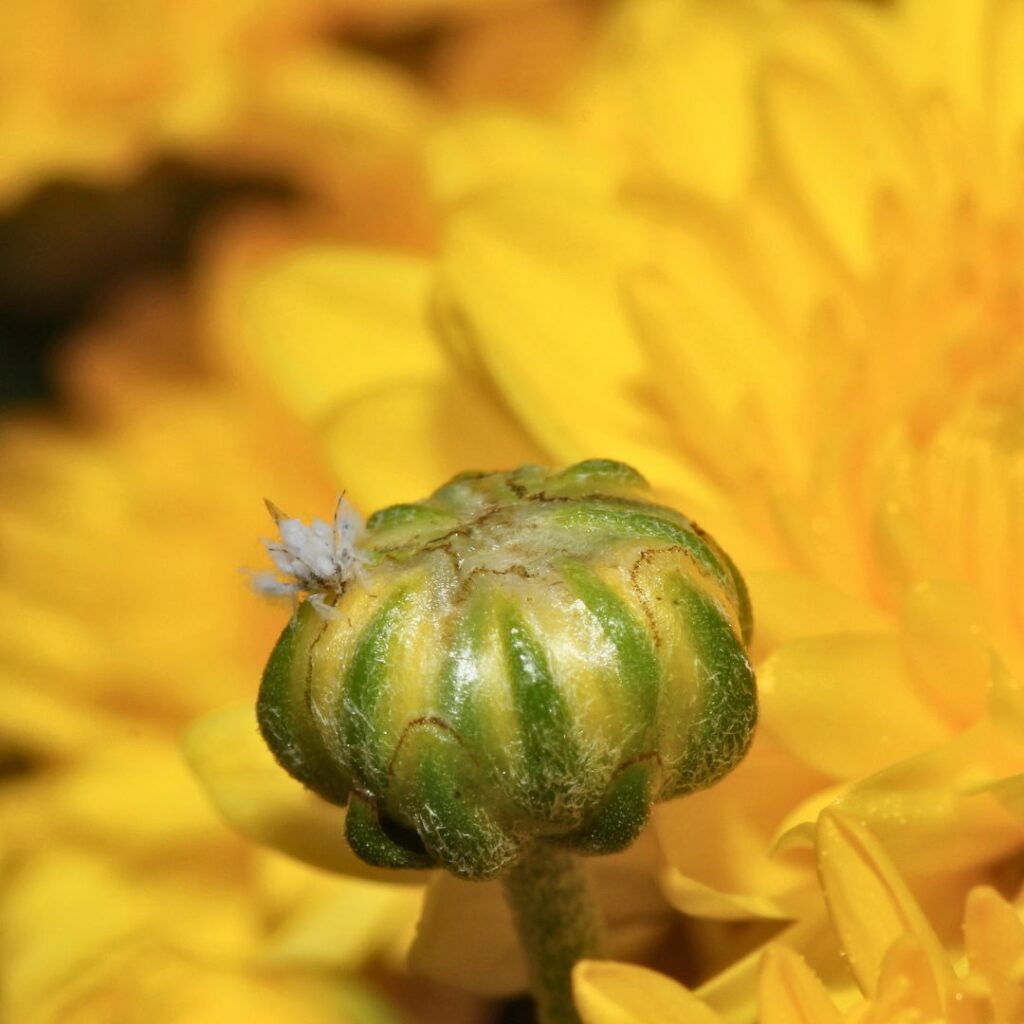
Chrysanthemums need regular check-ins to stay healthy. Look for early signs of insects, leaf trouble, or mold so you can catch problems before they get serious.
Common Insect Issues
Plenty of bugs like mums—aphids, thrips, whiteflies, and spider mites—show up most often. Aphids crowd new stems and buds, sucking sap and leaving sticky honeydew.
Thrips leave streaks on petals and leaves, making flowers look faded. Whiteflies hang out under leaves and drain nutrients, while spider mites spin fine webs and cause tiny yellow spots—especially when it’s dry.
Check your plants often and use gentle fixes first. Spray leaves with insecticidal soap or neem oil every few days until pests are gone.
Invite ladybugs and lacewings—they’re natural aphid hunters. Remove and toss badly infested leaves. Go easy on chemical sprays; they can wipe out helpful insects too.
Fungal and Bacterial Problems
Fungal issues like powdery mildew, leaf spot, and botrytis blight pop up when plants stay wet or crowded. Powdery mildew leaves a white dust on leaves and stems.
Leaf spots start as yellow or brown patches that eventually merge. White rust creates white bumps underneath leaves and spreads by wind or water drops.
Bacterial wilt and blight also show up, causing dark spots and droopy stems. If you spot these, pull off affected leaves right away and toss them out—not in your compost.
Give your moms space and water at the base to keep foliage dry. If symptoms stick around, use a fungicide labeled for ornamentals.
Preventative Measures
Good habits make a big difference. Space your plants out so air moves freely and moisture doesn’t linger.
Water early so leaves dry out before dark. Check the garden each week for odd changes—warped leaves, sticky spots, whatever feels off.
Clear out weeds and dead stuff from around the base. Change up where you plant mums each year to keep soil-borne diseases guessing.
Stick with a balanced fertilizer to build strong growth without creating soft, pest-prone shoots. Honestly, healthy mums just shrug off most pests and diseases.
Seasonal Care Guidance
If you want mums that stay healthy and bloom like crazy, it’s all about steady care throughout the year. You’ll manage growth in spring and summer, help buds form in late season, and protect roots from winter’s worst.
Spring and Summer Tasks
Start by clearing away dead stems and leaves to make room for new shoots. Once growth begins, pinch back tips about an inch to encourage branching.
Repeat pinching every few weeks until midsummer. This keeps plants bushy and full.
Water regularly—aim for about an inch a week—and mulch to lock in moisture. Fertilize monthly with a balanced 10-10-10 mix before buds show up.
If stems get tall, stake them before they flop over. Keep an eye out for aphids and spider mites on new growth.
Use insecticidal soap or a strong water spray for small bug problems. Remove any yellowing leaves to slow disease, and give plants plenty of space for air.
Autumn Blooming Preparation
When days get shorter, mums start setting buds. Stop pinching by late July so flowers can form.
Switch to a fertilizer low in nitrogen and higher in phosphorus and potassium—this helps blooms, not just leaves. Make sure plants get at least six hours of sunlight for deep color and bigger flowers.
Remove weak stems near the base to push energy into healthy growth. Water consistently, but don’t let things get soggy—waterlogged soil is trouble.
In dry spells, check soil moisture often since uneven watering can cause buds to drop. Deadhead old flowers so you get more blooms. If you grow mums in pots, group them in a sheltered spot so wind and heavy rain don’t snap their stems.
Overwintering Strategies
Once blooms fade and frost arrives, cut plants back to about six inches tall. Pile on two or three inches of mulch, straw, or shredded leaves around the base to insulate roots from freeze-thaw cycles.
In colder climates, dig up mums and overwinter them in pots indoors. Keep them in a cool, dark spot—just above freezing is ideal.
Water only enough to keep soil barely moist. In early spring, check for green shoots and move pots to bright light. Start watering normally to wake them up for replanting outside.
Cultivating Chrysanthemums Indoors
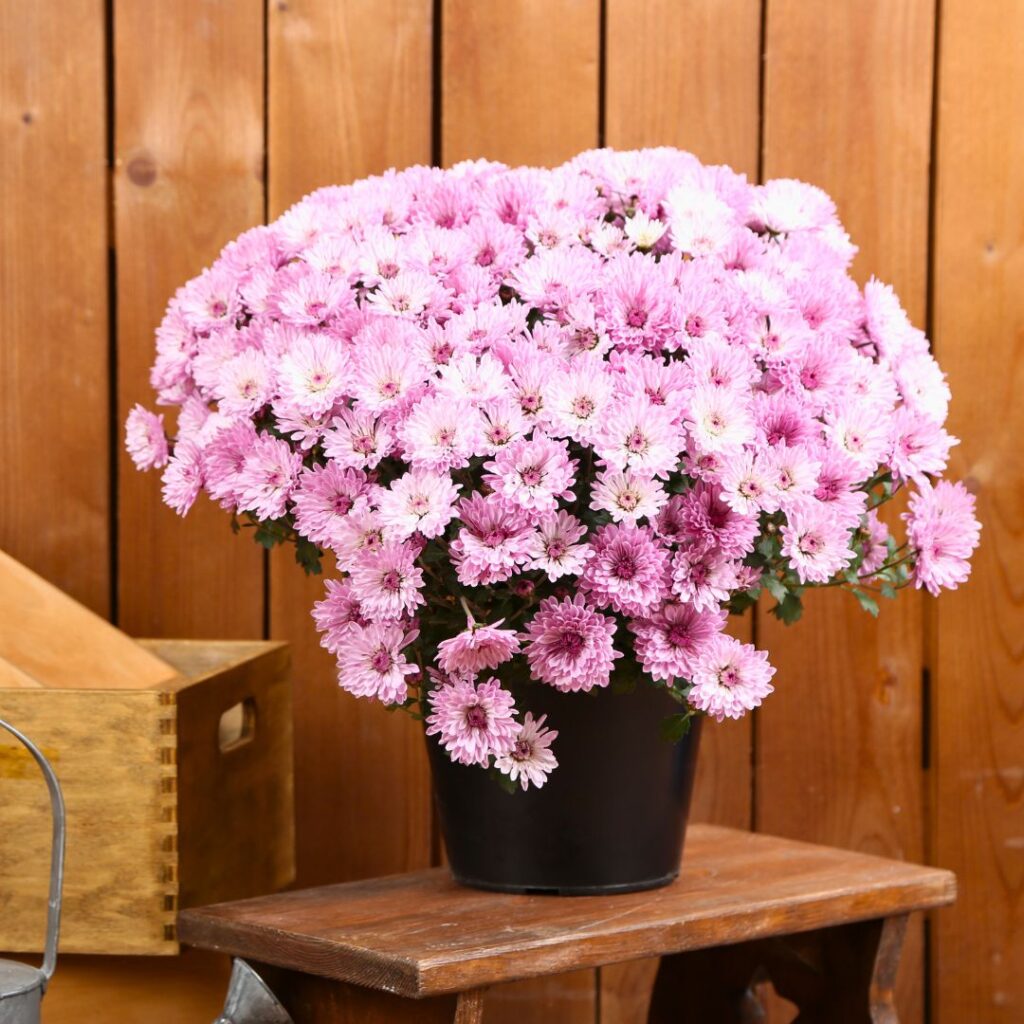
Growing mums indoors is a nice way to keep color around after the garden’s done for the year. You just need to get the light, water, and airflow right.
Put your potted mom in a bright spot with indirect sunlight for five or six hours a day. South- or west-facing windows usually work, but if it’s gloomy, a grow light can help.
Watering matters a lot. Keep soil evenly moist, but never soggy.
Water at the base, under the leaves, to avoid fungal headaches. Make sure pots drain well—wet roots can rot fast.
Good air circulation keeps mold and disease at bay. Give your plant some space, don’t crowd it with other pots, and aim for moderate humidity.
Pick off faded blooms every now and then to keep things tidy and encourage more flowers.
Here’s a quick cheat sheet for indoor care:
Care Step What to Do Light Bright, indirect sunlight Water Keep soil moist but not soggy Air Provide ventilation and space. Temperature: 65–70°F (18–21°C) during the day Maintenance: Deadhead spent blooms and check for pests.
Give them steady care and your indoor chrysanthemums will brighten up your space for weeks—maybe even longer if you’re lucky.
Designing with Chrysanthemums in the Landscape

Chrysanthemums are great for filling gaps in your garden when other flowers start fading. Their color range—yellows, reds, pinks, and whites—makes it easy to create lively seasonal displays.
If you pick early-, mid-, and late-blooming varieties, your beds can stay colorful from late summer right through fall. I always think it’s worth mixing them up for the longest show possible.
When you’re figuring out where to put your mums, make sure they get at least six hours of sunlight. Well-drained soil is a must—nobody likes soggy roots, especially not mums.
They really thrive in raised beds or borders where water drains off quickly. Tossing in some organic compost keeps the soil loose and healthier in the long run.
Try using mums in different ways:
- Borders: Line walkways or fences for a bright edge.
- Containers: Put them in pots for patios, decks, and doorways.
- Mixed beds: Pair mums with asters, ornamental grasses, or autumn foliage for more texture and color contrast.
Chrysanthemum Type Bloom Time Ideal Use Early-season Late summer borders and mixed beds mid-season Early fall accent plantings Late-season Late fall containers and focal points
You can group mums of similar height and color for a tidy look. Or, mix up heights for something more relaxed and natural.
Space them about 18 inches apart so each plant has room to spread. Crowding just leads to problems nobody wants.
Troubleshooting Common Problems
Even with the best care, moms can still run into trouble. Spotting issues early makes fixing them a lot easier.
Keep an eye out for changes in leaf color, growth, or flower quality. Sometimes you’ll catch something before it gets out of hand.
Common Issues and Fixes
Problem Likely Cause Simple Fix Yellowing leaves: Overwatering or poor drainage Let the soil dry slightly; improve soil drainage. Wilted or drooping stems Root rot or drought stress Check roots for rot and adjust watering schedule. White or gray mold on leaves Fungal disease like powdery mildew or botrytis Remove affected leaves and increase air circulation. Sticky leaves or curling tips Aphids or other sap-sucking pests Spray with insecticidal soap or neem oil Weak or spindly growth Low light or excess nitrogen Move to a sunnier spot; use balanced fertilizer.
Notice discolored spots or fuzzy stuff on leaves? That’s usually a sign of fungal infections, which love damp, crowded places.
Prune off damaged leaves and try not to wet the foliage when watering. It’s a simple step, but it helps a lot.
If your blooms seem to fade too quickly, check for nutrient problems or high temps. Give them a balanced fertilizer and maybe a little afternoon shade if things get really hot.
Check your moms regularly for pests and diseases. Keeping the area clean and clearing away plant debris goes a long way toward preventing future problems.
Frequently Asked Questions
Caring for chrysanthemums means paying attention to water, light, soil, temperature, and pruning. Good care helps your moms grow healthy foliage and bloom longer through the season.
How often should I water mums, and how do I avoid overwatering?
Water when the top inch of soil feels dry. Usually, that means every few days during hot spells, and less often when it cools down.
Use well-draining soil or containers with drainage holes to keep roots from sitting in water. Deep watering is best—it encourages roots to grow down instead of staying shallow.
What light conditions do moms need indoors versus outdoors?
Outdoors, mums love full sun for at least six hours daily. More light means stronger stems and more blooms.
Indoors, put your mums near a bright window with lots of indirect sunlight. Rotate the pot every few days so the plant grows evenly and doesn’t lean.
What’s the best potting mix and container size for growing mums in pots?
Pick a light, well-draining mix that holds a bit of moisture but never stays soggy. Adding perlite or coarse sand can help with drainage.
Choose a pot at least 10 to 12 inches wide, with a deep base and drainage holes. That keeps roots happy and helps avoid fungus.
How do I care for mums in winter, and can they survive frost?
If you’re in a mild climate, hardy mums can stay in the ground. After the first frost, cut stems back just above the soil and cover roots with mulch for extra warmth.
In colder places, bring potted mums indoors or into a garage. Keep them cool and just barely moist until they start growing again in spring.
When and how should I prune or pinch mums to get more blooms?
Start pinching back new growth when shoots reach about 6 inches tall. Snip off the top tips to help the plant branch out and set more buds.
Stop pinching around mid-July. That gives the buds time to form before fall, so you get a fuller, more balanced display of flowers.
Can I grow mums from seed, and what’s the typical timeline to flowering?
Yep, you can grow mums from seed, though you’ll need some patience for this one. Start those seeds indoors in early spring, about 8 to 10 weeks before your last expected frost.
Seedlings usually need four to six months to bloom, but it really depends on the variety and how you’re growing them. A lot of folks just go with cuttings or established plants since it’s quicker and you know what color you’re getting.