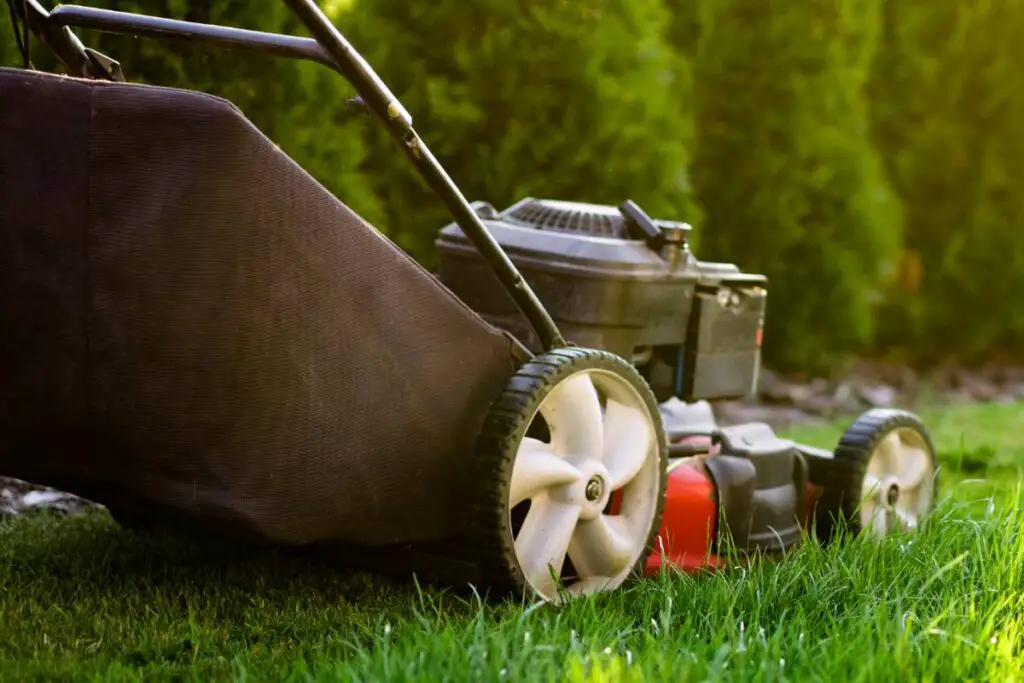
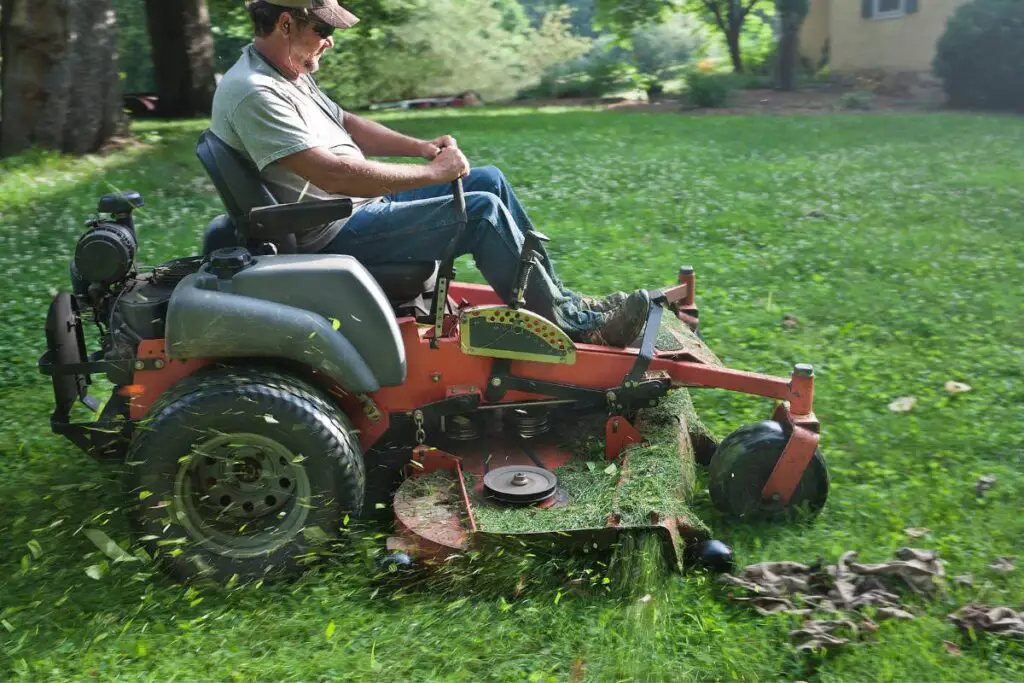
Mowing your lawn is not the only thing you should consider while maintaining it. Mowing the lawn is easy, but removing the mess by walking can be a huge task, especially when the yard is huge. That’s why you might want to add a bag to your lawnmower.
Generally, it is possible to add a bag to a lawnmower if it doesn’t come with one. Attaching a bag to the lawnmower can save time as it can fetch all the clippings while you trim the lawn. To install it correctly, pick the right size bag and secure it to the attachment properly.
This article will help you with how you can add a bag to your lawnmower and along with the mistakes to avoid.

How to add a grass bag to your lawnmower?
Adding a bag to the lawnmower depends on the model you have.
First, let’s discuss the summary, then we will get into the details.
If you want to add a grass catcher bag to your riding lawnmower, you must add a bracket to support the grass bag.
After attaching a bracket, seal the grass bag on it.
Then, by using a tube, attach the side discharge port with the grass bag.
If you want to add a grass bag at the backside of the push lawnmower, first, you need to unlock the end discharge cap, unbolt the hooks of the grass bag, connect it to the end discharge of the push mower and then lock it again with the help of hooks.
If you want to add a side grass bag to push the lawnmower, you must first discover the area for installing it.
After discovering, fix the discharge channel, and connect the grass bag with the side discharge channel with the help of clamps and hooks.
Then you are ready to go.
You may think adding a grass catcher bag to the lawnmower is a complicated process, but you need to give hardly 30-45 minutes for the complete set-up.
You need to follow the steps properly for setting up the bag.
Then, it will get much simpler. Let’s discuss the procedure in detail.
Things to follow before starting the installation of a grass catcher bag
Before you plan to install a grass catcher bag on your lawnmower, there are some things you need to consider:
1. Right place to attach a grass catcher bag
Every lawnmower has a designated place to attach a grass catcher bag.
According to different models, lawnmowers have different locations made for attachments.
So, you must find the correct area for adding a grass catcher bag.
You can take help from the lawnmower’s manual to find out the area for the correct attachment.
2. Prepare for your safety
You must ensure that you don’t get injured while installing the bag.
Some attachments are made near the blade, which can be risky.
To avoid any injury, you must wear gloves.
3. Keep basic tools
Before installing the bag, you must be prepared with basic tools, i.e., a screwdriver, locking pliers, a socket wrench, etc.
Without the necessary tools, you can’t perform any installation.
Adding a side grass bag to the riding lawnmower

There are many types of grass catcher bags that you can attach to the lawnmower.
Some grass catcher is attached at the end of the lawnmower and uses the backside discharge.
But if the lawnmower has a side release port instead of the backside, you can use a pipe to attach a grass bag with the side release port.
This method is usually done when riding a lawnmower which we will discuss here.
Required tools:
Before starting the installation, make sure you have all the tools mentioned below:
- Bracket: To provide grip to the grass catcher bag
- Grass catcher bag
- Screws or nuts: To lock the grass bag with a bracket.
- Pipe: To attach the grass bag with the side release port.
- Socket wrench
After you are ready with all these tools, let’s start to attach the bag.
Looking for gardening supplies? We have tested 100's of products before recommending them to you guys. Check out our best pick below:
| Image | Gardening Supplies | Best Price? |
|---|---|---|
 Top
Top Top
Top | Raised Garden Bed Kit | Check On Amazon |
 | XLUX Soil Moisture Meter, Plant Water Monitor, Soil Hygrometer Sensor for Gardening, Farming, Indoor and Outdoor Plants, No Batteries Required | No Results |
 Top
Top Top
Top | 82 Pcs Garden Tools Set and Extra Succulent Tools Set | Check On Amazon |
 | Joeys Garden Expandable Garden Hose with 8 Function Hose Nozzle, Lightweight Anti-Kink Flexible Garden Hoses, Extra Strength Fabric with Double Latex Core, (50 FT, Black) | No Results |
 Top
Top Top
Top | Dual Chamber Compost Tumbler | Check On Amazon |
 Top
Top Top
Top | Sunnyglade Plant Stakes | Check On Amazon |
 Top
Top Top
Top | Organic Cold Pressed Neem Seed Oil | Check On Amazon |
 Top
Top Top
Top | Mighty Mint Gallon :-Insect and Pest Control Peppermint Oil | Check On Amazon |
 Top
Top Top
Top | Scotts DiseaseEx Lawn Fungicide | Check On Amazon |
 Top
Top Top
Top | Jacks Classic 20-20-20 All Purpose Fertilizer | Check On Amazon |
 Top
Top Top
Top | 30,000 Seeds Pollinator Attracting Wildflower Mixture | Check On Amazon |
 Top
Top Top
Top | Survival Vegetable Seeds Garden Kit-Over 16,000 Seeds | Check On Amazon |
1. Arrangements
Keep your riding lawnmower on a plain surface and turn the engine off.
Be aware that the brake is seized, so the mower won’t start while you attach the catcher bag.
Then wear your gloves to avoid injury.
2. Fix the bracket
Attach the bracket with the help of screws to fix it to the riding lawnmower.
As every riding lawnmower model differs, you must locate the correct area to attach the screws.
For tightening up the screws, use a socket wrench so that it doesn’t fall off and hold the bracket properly.
After the screw is tightened at the back of the riding lawnmower, fix the bracket into it.
3. Attach the bag fitment and the bag
Then install the bag fitment to the bracket and fix it properly.
Before attaching the bag fitment, you will see a split pin.
First, remove the split pin, then set the fitment in the middle of the bracket.
Then, tightly lock the bag fitment to the bracket using a socket wrench.
Then, fix the split pin back in place so the bag fitment will stay attached properly.
After that, you can keep the grass bag on top of the bag fitment.
4. Join the grass bag to the side release port
You should use a pipe to attach the grass bag to the side release port so the grass clippings flow directly to the grass bag.
Generally, the pipe has 2 ends.
Fix one end to the side release port with the help of hooks.
And attach another end in the grass bag hole and then hook it properly.
After installing the grass catcher bag, check whether the fitment is properly locked.
You can examine this by shuddering the fitment with the hands.
If you notice that the fitment shakes or comes off, then it is not properly tightened.
Ensure the screws are tight, so the grass catcher doesn’t drop off because of the heaviness of the grass clippings.
With this step, now the whole installation process is done, and it’s ready to use.
Adding a grass catcher bag to push the lawnmower at the backside
Follow the steps given below to add a grass catcher bag at the back of your push mower.
1. Arrangements
Keep your push lawnmower on a plain surface and turn the engine off.
Also, prepare all the required tools with safety gloves.
2. Discover the installation place
Locate the place where the grass bag needs to be attached.
If you can’t figure it out visually, you can check the lawnmower’s manual to discover the right place.
3. Clean the installation surface
Before holding the assembly with bolts, hinges, and hooks, clean the installation place by using a wet cloth.
4. Must know the parts that need to be installed
A grass bag catcher consists of a frame and a bag for keeping the bag attached to the lawnmower.
You have to install these two things.
The frame needs to be fixed at the base to hold the bag.
Also, the grass bag catcher handle should point upwards so you can simply grip it.
5. Attach the grass catcher bag
Remove the lid of the end discharge port of the push lawnmower and fix the catcher bag.
Attach the bag with the help of bolts, hooks, and clamps tightly, and make sure it doesn’t come off due to weight.
The push lawnmower is ready to work when the catcher bag is fixed with the rear discharge.
Adding a grass bag to the side release port of the push lawnmower
Let’s see the step to add a grass bag to the side release port of the push lawnmower:
1. Arrangements
Keep your push lawnmower on a plain surface and turn the engine off. Also, get ready with the tools and gloves.
2. Attach a side release chute
You should get and install one if you have a push lawnmower that doesn’t include a side-release chute.
First, discover the place to install the side release chute, remove the lid of the side release port and then attach the chute with the help of hooks and bolts.
The chute needs to be attached properly. So, make sure to attach it tightly.
3. Must know the parts
Like the end grass catcher, the side catcher also consists of two parts, i.e., a bag and a frame.
But the only difference is, here, the frame needs to be fixed on the inside of a bag.
First, put the frame inside the grass bag.
Then fix the catcher at the base.
Also, the handle must point outward and up for a good grip.
4. Attach the grass bag
After attaching the discharge chute, you should take a tube (try to use a foil tube) to connect the grass bag with the side release port.
Or you can also directly connect the catcher bag with the side discharge chute.
To ensure it doesn’t get detached, use the hooks into the discharge chute cover’s opening.
Then fix the bag’s hanger hooks in the bag notch.
A notch is like a curved metal piece that helps to hook the hanger to make it upward to grab it easily.
While connecting the grass catcher bag with a push mower, ensure the chute fits properly.
Otherwise, it can twist while mowing the grass.
Use clamps and hooks to seal it properly.
The grass bag must be attached properly so it stays on.
Now, you can mow the lawn freely without worrying about the grass clippings on your lawn.
Why adding a bag to the lawnmower is important?
There are a few advantages to adding a bag to the lawnmower.
Let’s discuss each.
- Helps to maintain look: If the grass in your lawn grows extremely long, it will leave many grass clippings while mowing it. This makes the lawn less appealing, especially when the grass clippings turn brown and dry. So, storing the waste in one place is better to avoid mess.
- Can work as a natural fertilizer: Rather than leaving the grass clippings on your lawn, you can use it as a natural fertilizer. You can combine grass clippings, dead leaves, and newspaper to make them your natural fertilizers. You can use this nutrient-rich fertilizer for plants around your garden.
- Helps to prevent fungal diseases: Grass clippings, especially when they are longer, hold a great amount of moisture. This moisture can invite various kinds of fungal infections or diseases. You can easily prevent the growth of fungal diseases by adding a bag to the lawnmower.
- Save you from scraping with a rake: If many trees surround your garden, your lawn already stays covered with leaves. Mowing the lawn without a bag will make you clean up the grass clippings with the rake.
Using a bag, you can avoid scraping the ground with a rake where you can just throw the clippings directly from the bag.
It saves a lot of time and requires less labor.
Can you leave grass clippings on your lawn?
If you are leaving the grass clipping all over your lawn, it helps to recycle the nutrients back into the lawn.
For example, nitrogen.
Normally, grass clippings contain 4% of nitrogen.
So, if you leave it all over the lawn, it can feed the grass annually with 25% nitrogen.
This can save you a lot of money and time every year.
Grass clippings also work as a natural mulch on the lawn that is not too thick.
It can maintain moisture to prevent drought stress on the lawn.
So, if you want, leave the grass clippings until and unless the grass is too long and thick.
If it is, then using a bag is better.
Final words
Cleaning your lawn every time after trimming with a mower takes a lot of time and effort. A grass bag attached to the lawnmower can help to fetch the grass easily, resulting in a clean and healthy lawn.
There are many options for attaching the bag; it completely depends on the lawnmower type. Attaching a bag to the lawnmower is not hard once you know the correct procedure. So, make sure you install the bag properly.
Reference: Lawn Mower Technology, Lawn Mower Safety, Lawn Mowing, Lawn Care, Mowing your lawn.
