
Ever wondered if you should trim those curious air roots on your orchids? You’re not alone! Yes, you can trim orchid air roots, but it’s important to do it carefully. Orchids are such fascinating plants, aren’t they? 🌸
I remember the first time I faced those tangled air roots. I thought, “Do I cut them or let them be?” If you’ve asked yourself this, you’re in the right place. Trimming air roots can help with the plant’s overall appearance and prevent them from taking over your living space. Before you grab your scissors, let’s make sure we do it the right way.
Imagine this: you’re hosting friends over, and this beautiful orchid with neat roots becomes the centerpiece of your living room. Sounds nice, right? If you’re ready to give your orchids a neat look and make them the envy of your friends, keep reading. Got any tips or tricks? Share them in the comments below! 👇
Understanding Orchid Air Roots
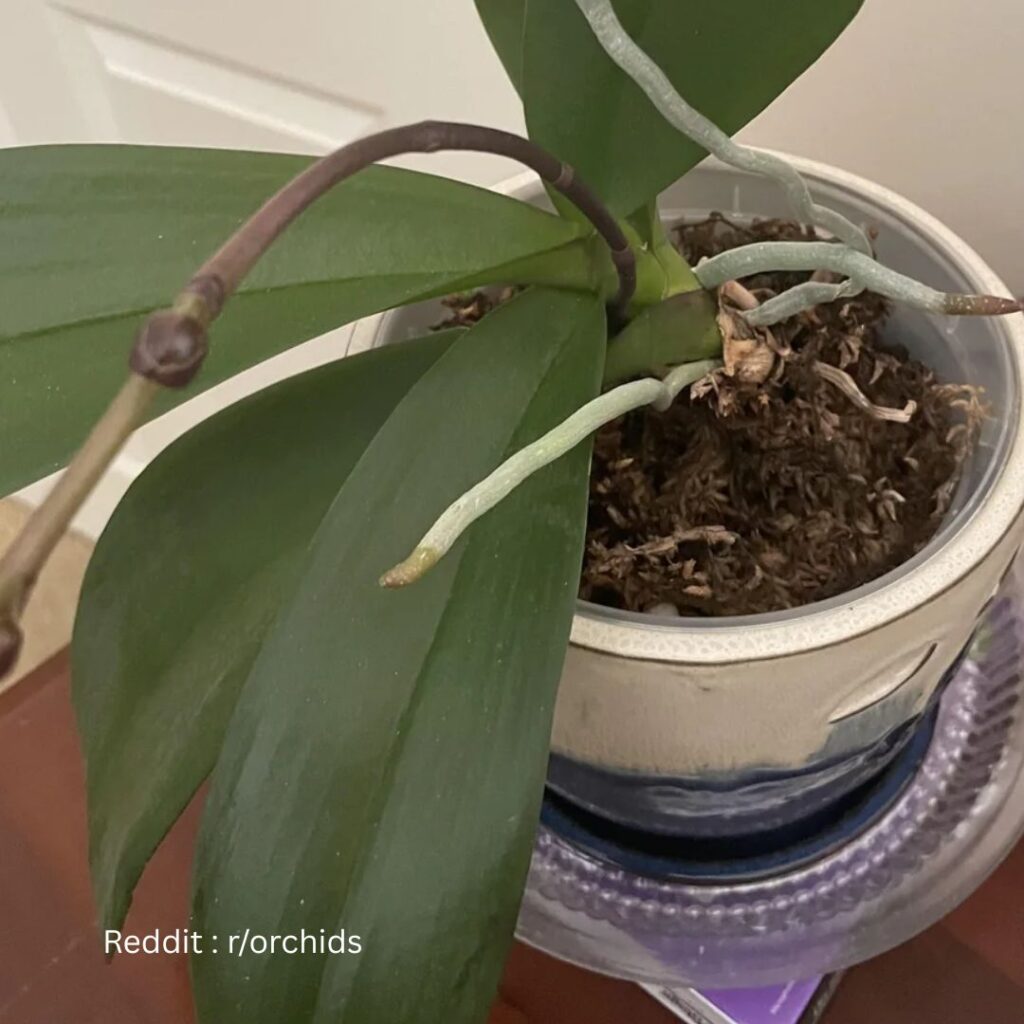
Ever spotted those roots sticking out of your orchid pots? 🌱 They are called air roots.
Air roots are normal for orchids. They help the plant soak up moisture and nutrients from the air. Pretty cool, right? 👍 If they look healthy—green or white—they’re doing their job.
Sometimes, these roots can grow a bit wild. Ready to tidy them up? Don’t worry! Just make sure not to trim too much. Over-cutting can stress your plant.
Got any tips or questions about orchid care? Drop them in the comments below! 😊
The Importance of Air Roots to Orchid Health
Orchid air roots are more than just extra bits sticking out. They play a crucial role in the plant’s well-being. 🌱
Air roots help orchids absorb moisture from the air. This is especially important in their natural habitat, where humidity levels are high.
Think of air roots as the orchid’s way of breathing. They take in oxygen directly from the environment, supporting the plant’s growth and health.
Ever noticed how healthy air roots are firm and green? That’s a sign they’re doing their job well. 💚
Air roots also anchor the orchid in its pot. By wrapping around objects, they help the plant stay stable.
Got air roots popping out everywhere? Don’t trim them without a good reason. Trimmed roots can affect the plant negatively.
Have you ever tried to trim an air root? How did it go? Share your thoughts in the comments! 🌸
When to Consider Trimming Orchid Air Roots
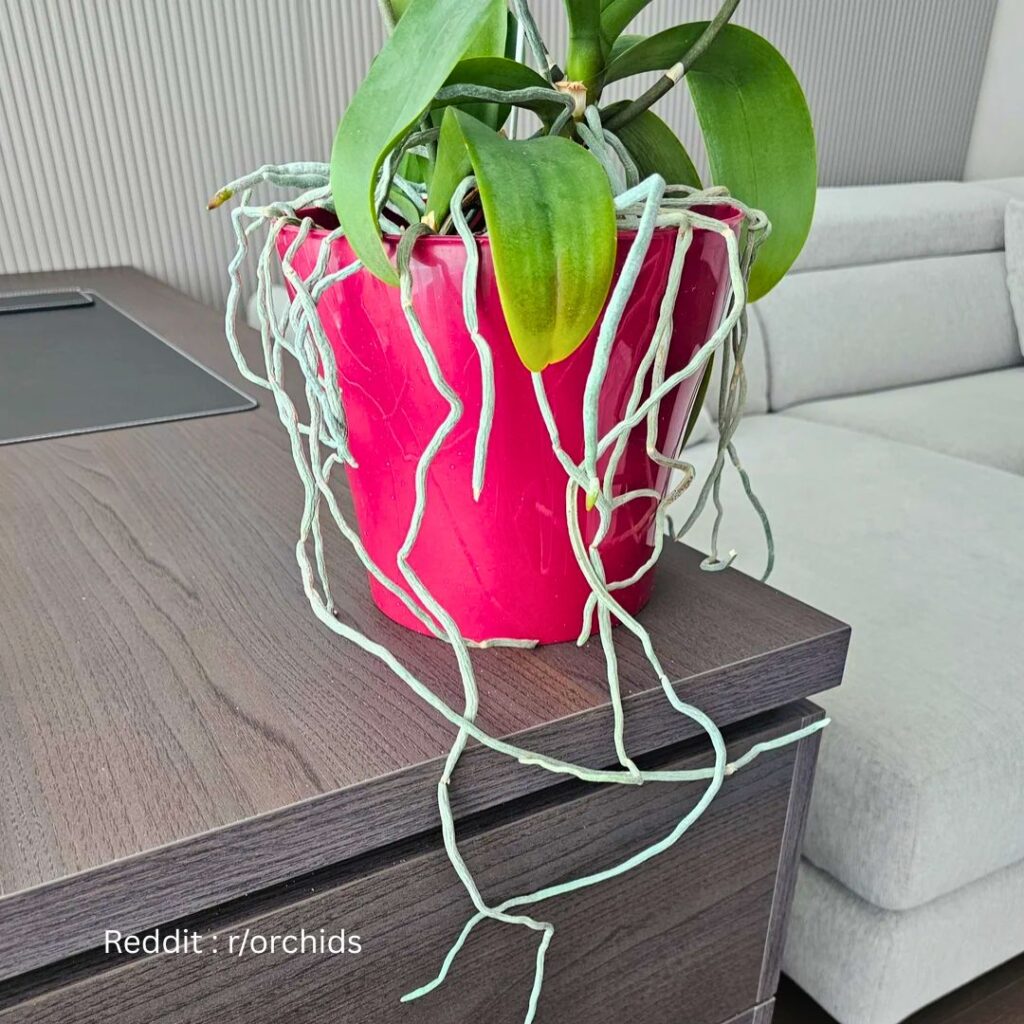
Trimming orchid air roots can help keep your plant healthy and looking good. Let’s explore when it’s best to give those roots a little trim.
Overgrown Air Roots
When orchid air roots start growing wildly, they can look messy or even tangle together. While some might think more roots are better, overgrown air roots can take away from the beauty of your orchid.
I trim my orchid’s air roots when they seem to be taking over the plant. Too many roots can also crowd the pot, leaving less space for other parts of the orchid to grow. Keeping them tidy helps to maintain balance and allow the plant to flourish.
Tip: Use sharp, clean scissors to avoid any damage or infection to your orchid. 🌸
Damaged or Diseased Air Roots
Have you noticed any roots that look brown, mushy, or shriveled? These are signs of damage or disease. Cutting these damaged or diseased roots helps to stop any infection from spreading to other parts of the plant.
It’s also important for the overall health of the orchid to remove any sick roots. I check my orchids regularly to catch any problems early.
Make sure to disinfect your tools before and after trimming to prevent spreading any disease. A little care goes a long way to keep your orchid thriving.
Question: Have you ever trimmed your orchid’s air roots? Share your experience in the comments! 🌿✨
Preparing for the Trim
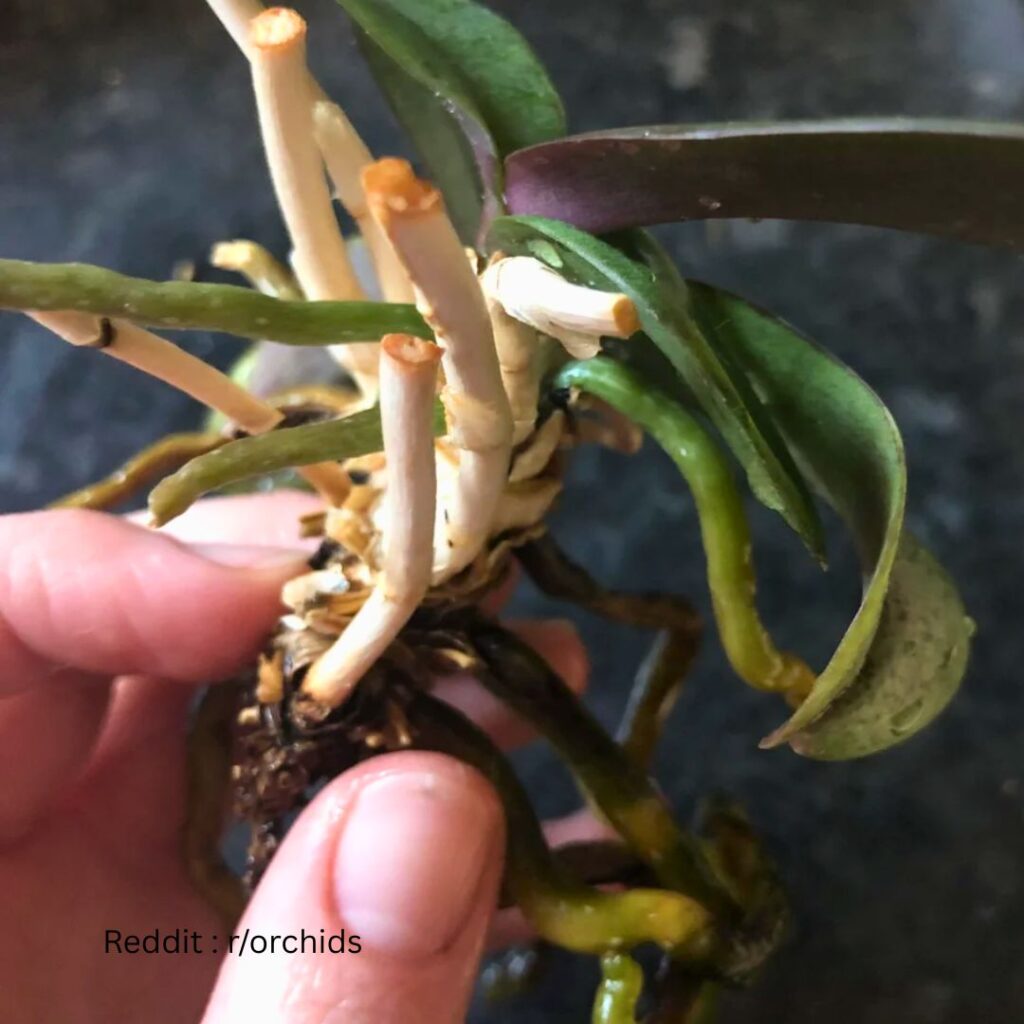
When getting ready to trim your orchid’s air roots, it’s important to gather the right tools, make sure your equipment is clean, and check the environment.
Gathering the Right Tools
First things first, let’s talk tools. You’ll need sharp scissors or pruning shears. Dull tools can hurt the orchid, so make sure they’re sharp. Got an old pair lying around? Time to upgrade! Also, grab a small towel for wiping the roots and a container for catching cut pieces.
Don’t forget a small spray bottle with water for keeping the roots moist during the trim. This helps prevent them from drying out.
It’s always a good idea to have a clean workspace. A tidy spot makes the whole process smoother and keeps everything sanitary. 🍃
Sterilizing Equipment
Clean tools are super important to avoid spreading diseases. How do you do it? Easy! Use rubbing alcohol or a diluted bleach solution (1 part bleach to 9 parts water). Dip your scissors or shears in the solution and wipe them dry with a clean cloth.
Some gardeners use a lighter or flame to sterilize metal tools. Just be careful and make sure to let them cool before using them! 🔥
By keeping your equipment clean, you’re ensuring a healthy trim for your orchid.
Optimal Environmental Conditions for Trimming
Before you start cutting, check the conditions. Orchids prefer a humid environment. If the air is too dry, use a humidifier or the spray bottle to moisten the area around the plant.
Make sure the temperature is comfortable, around 70-80°F. Too hot or too cold can stress the orchid. Also, try to trim in a well-lit area. Better light means better visibility for a cleaner cut!
Let’s make trimming a stress-free and fun experience for both you and your orchid! 🌸 Have you ever trimmed your orchid’s air roots? Share your tips or questions in the comments below!
Step-by-Step Guide to Trimming Air Roots
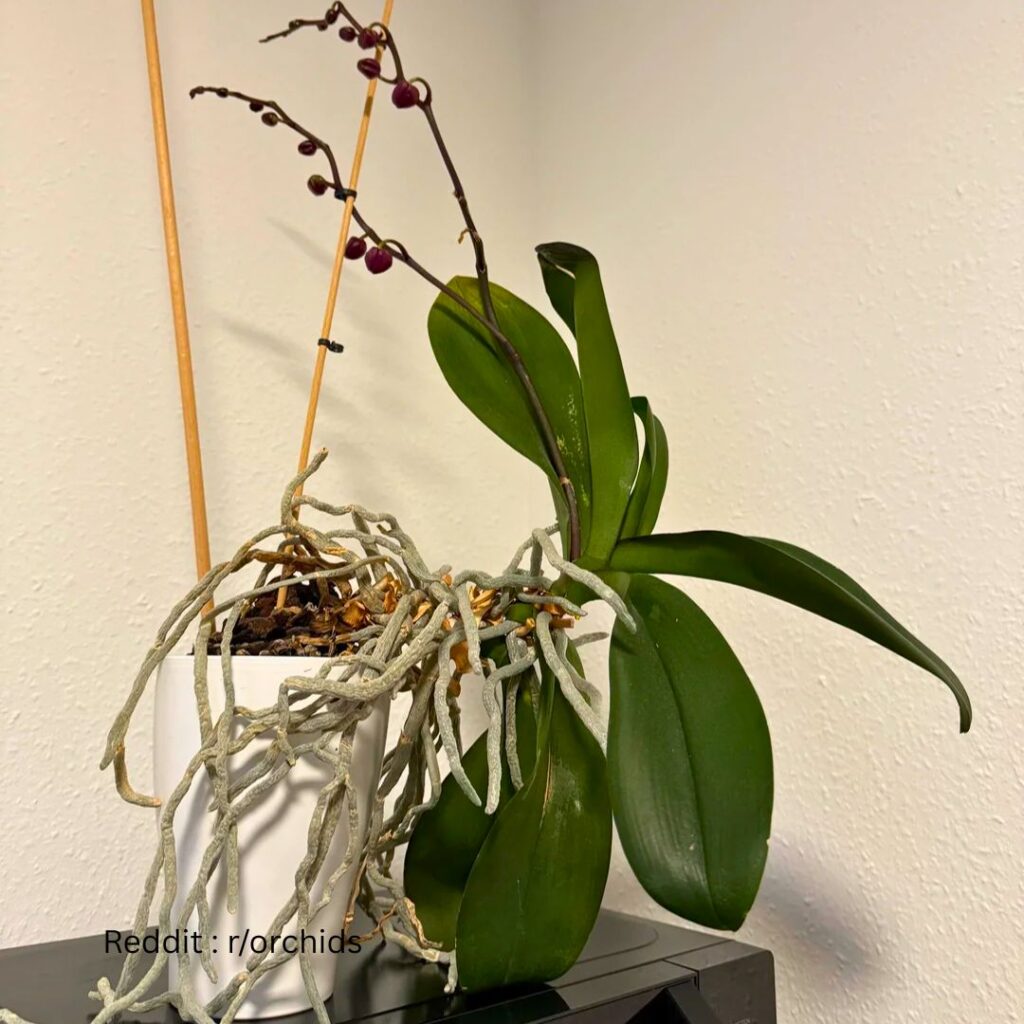
Ever wondered if you can trim orchid air roots without harming the plant? 😊 Let me walk you through it!
Materials Needed:
- Clean scissors or pruning shears
- Rubbing alcohol
- Damp cloth
Step 1: Sterilize the Scissors
Before you start, make sure to clean your scissors or pruning shears with rubbing alcohol. This helps prevent any infections. 🧼
Step 2: Identify Healthy vs. Unhealthy Roots
Only trim the unhealthy air roots. Healthy roots are usually firm and green, while unhealthy ones may be brown or mushy. 🌱
Step 3: Trim the Unhealthy Roots
Carefully cut the unhealthy roots close to the base. Don’t tug or pull. Just a gentle snip! ✂️
Step 4: Wipe the Plant
After trimming, gently wipe the plant with a damp cloth. This helps remove any dust or debris.
Step 5: Monitor for a Few Days
Keep an eye on your orchid for a few days after trimming. Make sure it’s doing well and looking happy! 🌸
Feeling confident about trimming those air roots now? 😃 Share your experience or ask any questions in the comments below! 👇👩🌾
Caring for Your Orchid Post-Trim

Taking care of your orchid after trimming its air roots ensures healthy growth and recovery. Let’s dive in!
Watering After Trimming
Once you’ve trimmed the air roots, it’s important to adjust your watering routine. Orchids need a bit more attention during this period. 🪴 Instead of soaking the roots immediately after trimming, give the plant a few days. This allows any cuts to heal and prevents potential infection.
Tip: Use a spray bottle to mist the roots lightly.
Water your orchid in the morning so it has time to dry. Direct sunlight can cause burns on wet leaves or roots. Make sure the plant is in a well-draining pot. Orchids don’t like to sit in water. Too much water can lead to root rot.
Monitoring Air Roots Recovery
After the trim, keep an eye on the new growth. Healthy air roots should appear green and firm. If you notice any soft or discolored roots, it may indicate over-watering or a fungal issue.
Check your orchid’s roots every week. 🌱 Are they growing well? Use a gentle touch when inspecting them. Healthy air roots will become more active as they adapt. Encourage growth by placing your orchid in a bright, well-ventilated area.
Remember, each orchid is unique. These little tips help them thrive! Have questions or tips of your own? Drop them in the comments below. 😊
Common Mistakes to Avoid During Trimming
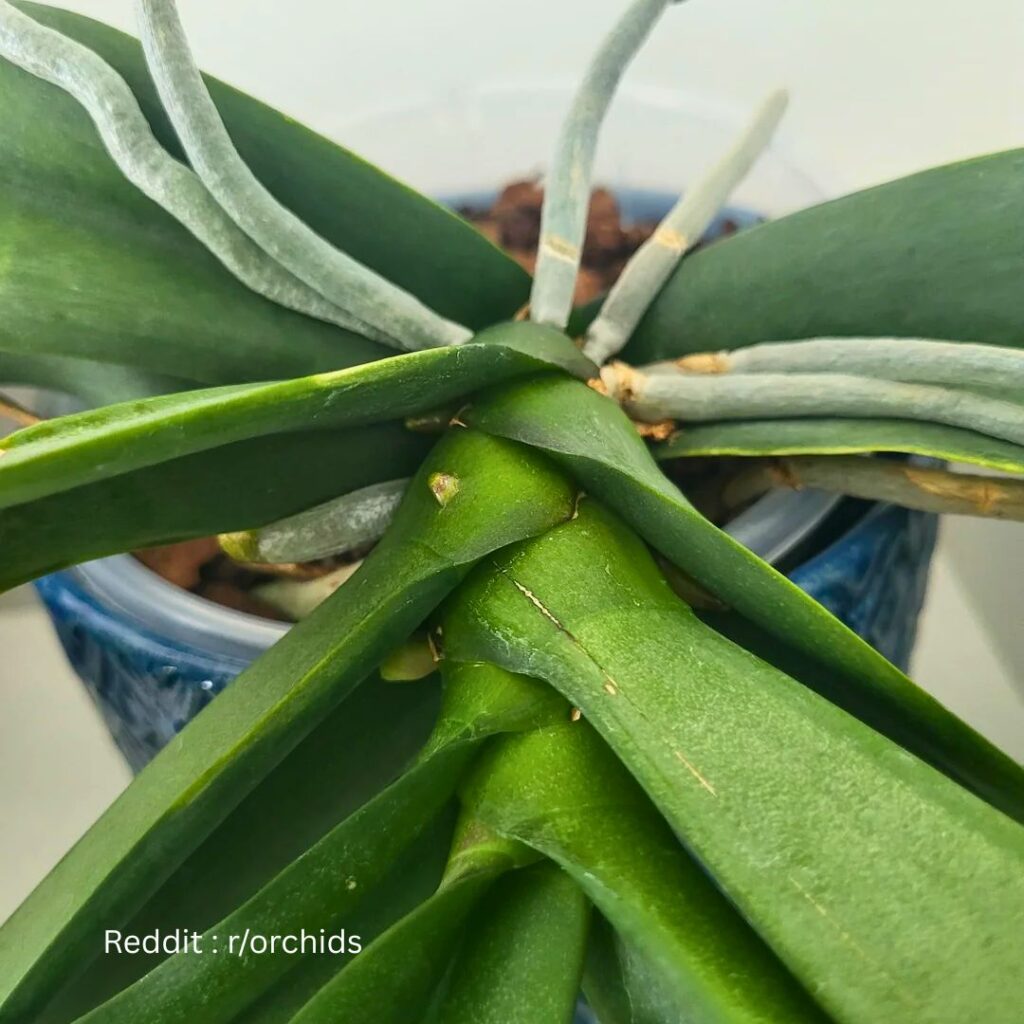
Trimming orchid air roots can be tricky. Here are some common mistakes to watch out for:
1. Cutting Healthy Roots:
It’s easy to mistake healthy air roots for dead ones. Healthy roots are firm and green. If you cut them by accident, your orchid might struggle to get enough nutrients.
2. Trimming Too Much:
Less is more. If you trim too many air roots, your orchid could get stressed out. Think of air roots as the plant’s way of breathing. Cut only what’s necessary.
3. Using Dirty Tools:
Always use clean, sharp scissors. Dirty tools can spread infections. I always disinfect my scissors with alcohol before trimming.
4. Neglecting Aftercare:
Once you’ve trimmed the roots, make sure to keep your orchid in a clean, humid environment. This helps it recover faster.
5. Ignoring Signs of Stress:
If your orchid starts to look weak after trimming, it might be stressed. Watch for any changes and adjust your care routine if needed.
Ever made any of these mistakes? 😅 Share your stories in the comments! 🌸
Would love to hear your tips on how you keep your orchids happy and healthy! 💬
When to Seek Professional Advice
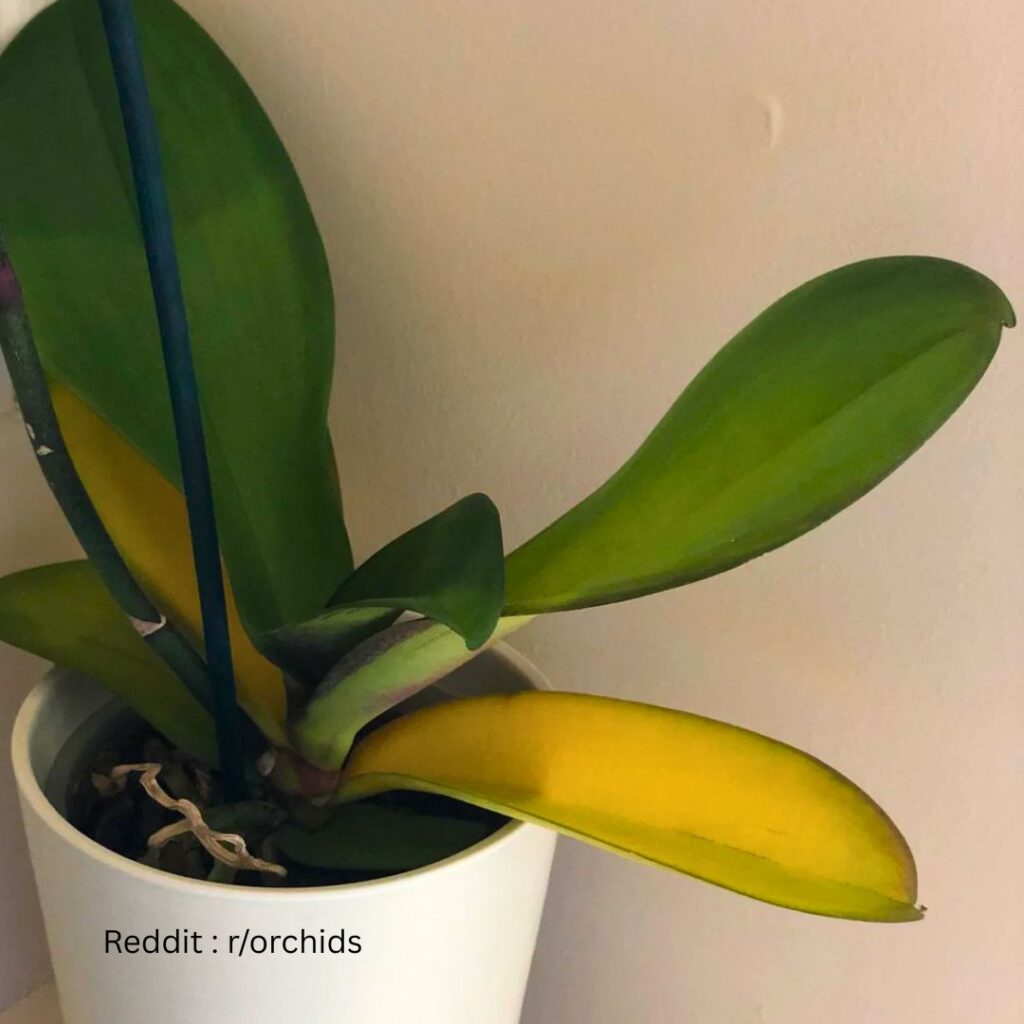
I know caring for orchids can sometimes be tricky. 🌱 Sometimes it’s best to seek professional advice.
If you notice unusual spots or discoloration on your orchid’s leaves, it might be time to ask for help. 👀 Yellow or black spots can indicate bigger problems.
Another sign to watch for is if the roots are turning mushy or have an unpleasant smell. 🤢 Healthy air roots should be firm and white or green.
If your orchid struggles to bloom year after year, it may need a bit more attention. 🌸 A professional can give tips on improving its environment for better growth.
Ever tried trimming air roots and felt unsure? It’s okay! 📏 Consulting a professional can help you avoid damaging the plant and ensure it stays strong.
I love learning from others, and asking an expert can lead to new tips and tricks for keeping my orchids happy. 🏡
Have any of you had to seek professional advice for your orchids? Share your experiences in the comments! 💬
Frequently Asked Questions
Orchid air roots are a common topic for plant lovers. I get a lot of questions about these quirky roots and whether trimming them is safe. Let’s dive into some of the most frequently asked questions. 🌿
What should I do if my orchid’s air roots are getting too long?
When air roots get too long, it usually means your orchid is happy and healthy. If they’re getting in the way, gently tuck them back into the pot. You can also use a larger pot to give them more room.
How do I care for aerial roots that are drying out on my orchid?
Drying air roots might need a bit more humidity. I like to mist them lightly every few days. Make sure your orchid’s environment isn’t too dry—it helps to place the plant near other moisture-loving plants.
Is it safe to trim the air roots of my orchid?
Trimming air roots is usually not recommended as it can harm your orchid. These roots are vital for the plant’s health, helping with air and moisture absorption. When in doubt, it’s better to leave them be.
Can I repot my orchid if it has developed many air roots?
Yes, you can repot orchids with lots of air roots. Choose a larger pot and use fresh orchid mix. Be careful to handle the roots gently to avoid damage. It’s a great way to give your plant more space to thrive.
Is it possible to encourage healthy growth by trimming orchid air roots?
While it might seem like trimming would help, it’s best to encourage healthy growth through proper care. Maintaining good light, humidity, and watering routines will support your orchid’s overall health.
Are there specific techniques for safely cutting back orchid aerial roots?
If you absolutely must trim, use sterilized scissors to avoid infection. Cut only the dead or damaged parts. Avoid cutting healthy roots as they’re crucial for your orchid’s well-being. Always err on the side of caution.