
Getting the soil right is where it all begins with chrysanthemums. Mums thrive in well-draining soil with a slightly acidic to neutral pH between 6.0 and 7.0, rich in organic matter.
If your soil holds too much water or doesn’t have enough nutrients, your mums just won’t bloom as well or grow as strong. Over the years, I’ve seen that the real difference between average mums and those jaw-dropping ones usually comes down to what’s happening below the surface.
The right soil mix gives roots room to breathe while holding just enough moisture. Whether you’re planting in garden beds or containers, understanding what mums want underground makes everything else easier.
Key Soil Characteristics for Healthy Chrysanthemums
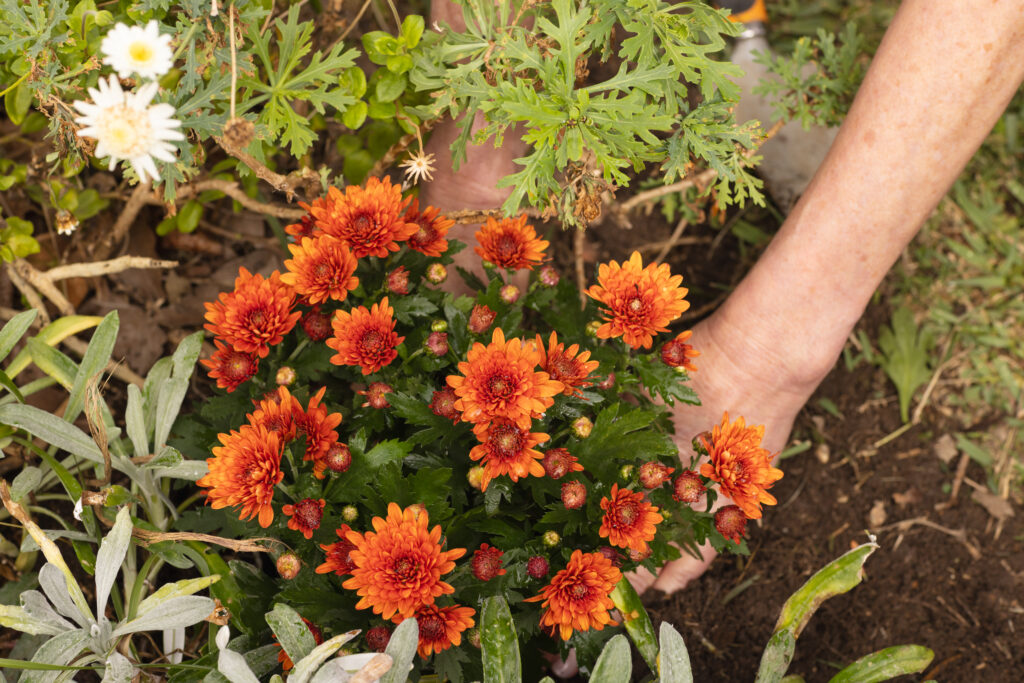
Chrysanthemums need soil that drains well but still holds some moisture and nutrients. The right pH and texture really help prevent root rot and keep your mums looking lively.
Well-Draining Structure (Because Soggy Roots Are a Mum’s Worst Enemy)
I always start with a soil mix that lets water move through quickly. Mums just can’t stand sitting in waterlogged soil—roots rot, and the plants wilt even if the soil feels damp.
Quick Tip: If water pools on top for more than a few seconds after watering, your soil’s too heavy.
To improve drainage, I mix in perlite or coco coir. Perlite creates little air pockets for excess water to escape. Coco coir does that too, but it also hangs onto a bit of moisture for roots to sip later.
For garden beds, I spread a 2-inch layer of compost and work it into the top 6 inches. That breaks up clay and helps sandy soil stick together better. Clay on its own drains poorly, while sand drains too quickly.
Nutrient-Rich Composition (Fuel for Those Show-Stopping Blooms)
Mums are hungry plants, especially when they’re gearing up for a big flower show. I like a soil mix loaded with organic matter—compost or aged manure works well. These break down slowly and feed the roots over time.
Quick Tip: Mix in a slow-release fertilizer at planting. That way, your mums get steady nutrition for months without you having to fuss over them every week.
My ideal mum soil has about 25-30% compost by volume. Each spring, I toss in more compost to replace what’s broken down. You’ll notice thicker stems and bigger blooms when the soil’s rich.
I also mulch around the base with a 2-inch layer. Mulch keeps the soil cool, holds moisture, and feeds the soil as it breaks down. Just don’t push it right up against the stems—leave an inch of space to prevent rot.
Balancing Moisture and Aeration (The Goldilocks Zone for Mum Roots)
Roots need both water and air. I want a soil mix that feels moist but crumbles when I squeeze it. If it clumps into a tight ball, it’s holding too much water and suffocating the roots.
Quick Tip: Stick your finger 2 inches into the soil—if it’s dry down there, it’s time to water.
Adding perlite or coco coir creates tiny air channels that stay open even when the soil’s damp. I shoot for about 20% perlite in my potting mix. It keeps roots breathing while they drink.
In the garden, I avoid stepping on the soil around my mums. I don’t press down hard after watering, either. Loose soil lets roots spread and soak up what they need.
Recommended Soil pH Levels (Getting Acidity Just Right for Maximum Nutrient Uptake)
Mums like their soil slightly acidic to neutral. The sweet spot is pH 6.0 to 6.5. At that level, roots can pull up the nutrients they need for healthy growth and bright blooms.
Quick Tip: Test your soil pH every couple of years—those cheap kits at garden centers work fine.
If your pH is too high (over 7.0), I add sulfur or peat moss to lower it. If it’s too low (under 5.5), I work in some lime to raise it.
Wrong pH can cause yellow leaves, even if you’re fertilizing. The nutrients are there, but the roots just can’t grab them. I’ve definitely learned that the hard way with pale mums in otherwise rich soil.
Choosing and Preparing the Best Soil Mix
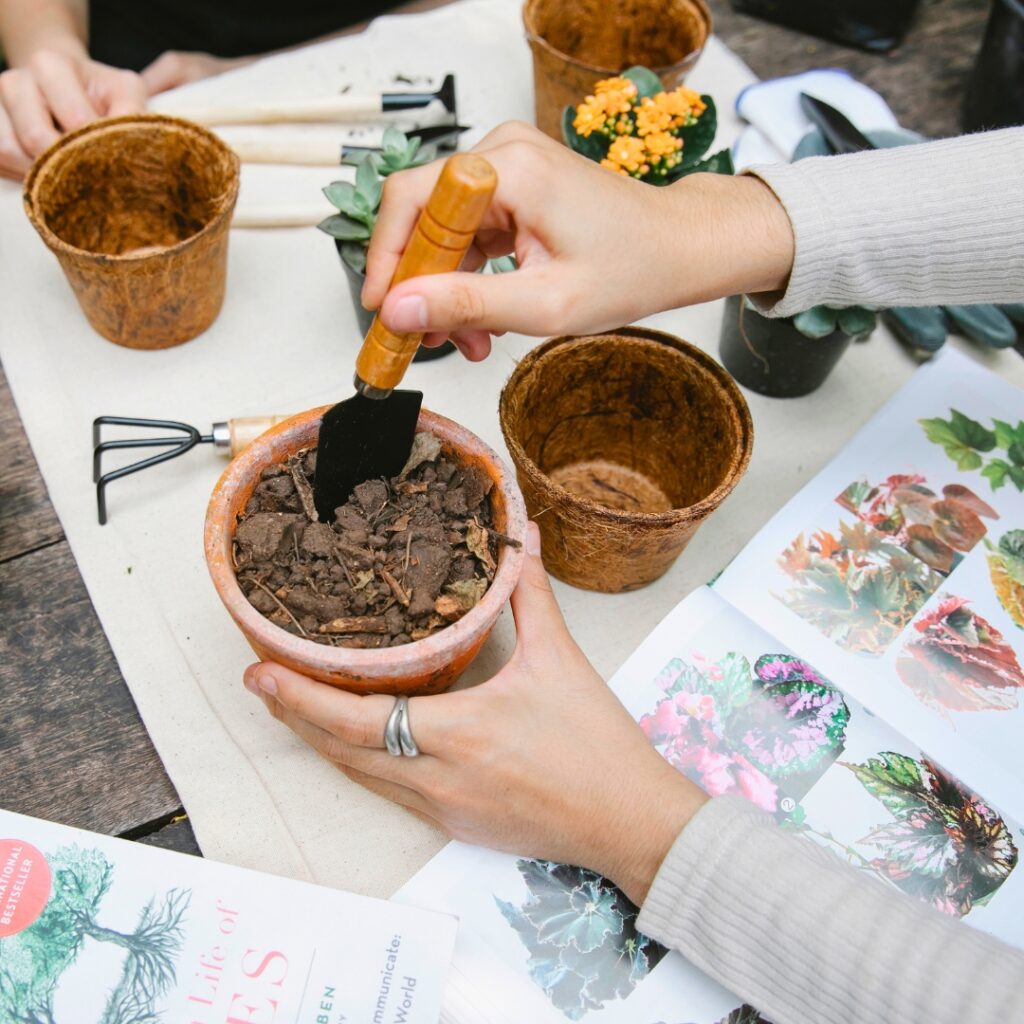
Getting the soil right means mixing ingredients that drain well while holding enough moisture and nutrients for mums. Here’s how I approach store-bought options, homemade blends, and useful add-ins.
Commercial Potting Mixes: What Works Best for Your Mums Right Out of the Bag
When I want something quick and reliable, I go for commercial potting mixes. Most quality mixes for flowering plants work fine for chrysanthemums, especially the common garden varieties.
Look for bags labeled “well-draining” or “container mix.” These usually have peat moss or coco coir, perlite, and sometimes a bit of fertilizer. The perlite keeps things airy so roots don’t drown.
Skip the heavy garden soil mixes or anything labeled “moisture control.” Mums don’t like wet feet, and those water-holding crystals can leave roots too damp. I always check that the mix feels light and fluffy in my hand.
Quick Tip: If your mix seems too dense, just add extra perlite—about 1 part perlite to 3 parts mix is a good ratio.
Some fancy brands add mycorrhizae or slow-release nutrients. Nice perks, but not essential if you fertilize regularly.
Homemade Soil Mix Recipes: Creating Your Own Chrysanthemum-Friendly Blend from Scratch
For bigger projects or more control, I mix my own soil. My basic recipe works for all mums, whether in the ground or pots.
Basic Recipe:
- 2 parts compost (well-aged)
- 2 parts coco coir or peat moss
- 1 part perlite
This blend drains quickly but holds enough moisture between waterings. Compost adds nutrients and helpful microbes.
For container mums, I sometimes go with 1 part compost, 2 parts coco coir, and 2 parts perlite. Extra drainage helps when pots are out on the patio and I can’t control the rain.
Quick Tip: Mix everything in a wheelbarrow or big tub, adding water slowly until it feels like a wrung-out sponge.
I prefer coco coir over peat moss—it wets more easily and doesn’t compact as fast. I buy those compressed bricks and rehydrate them before mixing.
Amendments and Additives for Enhanced Growth: Boosting Nutrition and Structure
Plain soil gets mums started, but I like to add extras for better blooms and stronger roots. These tweaks really show by late summer.
I mix in worm castings—about 1 part castings to 5 parts soil. They release nutrients slowly and improve structure without burning roots.
Bone meal helps with flower production. I add 2 tablespoons per gallon of mix at planting. For established mums, a bloom-focused fertilizer like 0-10-10 does the trick.
If my mix clumps when wet, I toss in more perlite. It fixes drainage fast.
Quick Tip: Planting in heavy clay? Add a handful of coarse sand to open up the soil around the roots.
I skip fresh manure or anything high in nitrogen. Too much nitrogen means more leaves, fewer flowers.
Testing and Adjusting Soil pH: Getting Your Acidity Levels Just Right
Mums do best when soil pH sits between 6.0 and 6.5. Outside that range, roots can’t absorb nutrients, no matter how much you feed them.
I check pH with a cheap probe or paper strips—just push the probe into damp soil or mix soil with distilled water for the strips.
If pH is too high (over 7.0), I mix in sulfur or aluminum sulfate. Always follow the package instructions—too much can drop pH too quickly.
For acidic soil (below 5.5), I add garden lime. Dolomitic lime gives a magnesium boost too, which mums use for making chlorophyll.
Quick Tip: Test pH every spring—watering and fertilizing can shift acidity over time.
I try to adjust soil a few weeks before planting so amendments have time to work. Soil chemistry changes slowly. For containers, I just switch to fresh potting mix each year—much simpler than fussing over pH tests.
Soil Tips for Growing Mums in Pots
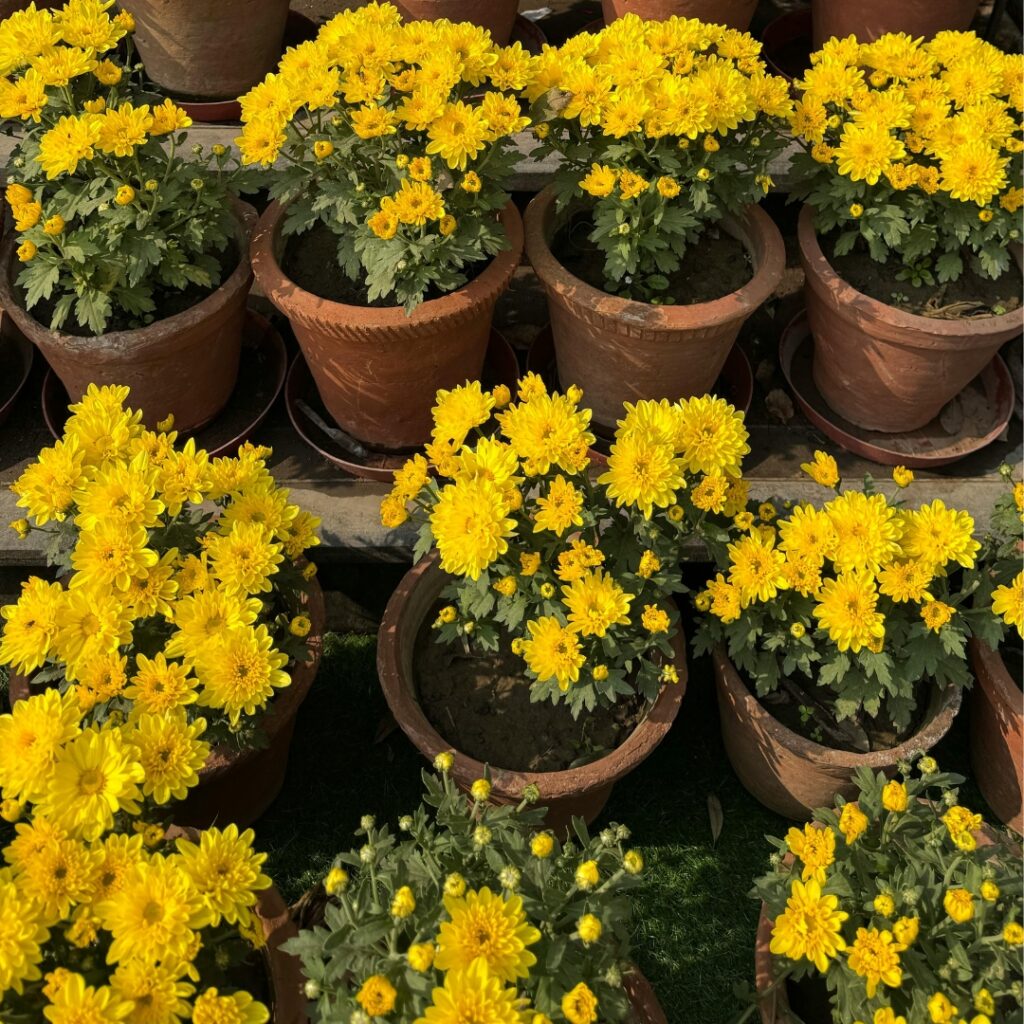
Growing mums in pots takes a good soil mix and the right setup. Pot size, drainage, and repotting all play a role in keeping your plants happy.
Ideal Pot Size and Materials (Why Bigger Isn’t Always Better)
I usually start with a pot 10 to 12 inches wide for standard mums. That gives roots room without leaving too much soil that stays wet.
Small pots dry out fast, so I end up watering twice a day in the summer. Big pots can hold too much water and risk root rot. Terracotta pots are my favorite—they breathe and let air reach the roots.
Plastic pots work too, but I watch them more closely for moisture. The pot should be at least 8 inches deep for healthy roots.
Quick Tip: Match your pot to your plant—if your mum’s root ball is 6 inches, move it to a 10-inch pot to give it space.
Drainage Hole Importance (Skip This and Your Mums Will Suffer)
Drainage holes are a must for potted mums. Without them, water pools at the bottom and roots rot surprisingly fast.
I make sure every pot has at least one half-inch hole. Multiple smaller holes are even better. If I reuse decorative pots without holes, I drill them or use them as outer pots with a draining one inside.
I put a layer of small rocks or broken pottery at the bottom before adding soil. That keeps the holes clear and gives water a place to go.
Quick Tip: Water thoroughly—if it doesn’t run out in a few seconds, your holes are too small or blocked.
Repotting Best Practices (When and How to Give Mums Fresh Soil)
I repot mums every spring or whenever roots start circling the drainage holes. Fresh soil and new space help roots grow strong.
Right after the last frost is best. I gently loosen the root ball and trim any dead or mushy roots with clean scissors. The new pot should be about 2 inches wider than the old one.
I fill the bottom with fresh potting mix, center the plant, and fill in around the sides. Keep the top of the root ball about an inch below the rim so watering is easy.
After repotting, I water deeply and keep the plant in partial shade for a few days. If repotting in fall after blooms fade, I cut the plant back by half first.
Quick Tip: Don’t repot mums right before or during blooming—it’s stressful and can cause buds to drop.
Watering and Fertilization Strategies
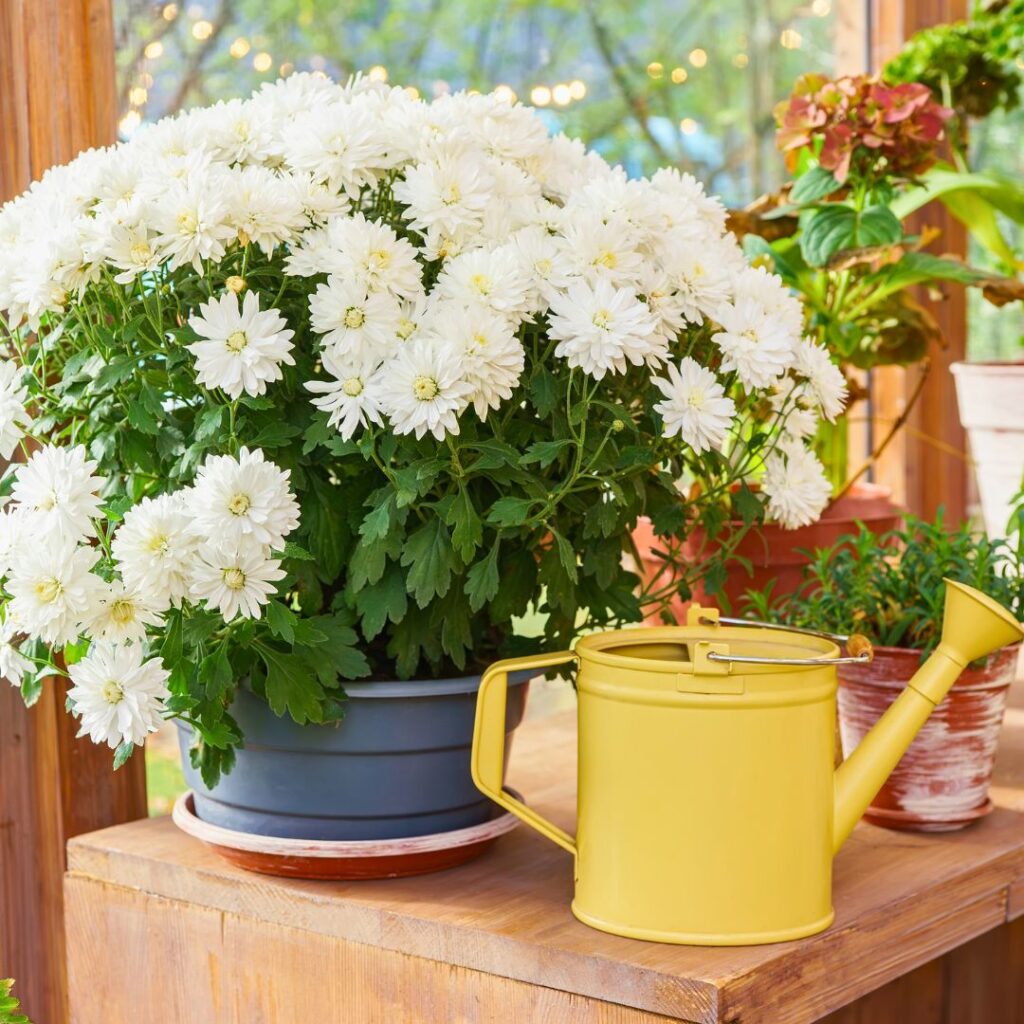
Chrysanthemums need steady moisture and regular feeding for those signature blooms. The right timing and amounts can turn leggy plants into full, colorful flowers.
Effective Watering Techniques (Because Mums Are Thirsty Plants)
I water my chrysanthemums deeply two or three times a week during the growing season. The soil needs to stay evenly moist, but not soggy—these plants really hate wet feet.
Before watering, I poke my finger into the top inch of soil. If it feels dry, I water; if it’s damp, I wait another day.
I always water at the base of the plant, and I do it early in the morning. That way, the leaves dry out before nightfall, which helps keep fungal diseases away.
Overhead watering leaves water sitting on the leaves overnight, and that just invites trouble.
Quick Tip: I spread 2-3 inches of mulch around my mums. It helps the soil hold moisture longer and means I don’t have to water quite as often.
When it gets hot—above 85°F—I sometimes water daily. Container-grown mums dry out even faster than those in the ground, so I keep a closer watch on them.
Signs of Overwatering and Solutions (When Good Intentions Go Wrong)
When I’ve overwatered, my mums wilt even though the soil is wet. Leaves turn yellow and drop, and the stems can get mushy at the base.
Too much water pushes oxygen out of the soil, and the roots start to rot. If you dig around and catch a whiff of something unpleasant, that’s root rot for you.
If I spot it early, I stop watering and let the soil dry out for several days. Sometimes I’ll mix in perlite or coarse sand to help the soil drain better.
With severe root rot, I pull the plant up, trim away the brown, mushy roots, and repot in fresh, well-draining soil. It’s not always a save, but sometimes it works.
Quick Tip: If the lower leaves are yellow and the soil is wet, you’re watering too much—let the top couple of inches dry out before watering again.
How to Use Liquid and Slow-Release Fertilizers (Feed Them Right for Big Blooms)
I feed my mums every two weeks with liquid fertilizer during the growing season. I go for a balanced formula or one higher in phosphorus, like 0-10-10, to push more flowers.
Liquid fertilizer kicks in fast since roots grab it right away, but I always dilute it to half strength and apply after watering to avoid burning the roots.
At planting, I mix in slow-release fertilizer. Those granules break down over 2-3 months, giving steady nutrients without much fuss.
Quick Tip: Six weeks before bloom time, I switch to a 0-10-10 fertilizer. The extra phosphorus really helps those buds pop.
About four weeks before the first frost, I stop feeding. Pushing new growth late in the season just leads to soft stems that don’t survive the cold.
| Fertilizer Type | How Often | Best For |
|---|---|---|
| Liquid fertilizer | Every 2 weeks | Quick nutrient boost during active growth |
| Slow-release fertilizer | Every 2-3 months | Steady feeding with less work |
Adapting Soil and Care to Mum Types and Regions
Different chrysanthemum types need their own care routines, and your region changes the game entirely. Garden mums survive winters better than florist mums. Your USDA zone tells you which ones will make it through the cold, and all mums crave plenty of direct sunlight for good blooms.
Garden Mums vs. Florist Mums: Understanding the Key Differences That Affect Your Soil Mix
Garden mums are bred to handle winter in the ground. Their roots grow stronger, and they can survive freezing temps in most climates. I plant these in my beds and count on them returning each year.
Florist mums are for indoor display and quick color. Their roots are weaker, and they just don’t make it through outdoor winters in most places.
For garden mums, I use regular well-draining soil with compost mixed in. This supports their roots over multiple seasons, and I toss on a 2-inch layer of organic matter each spring to keep the soil lively.
Florist mums need a lighter, faster-draining mix since they usually live in pots. I go with about 60% peat moss or coco coir, 30% perlite, and 10% compost. This keeps water from pooling and killing the roots.
Quick Tip: If you’re buying mums in the fall, ask if they’re garden-hardy before putting them in the ground. Saves a lot of disappointment.
Selecting Varieties by USDA Zone: Matching Chrysanthemums to Your Climate
I always check which varieties can survive winter in my zone before buying. Garden mums labeled “hardy” usually make it in zones 5-9, but it depends on the variety.
In zones 5-6, I stick with types like ‘Mammoth Daisy’ and ‘Sheffield Pink’ because they handle hard freezes. I make sure the soil drains well to avoid root rot during freeze-thaw cycles.
Zones 7-9 are easier—most garden mums do fine. I add more organic matter since the longer season drains nutrients faster.
In zones 3-4, I treat mums as annuals or put them in pots to bring inside. Soil mix matters less for overwintering since they’re not likely to make it anyway.
| USDA Zone | Recommended Varieties | Soil Adjustment |
|---|---|---|
| 3-4 | Any (treat as annual) | Standard mix |
| 5-6 | ‘Sheffield Pink’, ‘Mammoth Daisy’ | Extra drainage material |
| 7-9 | Most garden varieties | More organic matter |
Full Sun Requirements: Why Light Exposure Changes Your Soil Needs
Mums need at least six hours of direct sun each day if you want decent blooms. Less sun means fewer flowers and stretched-out, leggy plants.
In full sun spots, the soil dries out faster, so I mix in more compost or peat moss to help it hold moisture. Still, it has to drain well—soggy roots are a no-go.
If you’ve only got a spot with 4-5 hours of sun, mums might survive but won’t thrive. I make the soil extra moisture-retentive in these areas, adding an extra inch of compost to help them cope.
Quick Tip: South-facing beds get the most sun and heat, so I check soil moisture more often there in summer. It can dry out in a flash.
Maintaining Soil Health Season After Season
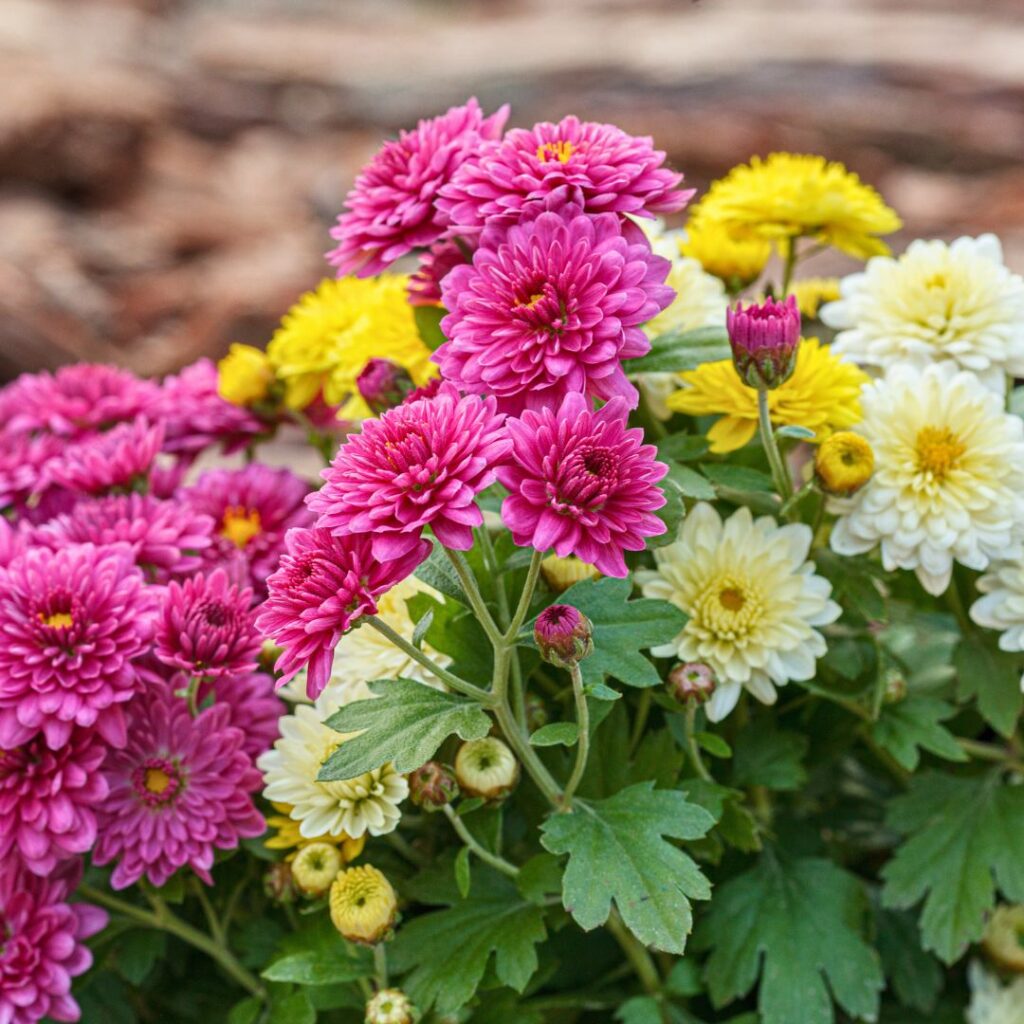
Chrysanthemums grow best in soil that stays rich and balanced year after year. Refreshing potting mix, mulching, and quick fixes for common problems keep my mums going strong through multiple seasons.
Refreshing and Reusing Potting Mix (Without Starting From Scratch Every Time)
I reuse potting mix for mums, but only after a good refresh. Old mix loses nutrients and can hide pests or diseases from last year.
First, I scrape off the top 2-3 inches and toss it in the compost. Then I loosen what’s left and mix in fresh compost—about one part compost to three parts old mix.
If the mix feels dense or water just sits on top, I add perlite or coarse sand for better drainage. Compacted soil leads to root rot and weak plants every time.
Quick Tip: Smell your old potting mix before reusing—if it’s sour or musty, just start over.
I also check for white crusty buildup, a sign of salt from fertilizers. A good watering flush helps wash out the excess before I add compost.
Applying Mulch for Longevity (To Protect Roots and Lock in Moisture)
Mulch is a game changer for mum soil health. I spread 2-3 inches of organic mulch around my plants each spring after the soil warms up.
Shredded bark, aged compost, or leaf mold work best. They break down slowly and feed the soil as they go.
I keep mulch about 2 inches away from the stems to avoid rot and fungal issues. If mulch touches the crown, disease sets in fast—especially in humid weather.
Quick Tip: If your mulch layer breaks down to less than an inch by midsummer, top it up.
In colder zones (6 and below), I add extra mulch in late fall after the first hard frost to protect roots. Come spring, I rake back the heavy layer so the soil can warm up again.
Troubleshooting Common Soil Problems (When Things Go Wrong With Your Mix)
Yellow lower leaves usually mean the soil’s low on nitrogen. I fix it by side-dressing with compost or using a balanced liquid fertilizer.
If water pools on the surface instead of soaking in, the mix is either hydrophobic or too compacted. I poke holes with a chopstick and water with a wetting agent, or just repot if it’s really stubborn.
White fuzzy growth on the soil means mold, which pops up when things are too wet. I scrape off the top layer, cut back on watering, and make sure there’s good air flow around the pot.
Quick Tip: Stick your finger two inches into the soil—if it feels like a wrung-out sponge, you’ve nailed the moisture level.
Crusty white deposits are salts from tap water or too much fertilizer. I flush the soil with distilled water or repot with fresh mix. Outdoors, a good rain usually solves this for me.
Frequently Asked Questions
Chrysanthemums want well-draining soil loaded with organic matter, whether they’re in pots or the ground. Getting the pH and amendments right makes a huge difference in bloom quality.
What kind of potting mix should I use for chrysanthemums in containers to keep roots healthy and encourage blooms?
I always go for a high-quality potting mix that drains well for container mums. Peat moss or coco coir, perlite, and compost are my go-to ingredients.
Those create air pockets so roots can breathe. Standing water is a quick way to lose a mum.
If the mix feels heavy, I add extra perlite—one part perlite to three parts potting soil works well.
Quick Tip: Avoid using garden soil in pots. It compacts and drowns the roots every time.
Do chrysanthemums grow better in pots or planted directly in the ground, and does soil type affect this choice?
Mums do well in both, as long as the soil drains properly. In the ground, they spread more and usually come back each year in zones 5-9.
Container mums give me more control over soil quality, and I can move them to chase the sun.
When my garden soil is heavy clay, containers are way easier than trying to amend big beds. Ground-planted mums need less watering once they’re established, though.
Quick Tip: In climates colder than zone 5, containers let you bring mums inside before frost sneaks up.
Is it okay to use Miracle-Gro potting soil for chrysanthemums, or should I choose something else?
Miracle-Gro potting mix actually works pretty well for chrysanthemums. It drains better than some bargain mixes and comes with a starter dose of fertilizer—handy if you want to keep things simple for the first few months.
I’ve thrown chrysanthemums into it plenty of times and honestly, they’ve done just fine. The moisture control version can save your plants if you forget to water for a few days (guilty as charged).
After about three months, though, the built-in fertilizer will run out. You’ll want to feed your mums again if you want them to keep blooming strong.
Quick Tip: Any decent potting soil that’s labeled for flowers or containers will work. Don’t get too hung up on the brand—just look for good drainage and you’re set.
What soil pH helps chrysanthemums grow and bloom their best throughout the season?
Chrysanthemums are happiest in slightly acidic to neutral soil, somewhere between 6.0 and 7.0 pH. That’s the sweet spot for nutrient uptake and healthy roots.
I usually grab an inexpensive pH test kit at the garden center. Takes a few minutes, costs less than a fancy coffee, and saves a lot of guesswork.
If my pH is too low, I toss in a bit of lime. If it’s creeping too high, a handful of sulfur or some peat moss does the trick.
Quick Tip: Most garden soils land in the right range already. Test before you start adding anything—you might not need to mess with it at all.
How can I improve heavy clay soil so chrysanthemums thrive outdoors without waterlogged roots?
Clay soil can be a pain, but it’s fixable. I usually mix in a few inches of compost over the planting area—that stuff breaks up the clay and helps water move through instead of pooling around the roots.
Coarse sand or perlite works too, though compost gives a nutrient boost at the same time. I dig these amendments into the top foot of soil, which is plenty deep for mums.
For truly stubborn clay, I just build raised beds. I fill them with a blend of topsoil, compost, and a bit of perlite for extra drainage.
The plants end up a little higher, so water drains away instead of soaking the roots. Clay soil takes ages to improve, but raised beds let you skip the wait and get growing right away.
Quick Tip: Don’t plant chrysanthemums straight into unamended clay. They’ll drown and rot, and that’s just heartbreaking.
What’s the easiest way to start chrysanthemums from seed or cuttings at home using the right soil medium?
Honestly, I almost always reach for cuttings instead of seeds. Cuttings just take off faster and usually bloom their first season, while seeds drag out the process—sometimes six months before you see a single flower.
For rooting cuttings, I mix up half perlite and half peat moss. That combo holds moisture but doesn’t drown the stems, which is key.
I snip four-inch stems in spring, strip off the lower leaves, and tuck them about an inch deep in the mix. Most of the time, roots show up in two or three weeks—sometimes even sooner if the weather’s right.
With seeds, I grab a bag of seed-starting mix and barely dust them with soil. Chrysanthemum seeds insist on light to sprout, so don’t bury them.
I mist the surface every day with a spray bottle, just enough to keep it damp. Once the seedlings push out two sets of true leaves, I move them into regular potting soil and give them a bit more space.
Quick Tip: Spring cuttings root much quicker than the woody stems you get later in the year. Don’t wait too long to take them.