
Asters light up my garden with daisy-like flowers just as other plants start winding down. They’re part of the Asteraceae family, and honestly, if I don’t get the soil right, they sulk—fewer blooms, floppy stems, you name it.
My asters thrive in well-drained, loamy soil packed with organic matter and a slightly acidic to neutral pH. That balance keeps roots happy—firm but not waterlogged—and lets them feed steadily all season. Heavy clay or bone-dry sandy soil just doesn’t cut it unless I fix it up first.
Quick Tip: Grab a handful of moist soil. If it holds together but falls apart with a tap, you’re in the sweet spot for asters.
Understanding Asters and Their Soil Preferences
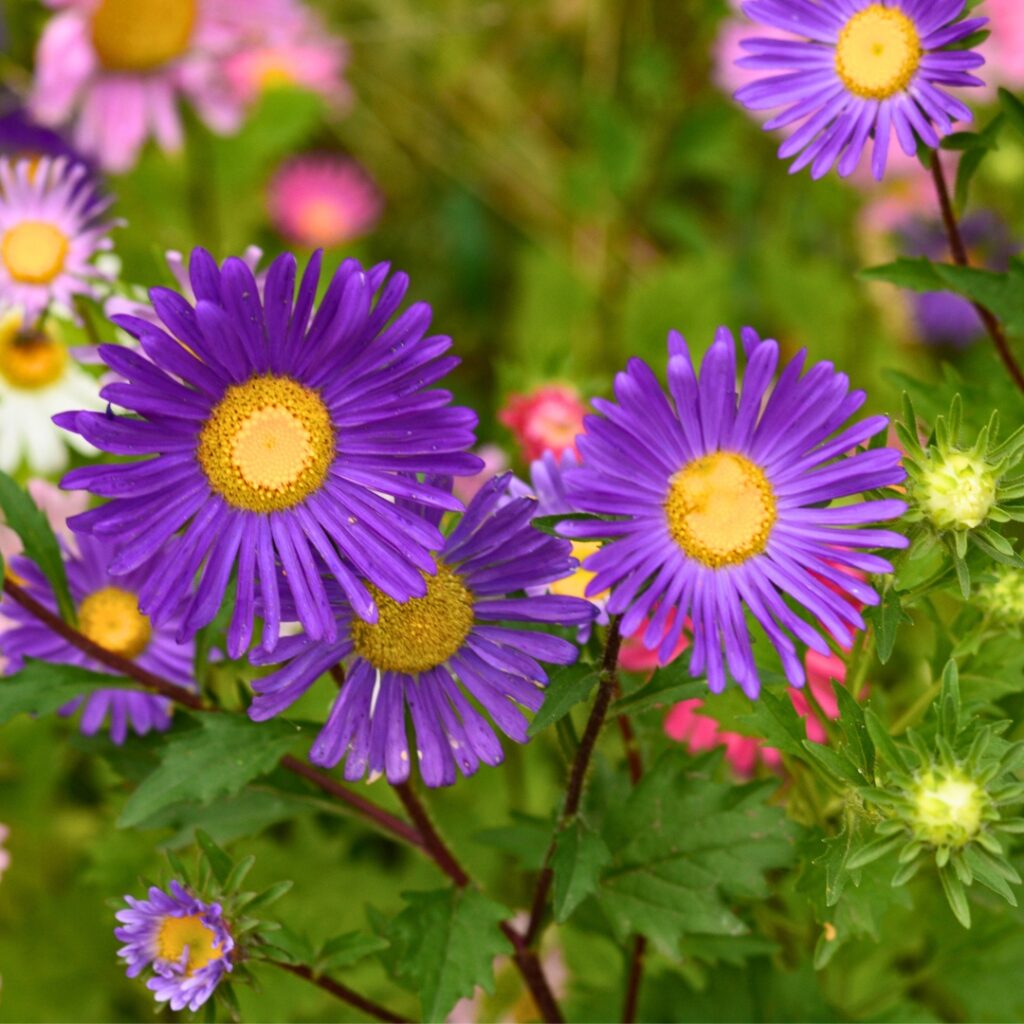
Asters form tight clumps and shoot up leafy stems before bursting into those cheery, daisy-like blooms. I always pay attention to soil texture, drainage, and organic matter—those three make or break my asters.
Key Characteristics of Asters That Shape How I Prepare Their Soil
These plants are in the Asteraceae family, right alongside daisies and sunflowers. Most are tough perennials that bloom from late summer into fall.
They come in purple, pink, blue, or white. I keep New England asters (Symphyotrichum novae-angliae) and New York asters (Symphyotrichum novi-belgii) in my beds.
Some reach 2 to 5 feet tall, so they need soil that holds their roots steady but drains fast. Their upright habit means soggy soil leads to flopping or rot—no thanks.
In Zones 3–8, they shrug off winter. In hotter Zones 9–10, they’ll need more water, especially when the sun’s relentless.
Quick Tip: If stems flop or look weak, the soil’s usually the problem. I check that before blaming anything else.
The Role of Soil in Aster Health and Strong Fall Blooms
Soil’s the boss when it comes to water and nutrients. I always shoot for well-draining, loamy soil with a hefty dose of compost.
Asters can’t stand wet feet. Clay holds too much water and risks rot. Sandy soil drains fast but dries out before you know it, which stresses them out in summer.
I want soil that feels crumbly. Squeeze it, and if it forms a loose ball that crumbles, that’s my green light.
Slightly acidic to neutral pH—about 6.0 to 7.0—seems to work for most asters I’ve grown. That’s the sweet spot for nutrient uptake.
Quick Tip: After a big rain, I check for puddles. If water lingers for more than a few hours, I fix the drainage before planting.
Common Types: Symphyotrichum, Eurybia, and More I Grow in My Garden
Most plants we call asters now fall under Symphyotrichum—like New England and New York asters.
Symphyotrichum novae-angliae gets pretty tall and doesn’t mind clay if drainage isn’t terrible. Once it’s established, it can even handle short dry spells.
Symphyotrichum novi-belgii likes richer, moist soil. Dry or poor ground? It struggles.
Eurybia covers woodland asters. They’re happier in partial shade with more leaf mold and organic matter in the soil.
I always try to match soil to the species. Prairie types are less picky, but woodland asters want humus and consistent moisture.
Quick Tip: I always check the plant tag for the full name. Soil needs can shift a lot depending on the species.
Ideal Soil Composition for Healthy Growth
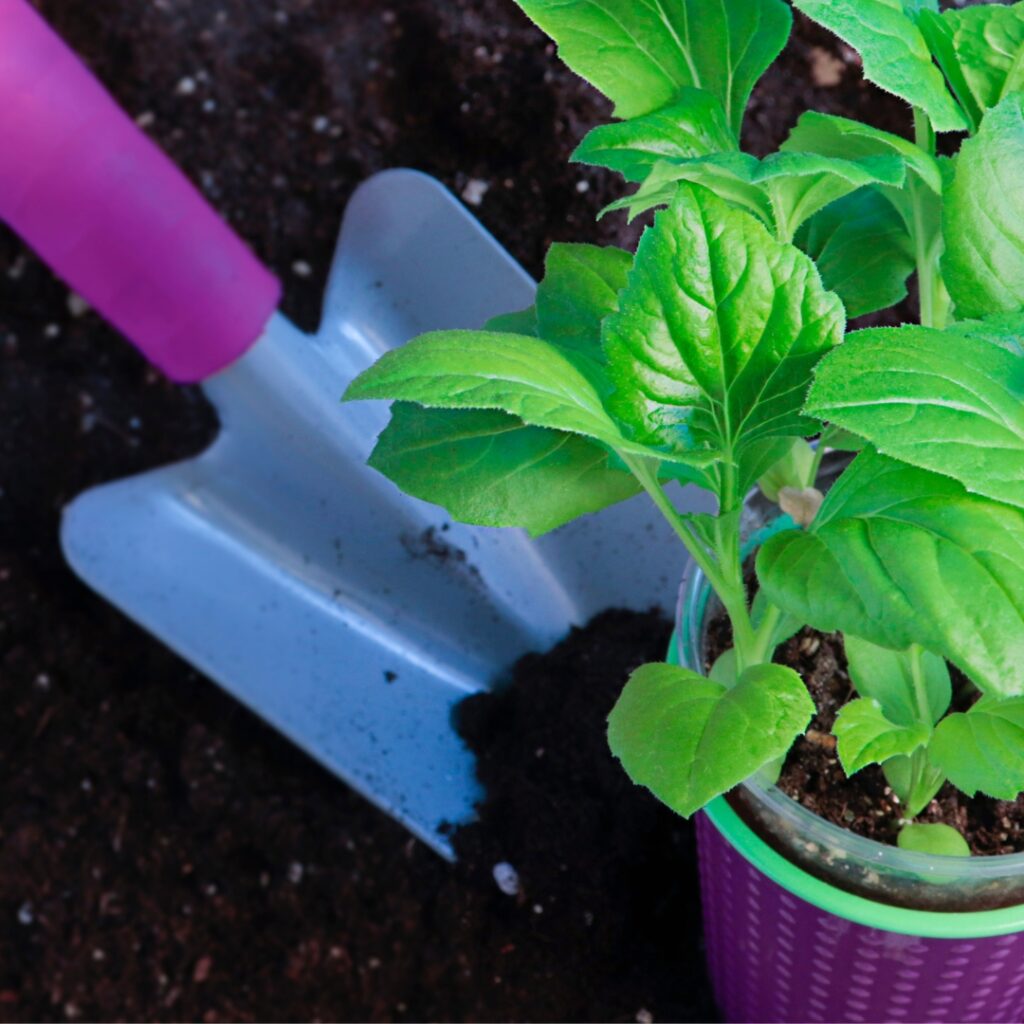
I see the best blooms when I focus on three things: drainage, pH, and nutrient-holding power. Get those right, and asters really show off.
Importance of Drainage and Moisture Retention for Strong Roots
Asters hate wet feet. If water hangs around the roots, rot creeps in—especially during cool, damp spells.
Loamy soil drains but holds onto enough moisture for roots to stay happy. Sandy soil dries out too fast, while clay stays soggy and heavy.
When I squeeze moist soil, it should hold shape but fall apart with a poke. That’s how I know it’s got enough air and water mixed in.
In clay, I add compost and a handful of coarse sand. Sandy soil? More compost helps it hang onto moisture.
Quick Tip: If the top inch stays soggy for more than a day after watering, I work on drainage before planting.
In humid places, good drainage is even more important—fungal issues can pop up fast. Healthy roots mean fuller blooms and fewer headaches.
Best Soil pH for Asters to Support Bright, Daisy-Like Blooms
Asters like it slightly acidic to neutral. I aim for pH 6.0 to 7.0.
If soil gets too acidic, phosphorus and other nutrients get locked up. Too alkaline? Iron and other micronutrients become tough for roots to grab, and leaves go pale.
I’ve learned to use a cheap soil test kit before planting. It’s way better than guessing and saves me from disappointing growth.
If pH is low, I toss in some garden lime. If it’s high, I mix in compost or a pinch of sulfur—depends on the test.
Quick Tip: I test soil in early spring so any changes have time to settle before planting.
Most garden soil is close enough, but even small tweaks can boost bloom size and color.
Fertility and Organic Matter to Keep Asters Blooming Longer
Asters aren’t greedy, but they like a steady supply of nutrients. I focus on organic matter instead of dumping on fertilizer.
Before planting, I work in 2–3 inches of compost. It feeds the soil and keeps things loose. Compost helps both sandy and clay soils perform better.
During the season, I might use a balanced fertilizer if the plants look pale or slow. Too much nitrogen? That just gives me lots of leaves and not enough flowers.
Quick Tip: If you’re seeing tall, leafy stems but barely any flowers, ease up on high-nitrogen feeds.
Loose, rich soil packed with organic matter keeps asters blooming from late summer right through fall.
Selecting and Amending Garden Soil
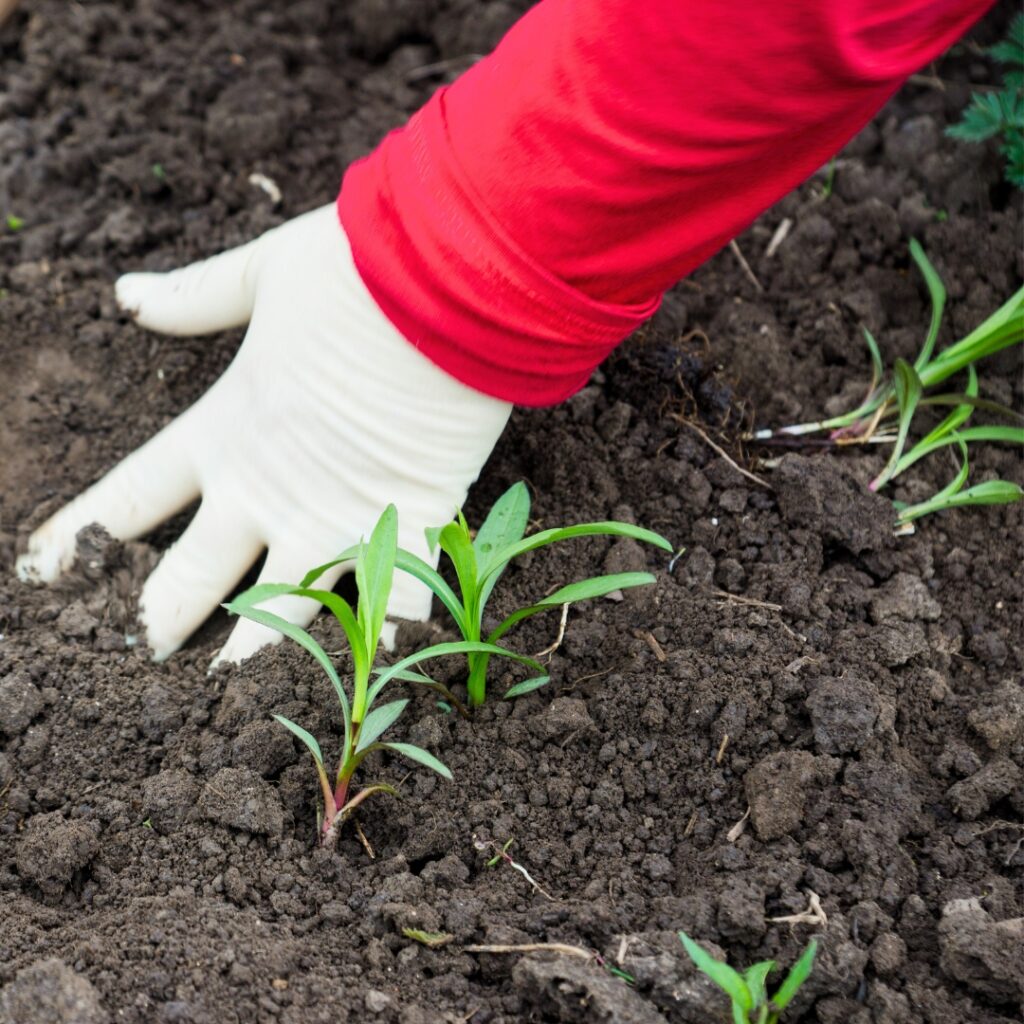
I always pay attention to texture, drainage, and organic matter before setting out asters. Even a few tweaks can make a huge difference.
Choosing Between Loamy, Sandy Loam, and Silty Loam for Healthy Root Growth
Loamy soil is my first choice. It holds moisture but drains well—just what asters want.
Sandy loam is handy if you’re in a rainy area or dealing with heavy soils. It drains fast and feels gritty. If it dries out too quickly after watering, I know to add more compost.
Silty loam feels silky, almost like flour. It holds water longer, which is great in hot climates, but it can get compacted over time.
I use the squeeze test: damp soil that forms a loose ball and crumbles is perfect.
Quick Tip: If you see water pooling for more than an hour after rain, you’ve got a drainage issue to fix first.
Healthy soil smells earthy, never sour. That’s always a good sign for root health.
Amending Clay or Alkaline Soils to Prevent Drainage and Nutrient Problems
Clay soil is sticky and heavy. It’s tough for roots and drains slow.
I mix in compost and coarse sand to break it up. Fine sand is a no-go—it can make things worse. I dig down 8–12 inches so roots can stretch out.
Alkaline soil can block nutrients. Asters want pH 6.0–7.0. I check with a test kit from the garden center.
If pH is high, I add a bit of elemental sulfur—always following the label and going slow.
Quick Tip: Never dump a lot of sulfur or lime at once. Slow fixes keep roots safe.
In dry areas, clay cracks when it’s hot. I mulch to help hold moisture steady.
Organic Matter and Compost Additions for Long-Lasting Fertility
I add compost every year, even if the soil looks decent. Organic matter feeds the soil life that keeps asters happy.
I spread 2–3 inches of compost and mix it into the top 6–8 inches. It helps drainage in clay and holds water in sandy beds.
Well-rotted manure works too, but I make sure it’s aged. Fresh stuff can fry roots.
Compost should be dark, crumbly, and just a bit moist—not slimy or sticky.
Quick Tip: If your soil feels dry and pale, it’s calling out for more organic matter.
In cold zones, I amend in spring after the ground dries. In milder places, I like to work compost in during fall so it settles over winter.
Potting Mixes for Container-Grown Asters
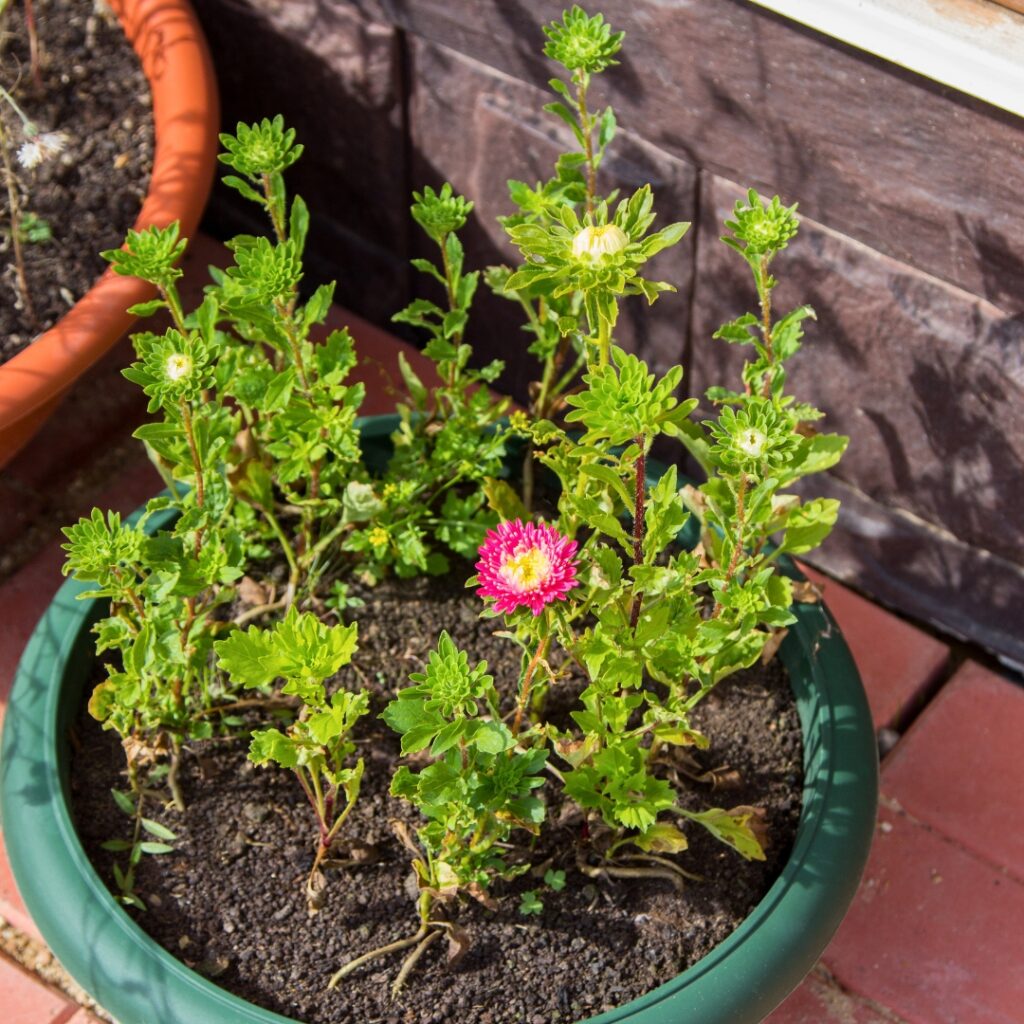
For asters in pots, I go for a light mix that holds moisture but drains fast. Roots need air, or the plants just won’t perform.
Recommended Commercial Potting Soils That Keep Roots Light and Healthy
I pick a high-quality potting mix—never straight-up garden soil. Garden soil turns to concrete in pots and suffocates roots.
Look for bags labeled for containers, with peat moss or coco coir, perlite, and compost. These keep things light, moist, and airy. Soggy roots are a no-go for asters.
If the mix feels heavy or muddy when wet, I skip it. If it clumps and stays stuck, it’s not for me.
Quick Tip: I often toss in extra perlite for even better drainage, especially if I’m in a rainy or humid spot.
Some mixes have slow-release fertilizer already in them. That’s helpful for a head start, but I still feed lightly later for bigger blooms.
Homemade Soil Mixes That Balance Drainage and Moisture
Sometimes I make my own mix, especially for bigger pots. It’s cheaper and I get more control.
Here’s my go-to recipe:
- 2 parts peat moss or coco coir
- 1 part compost
- 1 part perlite or coarse sand
This mix feels light and a bit springy when squeezed. It should break apart, not stick like clay.
Compost feeds the plants, while perlite or sand keeps air moving through the roots. That way, rot stays away.
Quick Tip: If water sits on top for more than a few seconds, I add more perlite before planting.
In hot, dry climates (Zone 8 and up), I add a bit more coco coir to hold moisture. In cool, damp areas, I use extra perlite for faster drainage.
Watering and Drainage Tips to Prevent Root Rot and Weak Growth
Even the best soil won’t help if you overwater or let roots sit soggy. I always use pots with drainage holes—no exceptions.
I water slowly until liquid seeps out the bottom. Then I dump any water from the saucer right away so roots don’t drown.
Before I water again, I poke my finger into the top inch of soil. If it’s dry, I water. If it’s damp, I wait.
Quick Tip: Wilting in dry soil means the plant’s thirsty. Wilting in wet soil? That’s a red flag for root problems.
During peak summer blooms, asters want steady moisture to keep those daisy-like flowers coming. Cooler, cloudy weather means they drink less, so I ease up to avoid soggy roots.
Planting and Soil Preparation Steps
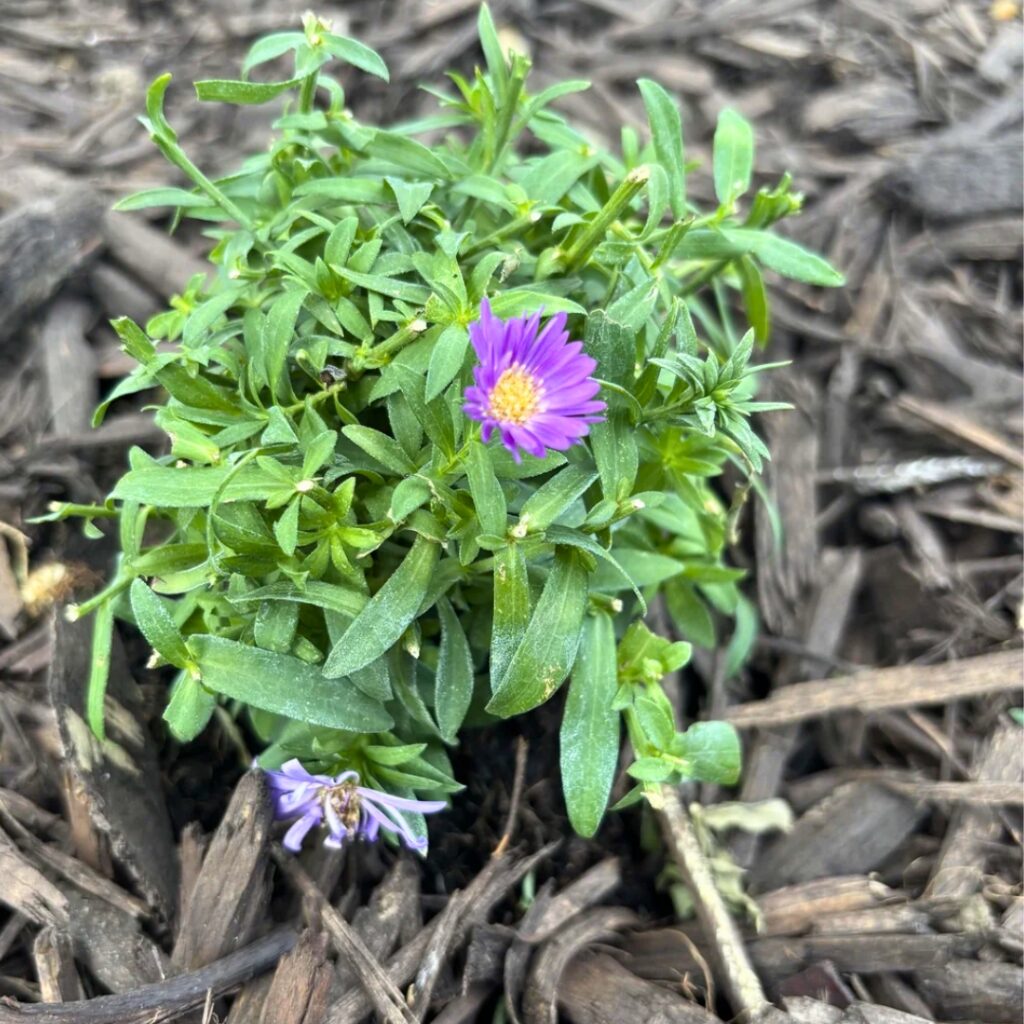
I’ve noticed asters bloom better when I pick a sunny spot, loosen up the soil, and plant at just the right depth. These steps help roots spread out and keep flowers standing tall through wind and rain.
Site Selection for Optimal Growth and Strong, Upright Aster Flowers
I put asters where they get at least 6–8 hours of direct sun daily. Sun keeps stems tough and colors bright. In really hot areas—think Zone 8 or warmer—I give them a little afternoon shade so leaves don’t fry.
Air flow actually matters more than you’d think. I skip planting in tight corners or right up against fences where damp air just sits. That’s a recipe for leaf spots and mildew, especially on New England asters (Symphyotrichum).
Soil drainage can make or break these plants. I never plant in low, soggy spots. If puddles linger after rain, I either pick a new area or go with a raised bed.
Quick Tip: After a big rain, check your site the next day. If the soil’s still squishy, find somewhere drier.
Preparing the Planting Bed to Support Healthy Roots in Asters and Other Asteraceae
I loosen the top 8–12 inches of soil with a shovel or fork. Asters love crumbly, open soil—nothing like hard-packed clay.
I mix in 2–3 inches of compost. That improves drainage in clay and helps sandy soils hold water. I break up clumps and toss any rocks or old roots I find.
If my soil’s super heavy, I add some coarse sand or fine pine bark. I learned the hard way—never add just sand to clay or you’ll end up with concrete.
I want soil that’s a bit moist but falls apart in my hand. If it drips water or packs into a tight ball, it’s not ready yet.
Quick Tip: Squeeze a handful of damp soil. If it crumbles with a poke, you’re good to plant.
Proper Planting Depth and Spacing for Full, Healthy Aster Clumps
I always plant asters at the same depth they grew in their nursery pots. If you bury the crown too deep, you’ll risk rot—especially in wet weather.
Most Symphyotrichum varieties get spaced 12–24 inches apart, depending on how big they get. New England asters usually need extra room since they sprawl out.
Once the plant’s in, I backfill with my prepared soil and press gently to settle it in. Then I water until the root zone feels evenly moist.
In windy spots, I mulch with a thin layer—about 2 inches—to keep roots cool and hold moisture. I keep mulch away from the stems.
Quick Tip: If the top inch feels dry, water deeply. Skip the daily dribbles.
Long-Term Soil Care and Maintenance
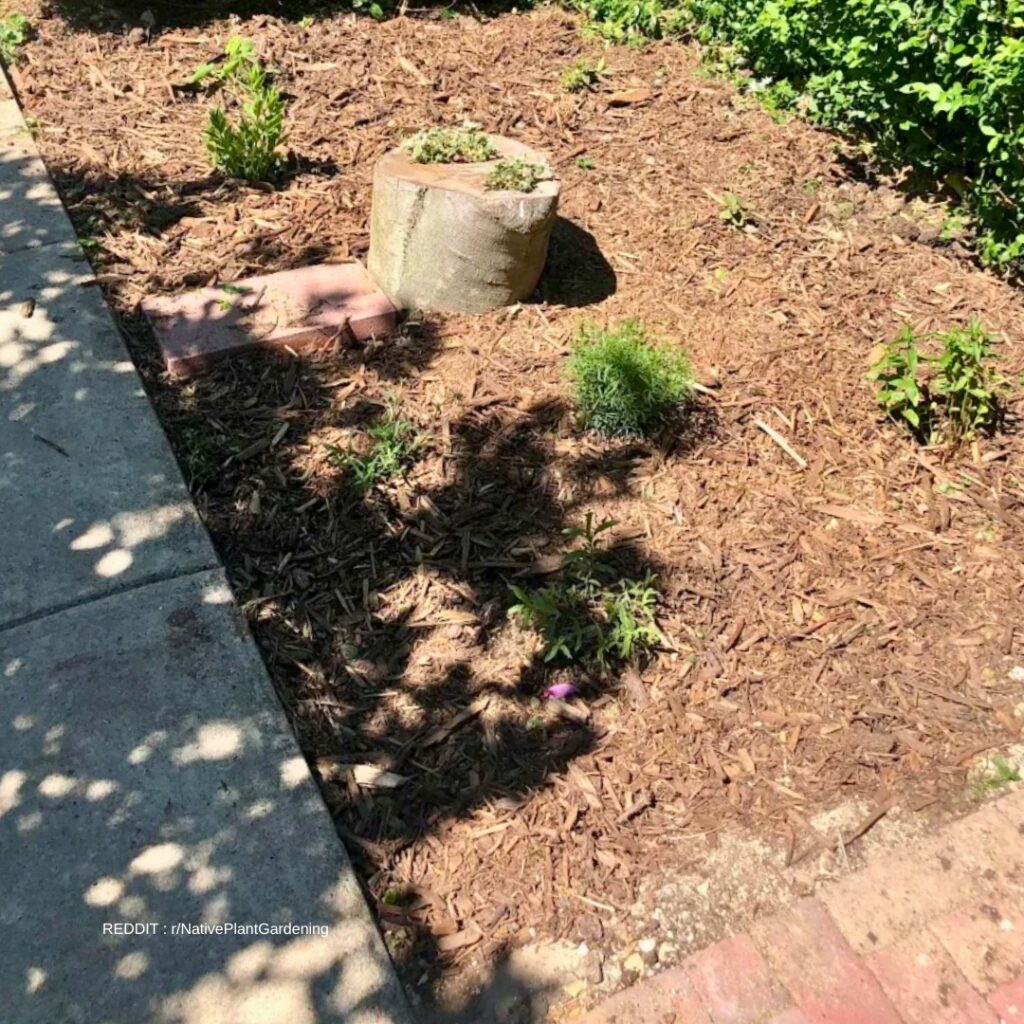
Healthy soil keeps asters coming back strong every season. I stick with mulching, light feeding, and quick fixes when the soil gets weird.
Seasonal Mulching Practices to Protect Roots and Improve Soil Texture
I mulch every spring and again in late fall. Mulch keeps soil cool in summer and helps roots ride out winter. It also cuts back on weeds that hog water.
I spread 2–3 inches of shredded bark, leaf mold, or compost around each plant, but I leave a gap around the stems to avoid rot. If you get a ton of rain, use a lighter mulch so water can still drain off.
Quick Tip: If the soil feels dusty an inch down, refresh your mulch before a hot spell.
As mulch breaks down, it feeds the soil and makes it easier to work with over time. Every year or two, I rake the old stuff in and top up with a fresh layer.
When I divide asters, I always mulch the new spots. It helps roots settle and cuts down on transplant shock.
Fertilization Guidelines That Support Strong Blooms Without Overfeeding
Asters aren’t heavy feeders. Too much fertilizer means lots of leaves, not flowers. I go easy and feed at the right time.
In early spring, I work in a balanced, slow-release fertilizer (like 10-10-10) into the top inch of soil. I stick to the label—never double up. If my soil’s already rich, I just use compost.
Quick Tip: If leaves look pale but growth is slow, try compost before reaching for stronger stuff.
I avoid high-nitrogen lawn fertilizers near asters. They just make leafy plants with fewer blooms. When I’m propagating or dividing, I wait for new growth before feeding.
If I garden somewhere with a long season, I might give a light second feed in early summer, but I always stop by midsummer so plants put their energy into flowers.
Identifying and Correcting Soil Problems Before Plants Decline
I keep an eye on leaves and the soil surface for early warning signs. Yellow leaves, stunted growth, or soggy soil usually mean trouble below.
If water pools on top after rain, my soil needs help draining. I mix in compost and some coarse sand. In clay, I’ll raise the bed a bit so roots get more air.
Quick Tip: Squeeze a handful of damp soil. If it stays a sticky lump, you need better drainage.
If plants wilt but the soil’s wet, roots might be rotting. I cut back on watering and fix drainage ASAP. For weak blooms, I check pH—asters like it slightly acidic to neutral, around pH 6.0–7.0.
When clumps get crowded, blooms shrink. I split asters every couple of years to freshen the soil and open up air flow. That usually perks them up fast.
Dividing and Propagating Asters for Vigorous Blooms
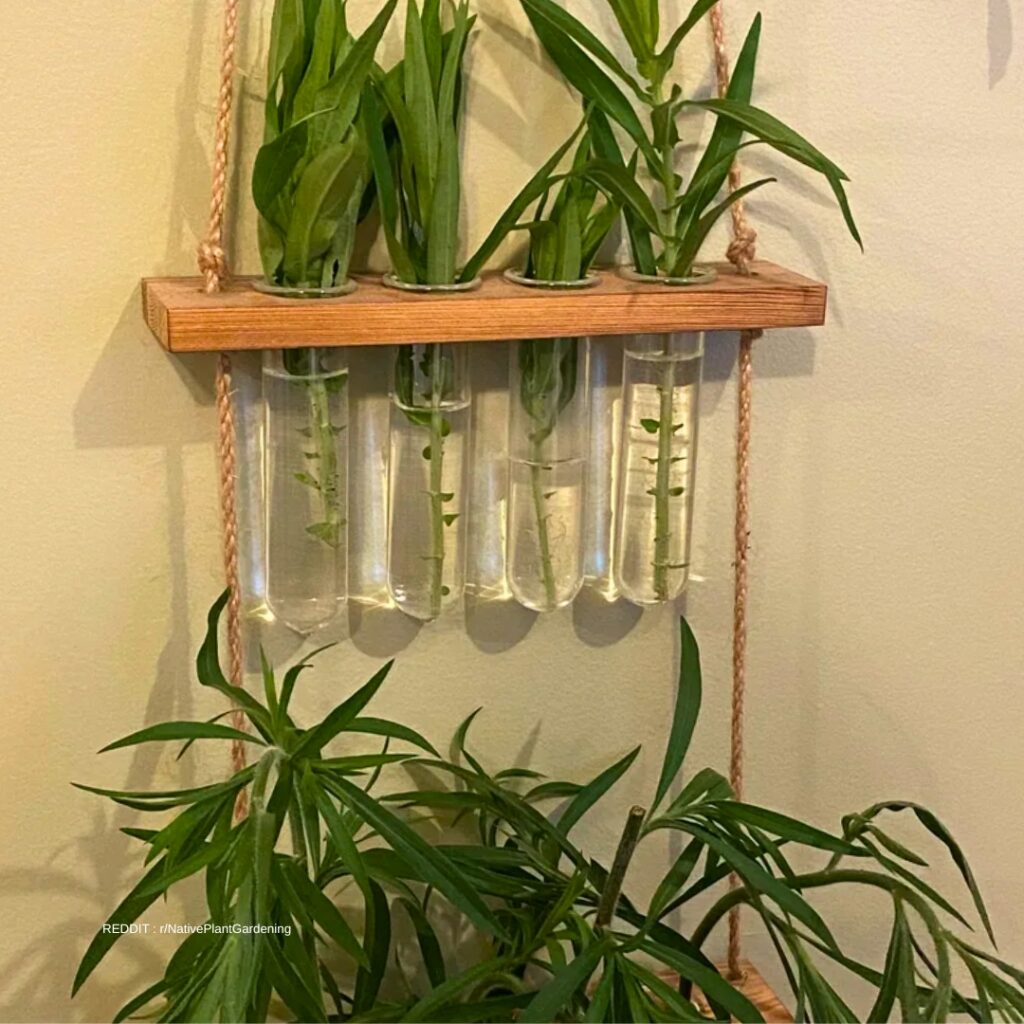
Dividing asters keeps them full and blooming strong. Splitting up clumps and giving them good soil helps roots settle fast and avoids those weak, bare centers.
When and How to Divide Asters for Healthier, Fuller Plants
I divide asters every 2–3 years to stop roots from choking each other out. Most asters in the Asteraceae family do best divided in early spring when new shoots are a couple inches tall. In mild climates, I sometimes divide in early fall—about six weeks before frost.
I dig up the clump with a spade and shake off the loose soil. Then I pull or cut it into sections, making sure each has healthy roots and some green shoots. If the center’s woody or dead, I toss it.
Quick Tip: Divide on a cool, cloudy day so roots don’t fry in the sun.
I replant divisions right away at the same depth as before. I water deeply to settle the soil. If the top inch dries out in the first two weeks, I water again.
Best Soil Conditions for Propagation That Support Strong Root Growth
For new divisions, I focus on loose, well-draining soil. Heavy clay slows roots and can rot them—especially in wet spring weather.
I mix garden soil with compost to get the right texture. The soil should crumble in my hand, not stick or clump. Asters seem happiest with a pH around 6.0–7.0—slightly acidic to neutral.
Quick Tip: If water just sits on the surface, add compost or use a raised bed.
I space divisions 12–18 inches apart for air flow. Good spacing keeps leaves dry and disease down. Healthy soil and space always give me sturdier stems and more blooms by late summer.
Asters as Cut Flowers: Soil and Growing Tips
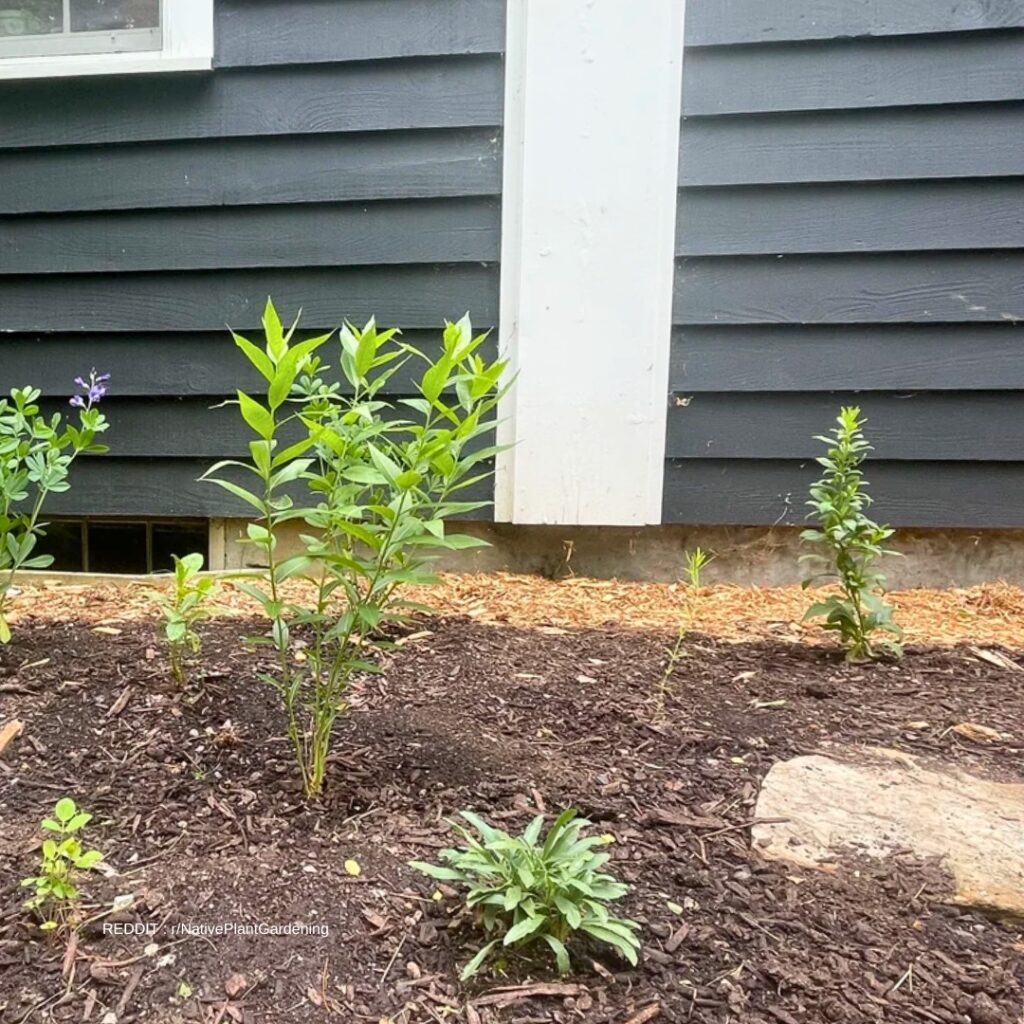
I grow asters for their cheerful, daisy-like flowers and strong stems—they last in a vase if you treat them right. Soil and a few habits make a big difference in vase life.
Ensuring Healthy Stems for Cutting and Strong, Straight Blooms
I start with soil that’s loose and drains well. Soggy roots mean floppy stems, so if the top inch is wet, I wait to water.
Compost before planting gives a steady trickle of nutrients and helps build thick, sturdy stems. Skimp on this and you’ll get weak, floppy flowers.
I space plants 12–18 inches apart. Air flow keeps leaves dry and mildew at bay, which keeps the whole plant stronger.
When buds show up, I water deeply but not often. I let the top inch dry out between waterings. In hot zones, I check more often because the soil dries up fast.
Quick Tip: I cut stems early in the morning while they’re cool and crisp. Heat makes them wilt before they even hit the vase.
Maximizing Vase Life with Smart Soil Care and Harvest Timing
Good soil means longer-lasting cut flowers. I skip high-nitrogen fertilizer once buds appear—too much makes soft, floppy stems.
I stick with a balanced fertilizer, just a light touch. It helps growth without making watery stems.
I cut aster flowers when blooms are about three-quarters open. Tight buds don’t always open inside, and fully open flowers drop petals fast.
After cutting, I strip off the lower leaves so none sit in water. Wet leaves turn the vase murky and shorten flower life.
Quick Tip: I get stems into lukewarm water right after cutting. If they sit too long, air pockets block water inside the stem.
In cooler weather, asters last up to 7–10 days in a vase. In hot, dry places, they fade sooner—so I harvest a bit earlier for the best indoor show.
Frequently Asked Questions
Asters thrive with loose soil, steady moisture, and a good pH. I focus on drainage, compost, and simple seasonal care to keep blooms coming.
What type of potting mix helps asters thrive in containers and prevent soggy roots?
I use a light, well-draining mix made for flowers or general containers—something with peat or coco coir, perlite, and a bit of compost.
The mix should feel soft and crumbly, never heavy or sticky. If water pools on top for more than a few seconds, it’s too dense.
Quick Tip: I toss in extra perlite for better drainage, especially if you live somewhere humid or rainy.
Containers dry out faster than beds. I check the top inch—if it’s dry, I water deeply until it drains out the bottom.
How can I improve garden soil to grow healthier asters with stronger stems and blooms?
I loosen the soil 8–12 inches deep. Asters want soil that drains well but still holds some moisture.
I add 2–3 inches of compost before planting. That boosts nutrients and improves texture all at once.
Quick Tip: If my soil’s hard like clay, I add compost every spring and fall. It gets better over time.
Skip heavy manure right before planting. It just makes leafy growth and fewer blooms.
What soil pH is best for strong aster blooms and steady growth?
Asters really seem to thrive in soil that’s just a bit acidic to neutral. I usually aim for pH between 6.0 and 7.0—nothing too extreme.
If the soil swings too acidic, the flowers get noticeably smaller. Go too alkaline and the leaves start looking washed out, almost sickly.
Quick Tip: I grab a basic soil test kit from the garden center and check pH before putting anything in the ground.
When the numbers are off, I’ll sprinkle a little lime to nudge pH up or toss in some sulfur to bring it down. It’s a slow process—I always retest before adding more.
How do I make sure the soil drains well enough for asters without drying out too fast?
Roots hate soggy feet, so drainage really matters. I dig a hole, fill it with water, and see how long it takes to disappear.
If it’s gone in under an hour, great. If not, I know I’ve got some work to do before planting.
Quick Tip: For heavy, clay-like soil, I plant asters a bit higher than the ground so the roots stay above any lingering wetness.
With sandy soil, I mix in compost to help hold onto water longer. In rainy climates or anywhere Zone 8 and up, summer storms can drown asters if I don’t fix drainage ahead of time.
Should I add compost or fertilizer to the soil before planting asters for better blooms?
Compost goes in every time. It feeds the soil, not just the plant, and I see sturdier growth as a result.
If my soil looks tired or thin, I’ll use a balanced, slow-release fertilizer—nothing too heavy on the nitrogen, or I end up with a jungle of leaves and barely any flowers.
Quick Tip: I always work fertilizer into the top few inches of soil, keeping it away from the roots themselves.
Once the asters are in, I feed them lightly in early summer and then stop by late summer. That way, they have time to harden off before fall and winter roll in.
How should I adjust the soil or mulch to help asters get through winter safely?
When the weather turns cold, I throw down about 2–3 inches of mulch once the ground finally cools off. Shredded leaves or straw work best for me—honestly, whatever I have on hand usually ends up in the garden.
Mulch keeps the soil temperature from bouncing all over the place. It helps stop those annoying freeze-thaw cycles that shove the roots out of the ground.
Quick Tip: I always wait until after the first hard frost before adding mulch. If you do it too early, the stems sometimes stay too warm and get floppy.
For milder climates, I go lighter on the mulch. If you pile it on thick during a warm, soggy winter, you might just end up with mushy, rotting roots—nobody wants that.