
Ever tried to save a sad-looking orchid? 🌸 I’ve been there! Orchids can sometimes seem tricky, but reviving an orchid in water can be surprisingly easy.
Believe it or not, all you need is a clear container and some patience. I’ve seen my orchids bounce back with this simple method. Hooked yet? 😄
Drop a comment if you’re as obsessed with orchids as I am, or if you have any tips of your own! Let’s make those flowers bloom together. 🌟🌿
What Is an Orchid?
Orchids are beautiful and diverse flowers that can brighten up any space. There are numerous types of orchids, each with unique characteristics, and they have a special dormant phase that helps them survive.
Types of Orchids
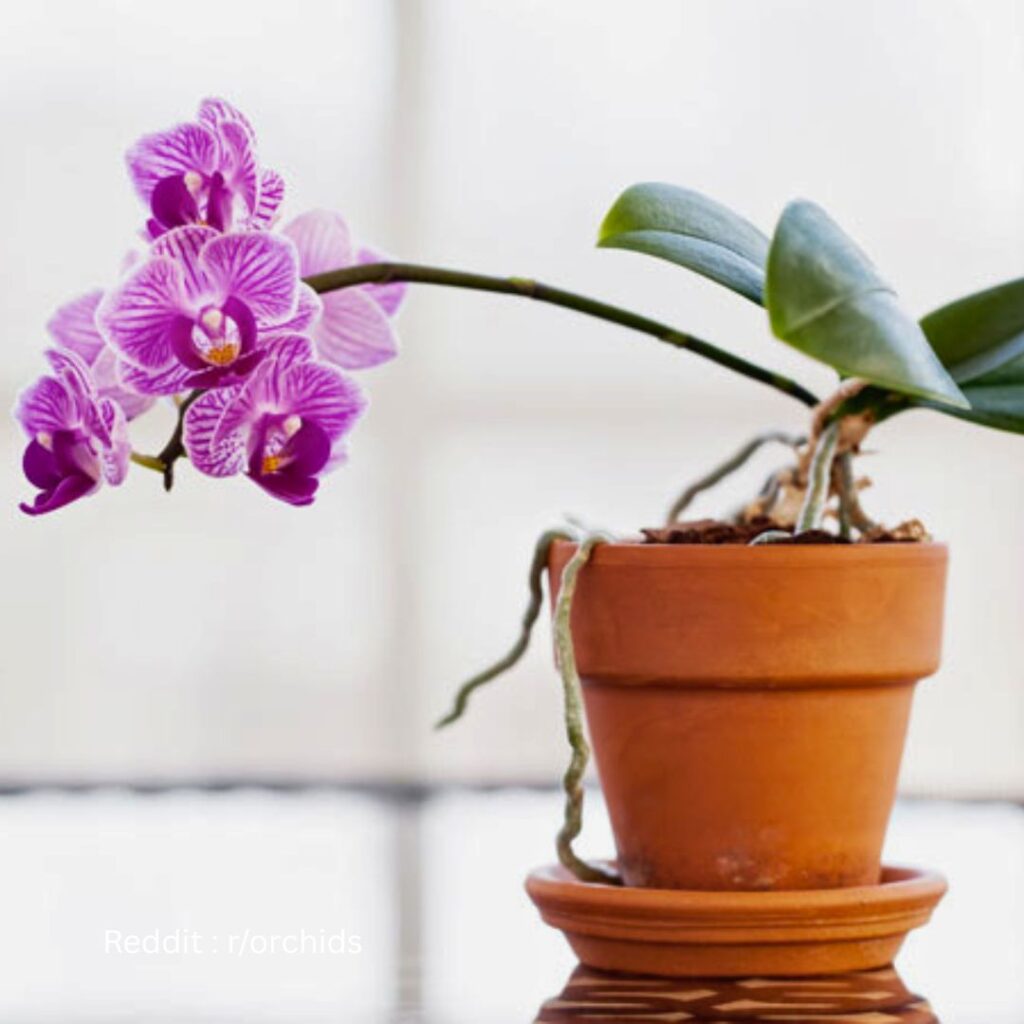
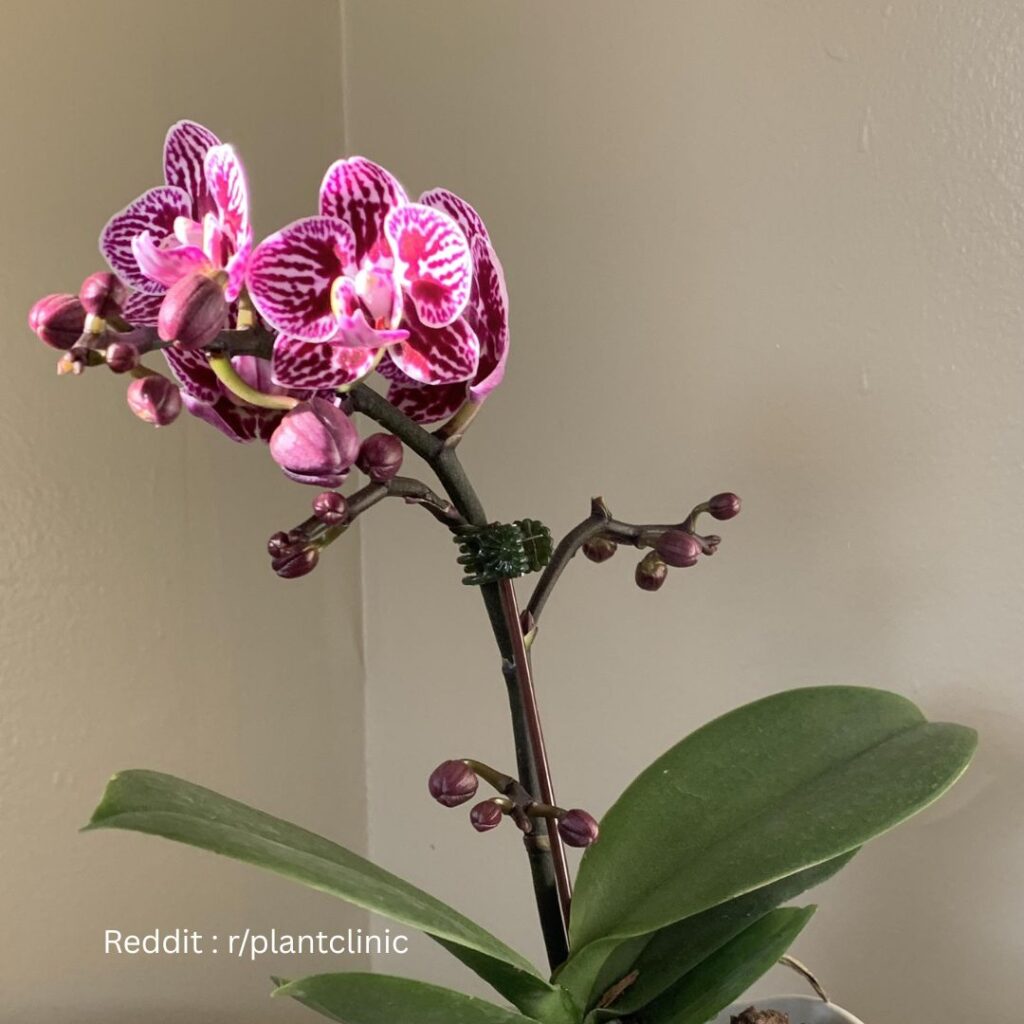
There are over 25,000 species of orchids! Can you believe that? One popular type is the Phalaenopsis, often called the moth orchid. It’s common because it’s easy to care for and has long-lasting blooms. 🦋
Another type is the Cattleya. Known for its vibrant colors and strong fragrance, it’s often used in corsages. 💐 Then there’s the Dendrobium, which comes in many shapes and sizes. It’s pretty adaptable, making it great for beginners.
Each type has its own care needs. For instance, Phalaenopsis prefer bright, indirect light while Cattleyas love to bask in more sunlight. 🌞 Dendrobiums usually need a mix of both. Understanding these needs helps keep them healthy and blooming.
Understanding Orchid Dormancy
Dormancy is a rest period that most orchids go through. Think of it as their nap time. 😴 During this time, they may look like they’re dying, but they’re just conserving energy. It’s a natural cycle and important for their health.
When an orchid is dormant, you might see fewer blooms and slower growth. Don’t worry, it’s normal. Keep watering it, but less frequently. Reduce fertilizing too because the plant doesn’t need as much.
Once dormancy ends, you’ll see new growth and blooms popping up again. 🌸 It’s always exciting to witness this transformation!
Have you ever experienced caring for a dormant orchid? Share your experiences in the comments! 🌟
Signs Your Orchid Needs Reviving
Orchids can be tricky to care for, and sometimes they need a bit of a boost. Look out for these signs to know when your orchid needs a little TLC.
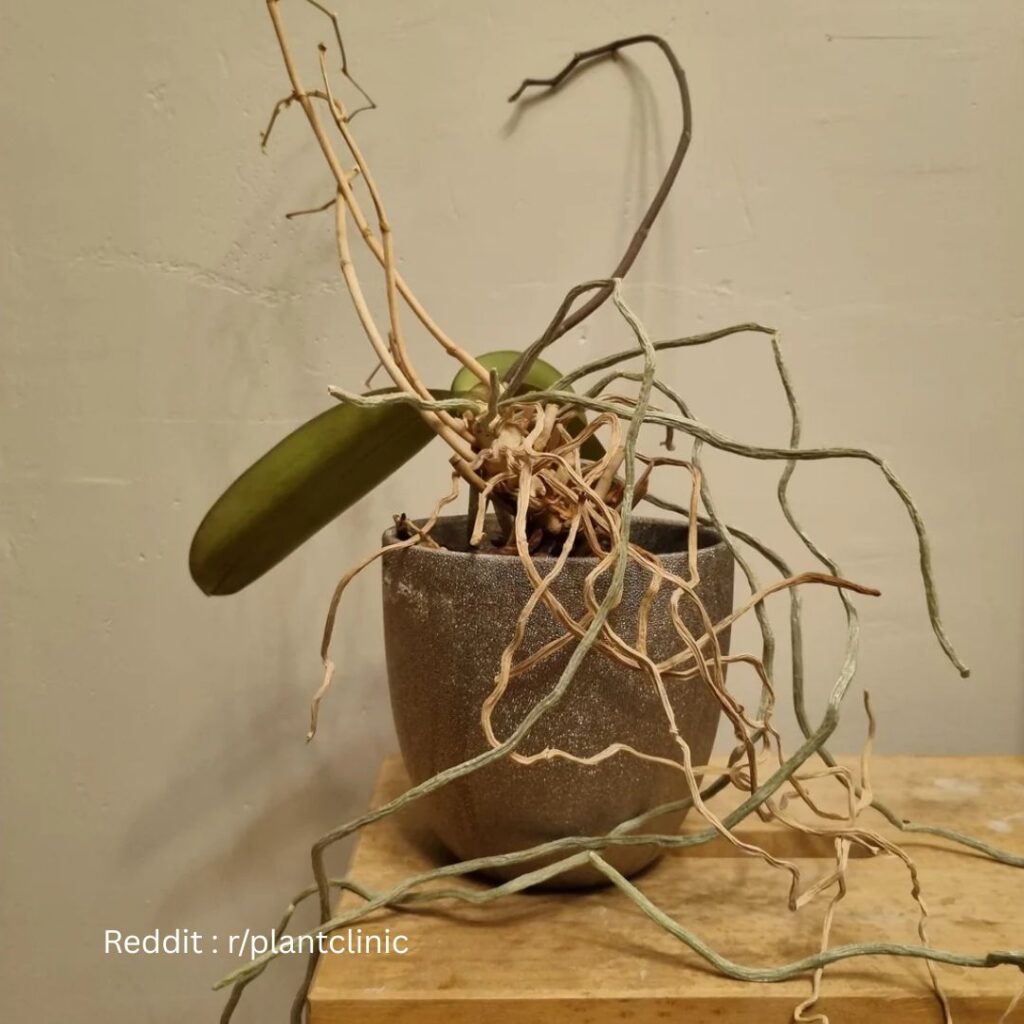
Wilting Leaves
If your orchid’s leaves are looking sad, it might be time to step in. Wilting leaves can be a sign that your plant isn’t getting enough water or it’s stressed. Are the leaves soft and droopy? That’s a definite red flag.
Sometimes, the leaves may look wrinkled or limp. This is usually a cry for help for more moisture. If you spot these issues, consider using the water revival method.
Discolored Leaves
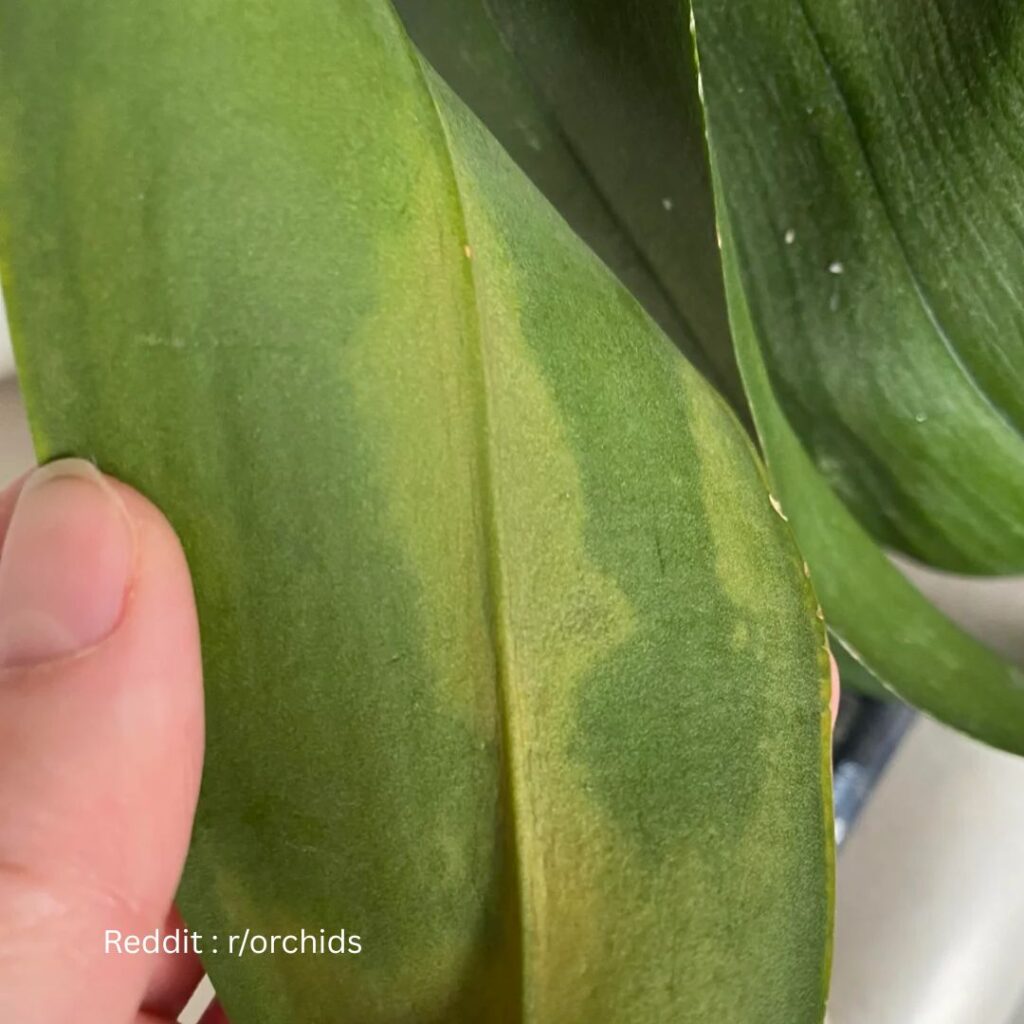
Life’s not as colorful when your orchid’s leaves lose their green glow. Discolored leaves often show something is wrong. Yellow leaves can mean too much sunlight or not enough nutrients. Have you seen spots or blotches?
This could indicate pests or bacterial problems. If the leaves turn brown at the edges, it might be due to too much light or salt buildup from fertilizers. Check your plant’s environment and adjust as needed to bring back that vibrant green.
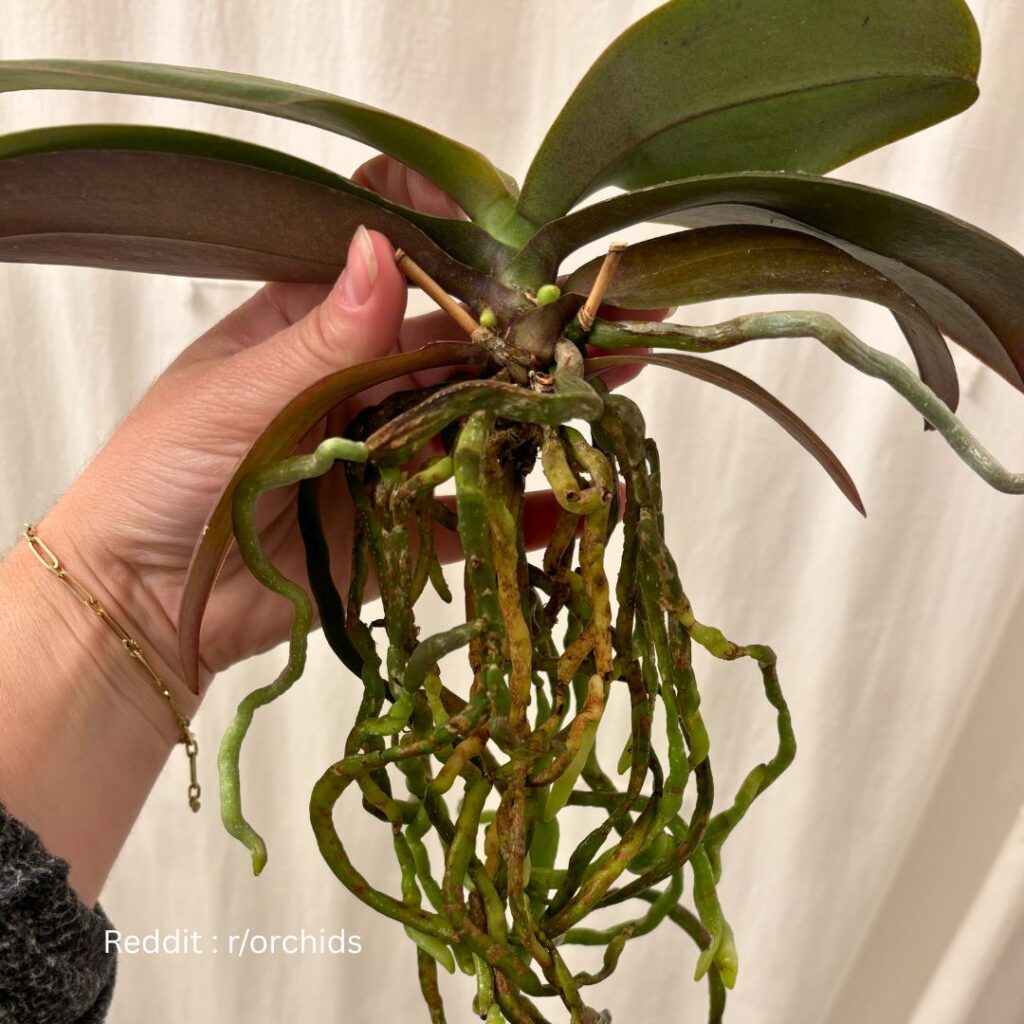
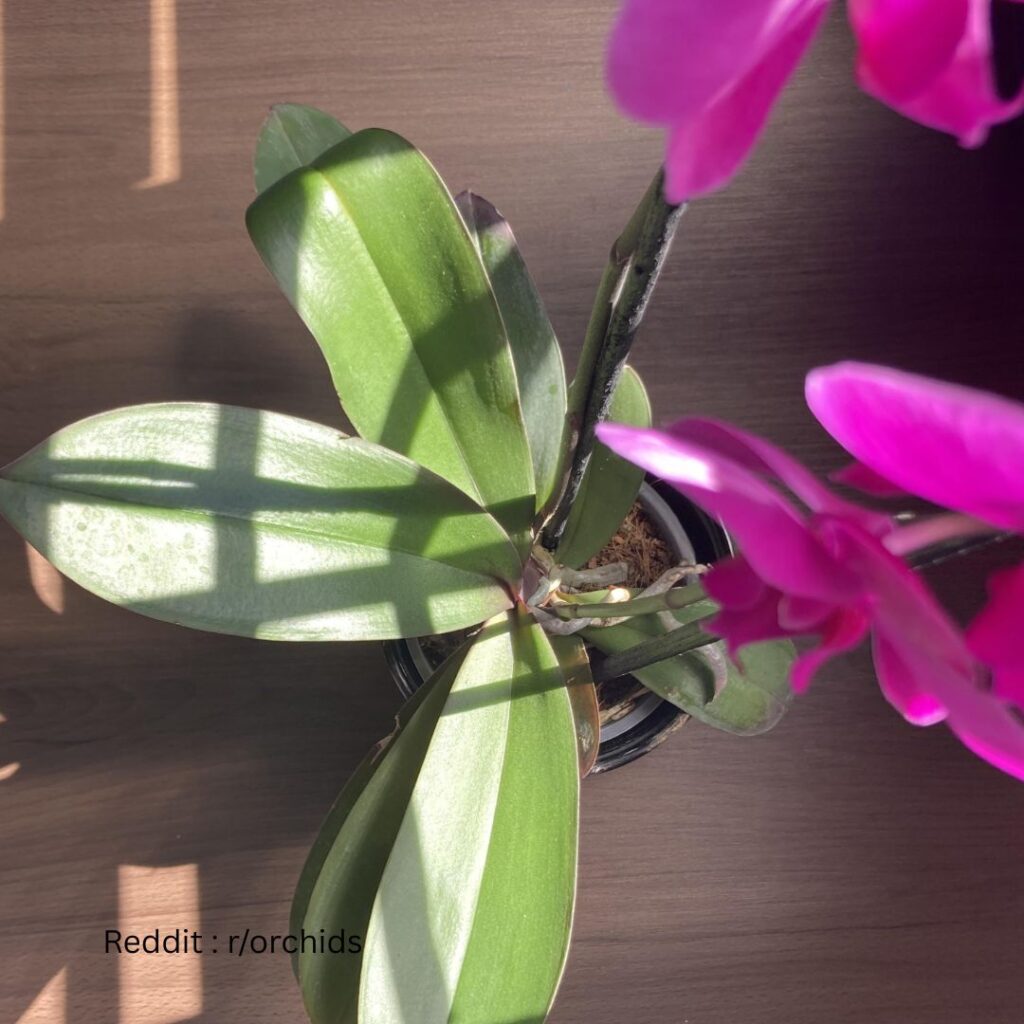
Root Health
Healthy roots are key to a happy orchid. Take a peek at the roots. Are they white or green? That’s good! Brown, mushy roots? Not so much. Soggy roots usually mean overwatering, while dried-out roots scream for more water.
Root health is super important because sick roots can’t support the plant. Try repotting your orchid if you spot these issues. Keeping those roots in good shape can work wonders. 🌸
Got any other tips or tricks for reviving orchids? Share them in the comments below!
The Basics of Water Culture for Orchids
Before getting started with water culture for orchids, it’s important to consider some key factors like water quality and container choice. This will help ensure your orchid thrives and blooms beautifully.
Water Quality and Temperature
When reviving an orchid in water, water quality is crucial. I always use filtered or distilled water. Tap water can contain chemicals that aren’t good for orchids. Who wants to risk that? 🌱
Temperature matters too. Orchids prefer room temperature water. If the water is too cold or too hot, it can stress the plant. Mid-70s Fahrenheit is a great target. I sometimes use a simple aquarium thermometer to be sure.
Change the water regularly. I swap mine out every week. Fresh water keeps the roots healthy and prevents any mold or bacteria build-up. It also lets me keep an eye on root health. Have you noticed this helps your plants thrive too? Share your thoughts!
Choosing the Right Container
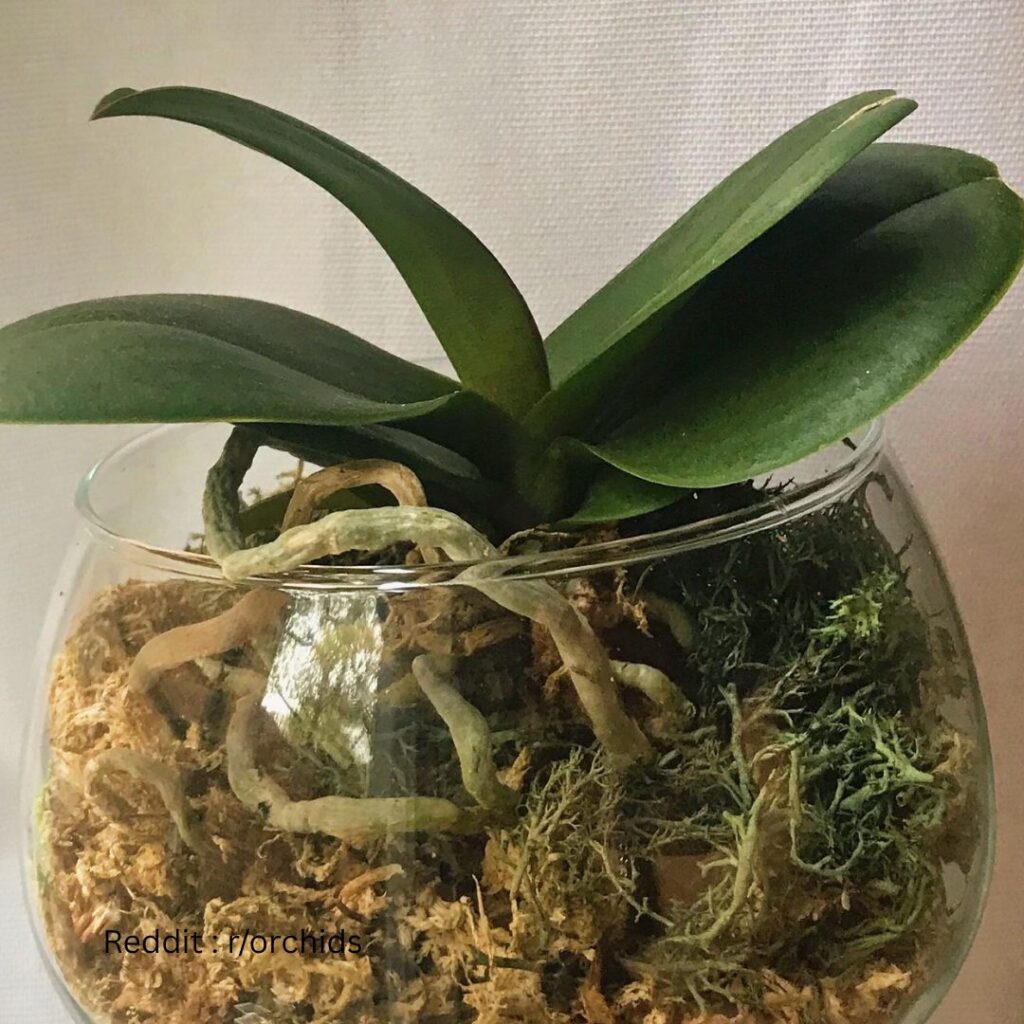
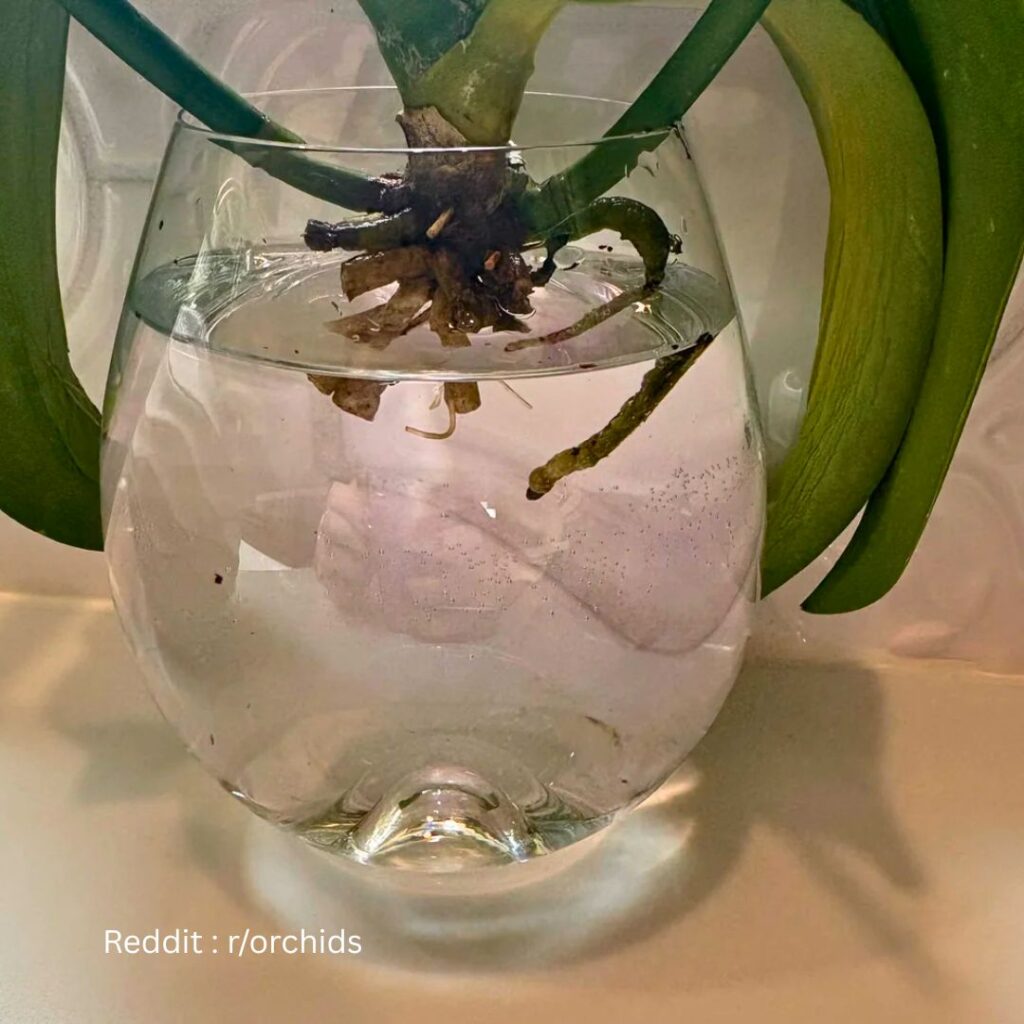
Picking the right container is just as important. I prefer transparent glass containers. They let me see the roots, which is crucial to spot any problems early.
Size matters—it should be big enough to hold the roots without crowding them. I like containers that are slightly taller than the orchid’s root system so they have room to grow.
The container should also have a wide opening. It makes it easier to get the orchid in and out when checking or swapping water. Plus, it helps with air circulation around the roots.
Lastly, I always clean my container before use. A quick wash with mild soap and warm water ensures no residue or bacteria. Do you have a favorite type of container for your orchids? Let me know in the comments! 🌸
Preparing Your Orchid for Water Revival
First, you need to clean the roots and trim any dead or damaged parts. This helps the orchid absorb water more effectively and prevents rot. Let’s dive into the details! 🌿✨
Cleaning the Roots
I usually start by gently removing the orchid from its current pot. Be careful not to damage the roots. Next, I rinse the roots using lukewarm water. This helps to wash away any old potting mix, dirt, or pests that might be clinging to the roots.
After rinsing, I use my fingers to untangle the roots. It’s like giving your orchid a little spa day! This makes it easier to spot any dead or unhealthy roots that need trimming later on.
Lastly, I place the orchid on a clean towel to dry for a bit before moving on. This step helps to prevent mold and gives me a chance to inspect the roots more closely.
Trimming Dead Roots and Leaves
Snipping away dead roots is the next important step. Dead roots are usually brown or black and feel mushy. Using sterilized scissors, I carefully trim these away. It’s like giving the orchid a fresh start! 🌟
Don’t forget to remove any yellow or brown leaves. These can sap energy from the plant and invite pests. Be cautious and cut at the base of the leaf, close to the stem.
Once trimmed, I let the orchid dry for a while. This helps to seal any cuts and prevents infection. Now, it’s ready for its water revival! 🌸💧
Got any tips or questions? Drop them in the comments below! 🌿😊
The Water Revival Process
Reviving an orchid in water involves submerging the roots, monitoring water levels, and regularly changing the water. It’s simple but requires consistent care. Let’s dig in!
Submerging the Roots
First, fill a clear container with water. Only submerge the roots—not the leaves or stem. Too much water on the leaves can lead to rot. If possible, use rainwater or distilled water.
Gently place the orchid’s roots in the water. They should be fully submerged. Avoid shaking the plant, as it can stress the roots. Have a favorite container that makes you smile? Use that! Your orchid will feel more loved. 🌸
Monitoring Water Levels
Keeping an eye on water levels is key. Roots should always be covered with water. Check daily to ensure the levels are good. If you’re busy, set a reminder on your phone. 📱
Low water can cause the roots to dry out. Where I live, the air is often dry, so I top off often. How about you? Do you find your home’s air dry too?
Changing the Water Regularly
Change the water every 5-7 days. This keeps it fresh and stops bacteria from growing. Rinse the container before refilling it.
I like to do this on Sundays. It’s a small routine that starts my week off right. 🔄 Fresh water helps keep your orchid healthy and happy. Have you tried adding this to your weekly routine yet?
Light and Temperature Considerations
Reviving an orchid in water isn’t hard if you understand how important light and temperature are. Orchids can be a bit picky, but with the right care, they’ll thrive.
Ideal Lighting Conditions
Orchids need bright, indirect light. Imagine the light in a room with a window that gets a lot of sun, but with thin curtains. Too much direct sunlight can scorch the leaves, making them look like they’re sunburned. 🌞
I usually keep my orchids near an east-facing window. That way, they get gentle morning sunlight. If a window isn’t available, a grow light can also work wonders. Just make sure it’s not too close, about 12-18 inches away is good.
Pay attention to your orchid’s leaves. If they turn dark green, they need more light. If they’re yellowish, they might be getting too much. Isn’t it amazing how plants can “talk” to us? 🌿
Maintaining Optimal Temperatures
Orchids like their environments to be just right—not too hot, not too cold. Think of where you feel most comfortable, that’s likely where your orchid will be happy too! 🌡️
During the day, aim for temperatures between 65-75°F (18-24°C). At night, they prefer it a bit cooler, around 55-65°F (13-18°C). Wow, orchids are more temperature-sensitive than us!
I tend to keep a thermometer next to my orchids. That way, I always know if we’re in the right range. If it’s too hot or too cold, a fan or heater can quickly fix the issue.
Temperature changes can stress your orchid, so avoid windows that get drafty, especially in winter. Extreme temperatures can disturb their beauty sleep! 💤
Got any light or temperature tricks for your orchids? Let me know in the comments! 🌸
Fertilization in Water Culture
Reviving an orchid in water involves understanding the right timing and type of fertilizer. Let’s explore how and when to fertilize your delicate plant to keep it happy and healthy.
When to Fertilize
Timing is everything when it comes to fertilizing orchids in water culture. 🌿 I like to fertilize my orchids once every two weeks. Make sure to watch the roots; they should be green and actively growing.
If the roots are not growing, hold off on fertilizing. Too much fertilizer can burn the roots, causing more harm than good. Remember, less is more with orchids!
Choosing the Right Fertilizer
Picking the right fertilizer is crucial. Use a balanced fertilizer like 20-20-20. It should be diluted to half or even a quarter strength.
I also suggest using a special orchid fertilizer that’s high in nitrogen, promoting leaf and root growth. 🌱 Avoid fertilizers with urea, as it can be harsh on the roots.
Try to find a water-soluble fertilizer for easy mixing and application. This ensures the nutrients are readily available for the plant.
Have you tried reviving an orchid in water before? 🧐 Feel free to share your experiences or ask questions in the comments! Can’t wait to hear how your orchids are doing!
Transplanting Back to Soil
Transplanting an orchid from water to soil requires the right timing and a good potting mix. I’ll guide you through when it’s ideal to move your orchid and what soil to use to ensure its healthy growth.
When to Transplant
The best time to transplant your orchid back to soil is when you see new roots forming. These new roots are a sign that the plant is ready to adapt to a soil environment. 🌱 Usually, this occurs in early spring or early fall.
If you notice that the water roots are turning brown or mushy, it’s a clear sign to transfer the plant. If left too long in water, the roots might rot, harming your orchid.
To keep things fun 🥳, remember to let the roots dry for a few hours before transplanting. Dry roots help prevent rot and other issues.
Potting Mix Selection
Selecting the right potting mix is crucial. Orchids thrive in well-draining soil; they do not like “wet feet”! A mix of bark, perlite, and charcoal is perfect. 🏡
Here’s a quick, easy recipe for you:
- Bark chips: Retain moisture but permit air circulation.
- Perlite: Helps with drainage and aeration.
- Charcoal: Keeps the mix fresh by filtering impurities.
Avoid regular garden soil as it holds too much moisture and can suffocate the roots. Think of it like this: Orchids like to “breathe”. 🌺
Got any tips or questions about transplanting orchids? Drop your thoughts in the comments below! 🙌
Troubleshooting Common Issues
Yellow Leaves
If you notice yellow leaves, it might mean your orchid needs more light. Move it to a brighter spot but avoid direct sunlight.
Wilting Roots
Are the roots wilting or turning black? This could be a sign of overwatering. Make sure the roots stay in water but not for too long.
No Blooms
No flowers blooming? Your orchid might need more nutrients. Try a balanced fertilizer every two weeks to encourage blooming. 🌸
Fungus or Mold
Seeing fungus or mold? Check if the water is clean. You should change the water every few days to keep it fresh.
Too Much Water
Sometimes, too much love and water can harm your orchid. Make sure only the roots, not the stem, are in water. This prevents rot.
Leaves Turning Brown
Brown leaves? It could mean your orchid is getting too much direct sunlight. Move it to a spot with indirect bright light.
Comments and Feedback
Got more questions? 🌟 Drop a comment below! Let’s keep those orchids happy and healthy together! 💬
Ongoing Care and Maintenance
Taking proper care of your revived orchid is crucial to keep it healthy and encourage blooming. Consistent watering and providing the right conditions will help your orchid thrive.
Watering Schedule Post-Revival
After reviving your orchid in water, it’s important to maintain a consistent watering schedule. I recommend changing the water every week. This keeps it fresh and prevents stagnation. Make sure the roots are fully submerged but the leaves are kept dry to avoid rot.
Use room temperature water, and let it sit out overnight to let any chlorine evaporate. Orchids enjoy humidity, so you might add a pebble tray underneath. A light mist on the roots can also help. This way, the plant won’t dry out.
If you see the roots turning green, they’re hydrated. If they look silvery, they need more water. Getting into a rhythm with your orchid’s watering routine will make a difference. 🌿
Reblooming Tips
Encouraging an orchid to rebloom can be fun! Once it has recovered, keep it in bright, indirect light. Orchids need about 12-14 hours of light a day but avoid direct sunlight to prevent leaf burn.
Temperature is key: try to keep it between 60-80°F. Sometimes, a slight drop in night temperature can trigger blooming. Fertilize with a balanced orchid fertilizer every 2-3 weeks, but avoid over-fertilizing. You’ll see the best results with a lean but frequent feeding schedule.
Keep an eye on the orchid’s roots and leaves. Happy roots are green; new leaves mean growth! If you’re lucky, getting those blooms again might be easier than you thought. 🌸
Frequently Asked Questions
I’ve gathered some common questions and answers to help you revive your beloved orchid. 🌺 Let’s get started!
How can I tell if my orchid can be revived?
Look for green stems and healthy roots. If the roots are firm and the stems aren’t all brown, there’s hope! Check if the plant seems to respond to care.
What are the initial steps to take for an orchid that appears dead?
First, trim away any dead or rotting roots. Then, place the orchid in a jar of water, making sure only the roots are submerged. 🪴 Change the water daily to keep it fresh.
Are there any special solutions to encourage an orchid’s recovery?
Yes! Adding a bit of liquid fertilizer or rooting hormone to the water can help your orchid bounce back faster. Just follow the instructions on the product.
How do I nurse an orchid back to health if it has lost all its leaves?
An orchid with no leaves can still come back! Keep it in indirect light and maintain a steady temperature. Make sure the roots get enough oxygen by changing the water regularly.
What’s the best way to care for an orchid that’s not blooming?
Be patient and give it time. Ensure it’s getting the right amount of light, water, and nutrients. Sometimes, orchids need a little rest before they bloom again. 🌸
Is it possible to revive an orchid with just a stem remaining?
Yes, even a stem can make a comeback! Keep doing the water method, and be patient. New roots or leaves might emerge from the stem with proper care.
Got more questions? Drop them in the comments! 😊💬