
Tulips come in different shapes and sizes, from cup-shaped blooms to striped varieties. I wouldn’t be surprised if you want to get more of these beauties in your garden. So let’s understand how you can do that without spending any bucks on it.
In this article, we shall learn how to propagate tulips through seeds, bulbs, and offset methods.
In general, the division of bulbs is the most popular way to propagate a tulip plant. Tulips can also be propagated through seeds; however, this is not a preferred way to do it. Tulips can also propagate vegetatively through axillary bulb outgrowth, but this method is very slow and unreliable.
In this article, I have discussed the possible ways of tulip propagation. To find out more about it, go through the article in detail. But before going into the methods, let’s check out some facts about tulip reproduction.
Reproduction in tulips
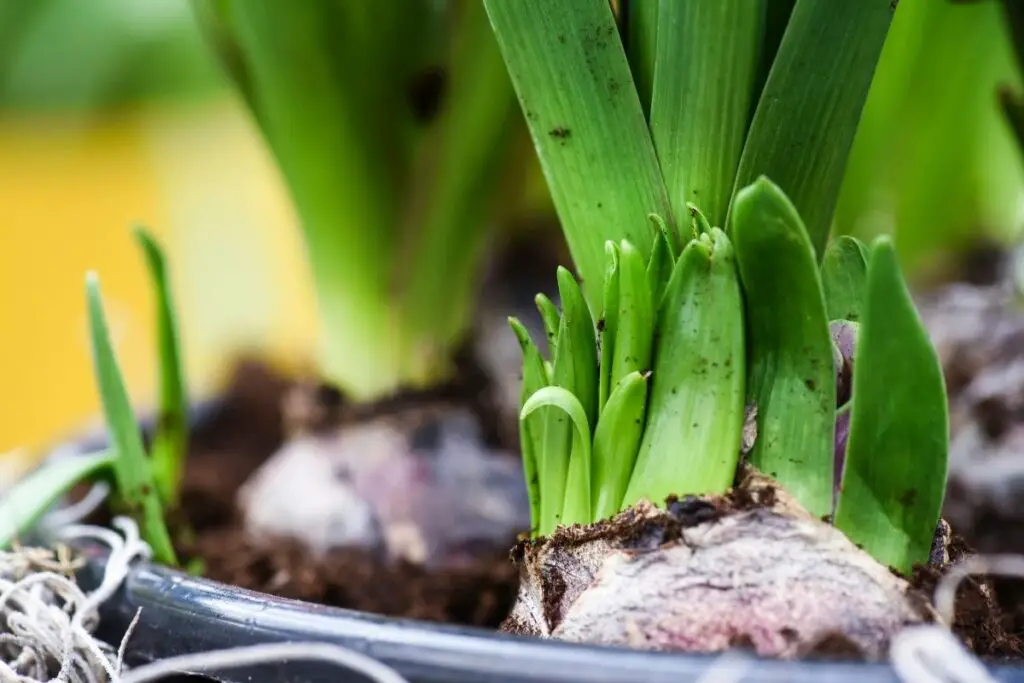
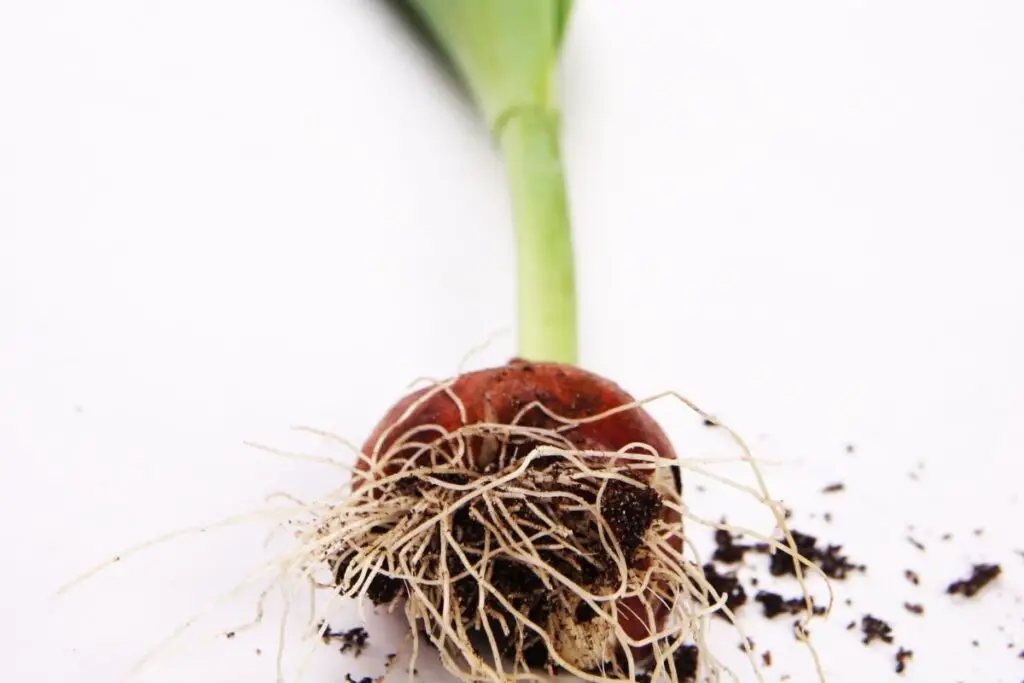
Tulip shoots grow from an underground bulb. Once planted, the original bulb shrivels after its first bloom.
Before drying out, it produces a daughter bulb, known as the Primary bud. This primary bud will bloom the following season. Two or three bullets, known as secondary bulbs, grow alongside the primary bud from its base.
The bulblets generally take a longer time to flower. The larger bulbs can take almost two years to mature, whereas the smaller bullets can drag the process near about 3 years or even more.
Tulip propagation from bulbs
The best way to propagate tulips is from bulbs. It is easy to follow but requires a proper time of the year with the right conditions to produce a healthy plant.
Autumn is the best season for planting tulips, as these species require a long chilling period before they bloom.
The bulbs need to be kept in the refrigerator for 2-3 months before plantation in comparatively warmer zones. This artificial chilling is necessary to induce bloom in the following spring.
Special care
While propagating tulips from bulbs, you need to keep a few care tips in mind to support healthy growth.
- Never keep the bulbs near any ripe fruits. Specifically, avoid storing the bulbs with fruits like apples as these fruits release ethylene gas, which can hinder blooming in tulips.
- Prepare the planting bed when the soil temperature drops below 50-55°F, and nighttime atmospheric temperature stays between 40-50°F.
- A sunny garden bed is recommended for the bulbs. The soil must be fast draining.
- While placing the bulbs into the soil, keep a space near about 1-6 inches between them. Choose a planting location accordingly with enough space to accommodate all the bulbs you desire to plant.
- Closure spacing between ¼ and ½ inches is the most suitable for growing tulip cut flowers.
- Overcrowding the garden bed will eventually inhibit flowering among tulips. These species require re-propagation every three to five years to keep a constant bloom.
- Before placing the bulbs, loosen the soil with some additional compost for maintaining proper nutrient support.
- You must bury tulip bulbs deep in the soil if you expect a good bloom. Hence dig the soil to a depth of 8-12 inches for each bulb.
- Nestle the tulip bulbs with their pointed end at the upper side and the broad base pressed against the soil bed.
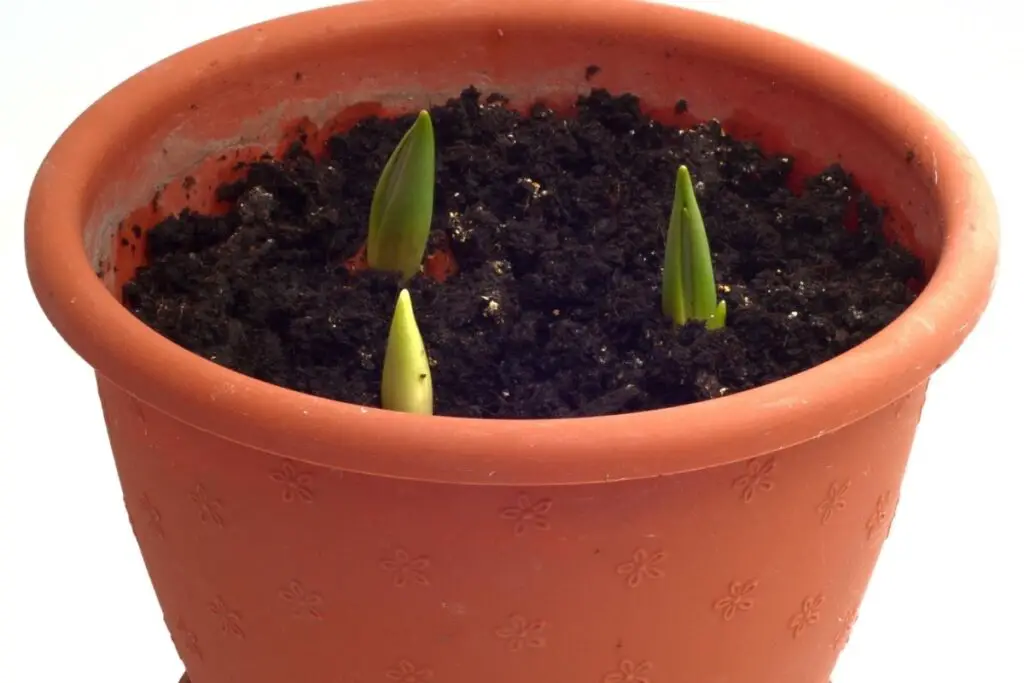
- They will start growing during spring, keeping a constant watch.
Propagation of bulb in water
Along with garden bed and pot soil, you can also apply water to bulb propagation. Place a single tulip bulb in a glass vase and fill it with water.
Make sure to keep most parts of the bulb above the water level. Only the broad base from where the roots come out must rest in water.
Problems with bulb propagation:
Although propagating tulips from their bulbs are the most followed method still, this kind of propagation has its drawbacks.
Tulips can be grown from the daughter bulbs that form around the base of the main bulb. They clone their parent plant in such self-propagation and thus lack genetic diversity.
Such species have comparatively less adaptive features, making them vulnerable to environmental stress.
Advantages of bulb propagation:
- Self-propagation of tulips via bulbs requires less time than seed propagation, and the growth is rapid- within a year or so.
- It doesn’t rely on any pollinator, and thus the success rate is high.
- It is less complicated.
- As you get a clone copy of the parental species, you can be sure to have healthy offspring if the mother plant is healthy enough.
Tulip propagation from seeds
While growing tulips from a bulb is a standard and easiest procedure, propagating these floral species from seeds is uncommon.
Tulips can hybridize readily, and the seeds produced after hybridization grows into plants that typically differ from the parental species.
However, if you plan for an experiment or opt for a whole new variety of tulips, then seed propagation can prove to be a worthy project.
- Collect the seeds from the dried-out seed pod at the end of the blooming season.
- Like the bulbs, tulip seeds also need cold induction to initiate the germination process. Hence you must store the seeds in the refrigerator to chill throughout the summer season before planting them in the autumn months.
- Keep the seeds in a plastic pouch with a moist paper towel to keep them hydrated and avoid drying out.
- Start planting the seeds in the autumn when the nighttime temperature ranges between 40-50°F.
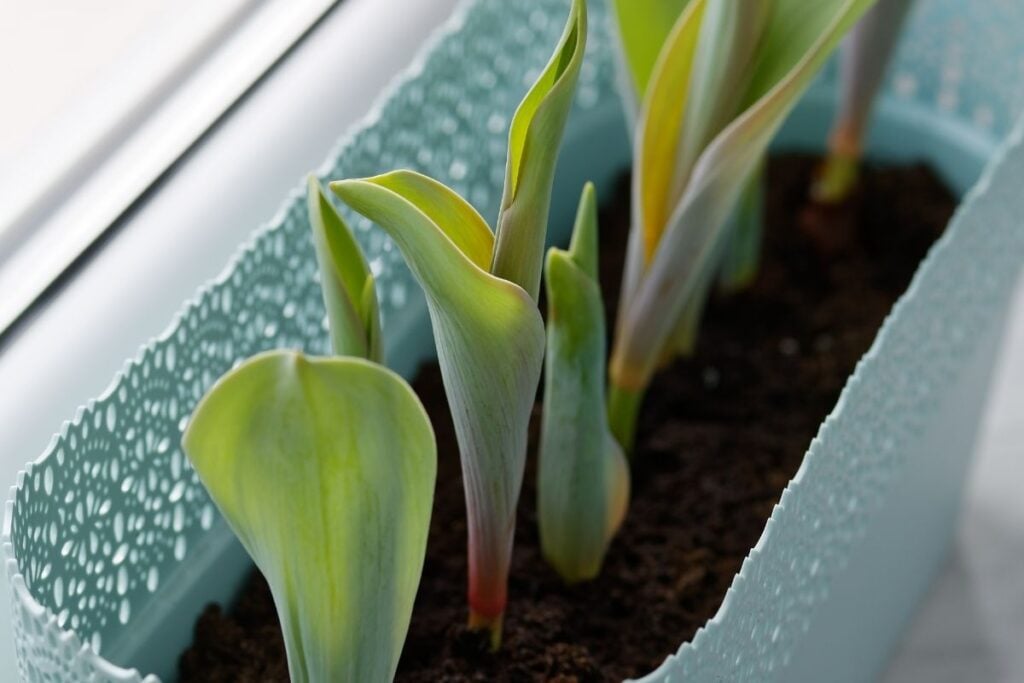
- Planting the seeds in pots is comparatively easy to control their growth.
- Use 6-inch planting pots with proper drainage holes.
- Prepare one pot at a time for every four to five seeds.
- Fill the pots with nutrient-rich soil. You can add compost at a reasonable amount.
- Sow the seeds at a depth of ½ inches into the soil.
- Seeds must be spaced a few inches apart and must be watered deeply.
- During the winter months, place the pots outdoors in a lightly shaded area with south-facing walls.
- Water the soil whenever it looks dry. Do not overwater.
- Keep a constant watch during spring for the first sprout. The seeds will start germination when the daytime temperature reaches above 55-60°F.
Special note:
Seed propagated tulips usually take a longer time to bloom. It can take up to 5-7 years to flower for a few species. You will need to have the patience to witness the newer variety of flowers.
Grow the seedlings in the pots for two years. During this phase, the plant will produce bulbs. Transplant those bulbs into the garden bed in the autumn following the primary procedure.
Problems with seed propagation:
- As pollination is required for seed formation, propagation of tulips by seed is comparatively complicated in that case. As pollinators are essential to carry off the process, the method becomes lengthy and less likely to be sure of a successful result.
- Deformities can often be seen in such plants due to genetic rearrangement.
- The time required for completion is very lengthy.
Advantages of seed propagation:
- Plants that grow from seed propagation have a higher rate of genetic diversity and can acquire more adaptive features.
- These species are more sustainable to environmental stress.
Divide tulip offsets
Tulips need to be divided for their regrowth, and it is the fastest way to propagate them. To divide the tulips, follow the given steps.
- Mark the location of your tulip plant with a stone while they are blooming so that you can easily trace them later when the bloom dries out.
- In autumn, dig up the primary bulbs and separate the bullets from them.
- Replant all the bulbs and bulblets, spacing them 6-8 inches apart for hybrid tulips.
- Plant smaller species at a 4-6 inches depth and keep the deep 6-8 inches deep for longer variety.
Some tips to remember while growing tulips
- Light: All varieties of tulips require proper sunlight during their growth phase.
- Soil: Tulips prefer nutrient-rich, well-draining soil with a pH level from neutral to slightly acidic. Adding compost to the soil is very helpful for the bulbs’ growth. It makes the soil porous while maintaining the pH level.
- Water: No matter what method you follow, water the soil immediately after plantation. But after that, withhold watering except during extreme dry time.
- Temperature and humidity: As temperature plays a crucial role in tulip propagation, you need to have a clear idea about the ideal degree range of this factor. Altering temperature ranges can prove to be fatal for tulip bulbs or seeds.
Do follow the temperature guideline mentioned in the respective methods earlier. Tulips thrive well in dry regions that have prolonged cold climates. Too much humidity can cause the bulbs to rot.
- Fertilizers: Add some compost or granular fertilizers and bone meal to the planting hole before placing the tulip bulbs. Feed them during the following spring again, when they sprout. You must avoid unnecessary feeding.
FAQ
If you are new in this work, propagating tulips may raise a few questions in your mind. So I am here to take you out of that confusion.
Can tulips be propagated in water?
And the answer is ‘yes.’ It is a form of bulb propagation. All you need is some gravel/ glass beads, an hourglass-shaped vase, and some water.
First, fill the vase 5 cm deep with rocks and add water to it. Place a bulb keeping its pointed end upward. Do not drown the bulb in the water.
How do you get tulip seeds from tulips?
Once the tulip has bloomed, allow it to dry out. After the pods turn brown, remove the seeds and dry them for a week. Then keep the seeds in a dry plastic pouch with a slightly moistened paper towel and store them in the refrigerator.
Will tulips in water rebloom?
The chance of reblooming for tulips that are propagated in water is less, as they lack a secondary bulb.
Final words
I hope this article guided you with all the necessary tips and ideas you needed regarding tulip propagation. These cup-shaped vibrant looking beauties are a real visual treat.
If you already have them in your garden, you can get more out of those without buying them again and again. So pick up the suitable method for your garden and go ahead with the process to enjoy a pleasing sight in the following spring. Good luck.
Source: Wikipedia, North Dakota Stae University, The Royal Horticultural Society.
My bulbs have been in my house all winter, they have white sprouts coming out of the pointed top. Can I plant them in the early spring or should I keep them until next year?
[email protected]
You can either plant them in the spring or keep then in a dark and cold place so that they can be planted next year. Upto you!