
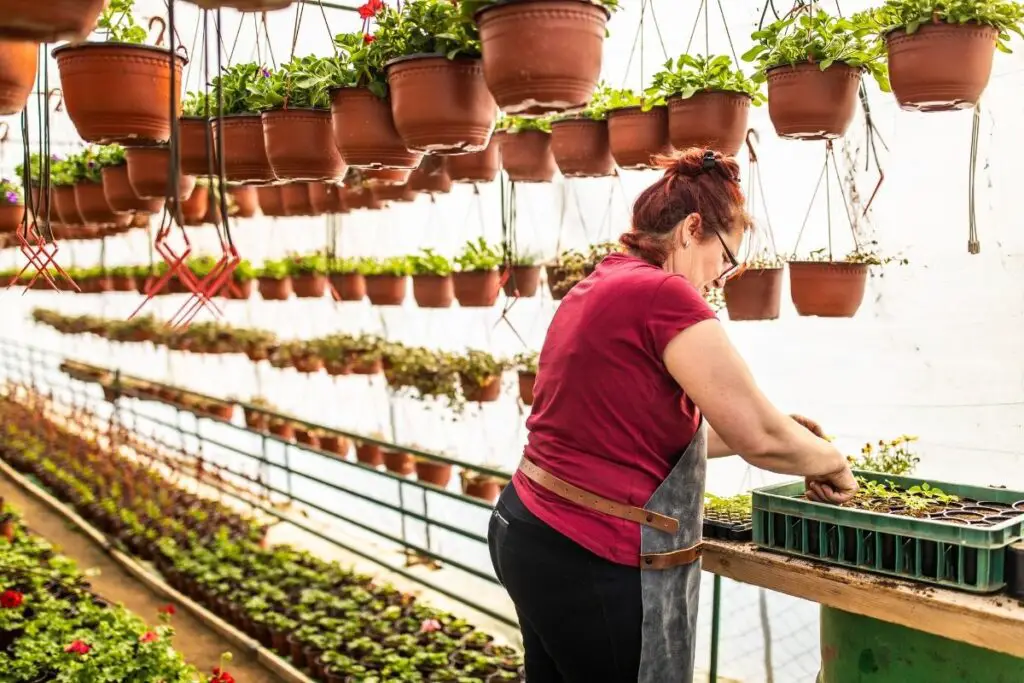
Propagating plants is one of the best ways to get more plants without buying them. You can follow the same propagation methods followed in the nurseries. But, some methods can only be performed in the nurseries due to their extra facilities.
Nurseries propagate plants both sexually and asexually. Asexual processes are performed for selected cultivars to make clones of the parent plant, such as by cuttings, grafting, or tissue culture. At the same time, Sexual propagation through seeds is done to get either clone or hybrid.
Performing all sorts of methods helps the horticulturalists gather knowledge about every process and understand which method shows the best results. This article will help you understand the different propagation methods you can follow at home.
How do nurseries propagate their plants?
Nurseries perform multiple ways to propagate their plants.
But in most cases, they always use the easy ones that show fast results.
In other cases, they try and perform every possible propagation method.
It gives the horticulturalists knowledge and experience about the process to share with others and advise the customers.
However, some processes require lab facilities, available only at the nurseries.
Before propagation, the nurseries take care of certain steps like storage, propagation timing, medium preparation, etc.
Nurseries use 3 ways to propagate plants:
- Propagation by sexual reproduction or seeds
- Propagation by asexual reproduction or vegetative method
- Propagation by tissue culture
These methods are further divided into different methods.
Let’s look at the propagation techniques followed in the nurseries in detail.
Propagation from seeds
Seed propagation is also called sexual propagation, where the seeds are collected after pollination.
Seed propagation may or may not give the clones of their parents because, in pollination, the pollen is sometimes carried to the same variety or other variety by insects or natural ways like wind or rain.
The seeds should be healthy and obtained from healthy parent plants for good quality.
Depending on the plant variety, seeds can be stored for months and planted when the growing month arrives.
Germination requirements
Water, oxygen, light, viability, and heat – these factors will affect germination.
Water
The nurseries provide a good water supply for germination because they have a high absorption power due to the seed coat.
The nurseries ensure that the seeds don’t get dry conditions during germination as that will affect seed health.
Light and darkness
Nurseries maintain a controlled environment during germination, including both light and darkness.
Plants like begonia, lettuce, petunia, impatiens, and ageratum need light for germination.
On the contrary, nurseries grow seeds of peas, beans, calendula, verbena, phlox, Centaurea, and vinca germinate best in the dark.
Nurseries maintain appropriate light for successful germination.
The seeds are either left on the soil surface or covered with a light layer of peat moss or vermiculite.
Nurseries use fluorescent light for 16 hours if sunlight is rare.
A little high intensity can improve the plant quality.
Everything is done with guidance and experience.
Oxygen
Nurseries use well-drained loose soil to let the seeds breathe and have enough oxygen.
The seeds are dormant and need sufficient oxygen to germinate.
Temperature
The temperatures highly affect the germination speed and rate of success.
Some seeds can develop in a wide range of temperatures, whereas some require exact temperatures.
Nurseries always control the environment and maintain the ideal temperature ranges 24*7.
That is why the nurseries always manage to get better plants.
In general, the best temperature range is 65-75°F.
But it differs depending on the plant type.
Methods to break dormancy
For successful germination, it is important to trigger growth in the seeds.
Some trees and shrubs don’t break their dormancy easily, even if the growth conditions are ideal for germination.
Nurseries perform two methods to break dormancy:
- Scarification
- Stratification
In Scarification, the seed coats require breaking, scratching, or softening so that the seed inside can receive adequate moisture for growth.
There are many ways to scarify the seeds.
One method is acid Scarification, where the seeds are soaked in sulfuric acid for several minutes to hours, depending on the hardiness of the seed coat.
When the coating softens, the seeds are washed and planted in the growing medium.
Another method is mechanical, where the seeds are filled with a metal file and rubbed with sandpaper to weaken and crack the seed coat.
Scarification is also caused by hot water.
The seeds are soaked in warm water heated at 170-212°F and kept soaking until the water cools down.
Another method is moist Scarification.
Seeds are stored in warm, damp containers for several months, where the coating will break by decomposition.
In Stratification, the seeds require a period of chilling for germination.
The nurseries spread the seeds in a pot filled with sand and vermiculite and covered with ½ inch of the mixture.
The medium is watered thoroughly, and the pot is sealed with a plastic bag and placed in the refrigerator.
After 10-12 weeks, the pot is brought out and kept in a warm place.
Nurseries water the medium when required and when the plant is about 3 inches tall, it is repotted to another pot.
Sand and vermiculite are replaced with sphagnum moss or peat.
The ingredient is moistened and squeezed, and the seeds are placed in it.
They are covered with a plastic bag and stored in the refrigerator for 10-12 weeks.
While stored in the refrigerator, the nursery maintains a temperature of around 35-45°F.
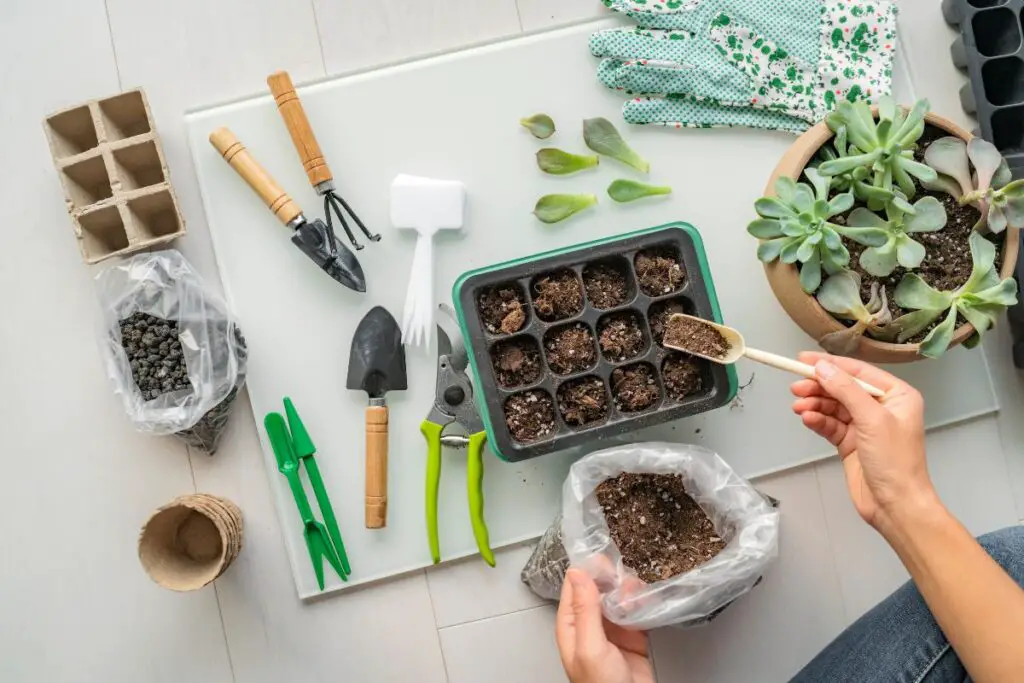
Preparing the medium
The medium depends on the plant type.
Whatever the nurseries choose, they always ensure that the medium is of good quality, loose, well-drained, well-aerated, sterile, and free from pests, diseases, and weeds.
The soil should also have a low fertility rate because the motive is to let the seed sprout out.
Once it sprouts, you can apply nutrition later on.
If you want any recommendations, I can suggest:
- 1/3rd of each sterilized soil, sand, vermiculite or perlite, and peat moss
- 4 quarts of shredded sphagnum moss and vermiculite each, 1 tablespoon of superphosphate, and 2 tablespoons of ground limestone
The nurseries keep the moist soil in a micro-oven to sterilize the soil and set it at about 180-250°F for only 30 minutes.
Again for sterility, the containers are washed with 1 part chlorine bleach and 9 parts water to eliminate weed growth and debris.
Looking for gardening supplies? We have tested 100's of products before recommending them to you guys. Check out our best pick below:
| Image | Gardening Supplies | Best Price? |
|---|---|---|
 Top
Top Top
Top | Raised Garden Bed Kit | Check On Amazon |
 | XLUX Soil Moisture Meter, Plant Water Monitor, Soil Hygrometer Sensor for Gardening, Farming, Indoor and Outdoor Plants, No Batteries Required | No Results |
 Top
Top Top
Top | 82 Pcs Garden Tools Set and Extra Succulent Tools Set | Check On Amazon |
 | Joeys Garden Expandable Garden Hose with 8 Function Hose Nozzle, Lightweight Anti-Kink Flexible Garden Hoses, Extra Strength Fabric with Double Latex Core, (50 FT, Black) | No Results |
 Top
Top Top
Top | Dual Chamber Compost Tumbler | Check On Amazon |
 Top
Top Top
Top | Sunnyglade Plant Stakes | Check On Amazon |
 Top
Top Top
Top | Organic Cold Pressed Neem Seed Oil | Check On Amazon |
 Top
Top Top
Top | Mighty Mint Gallon :-Insect and Pest Control Peppermint Oil | Check On Amazon |
 Top
Top Top
Top | Scotts DiseaseEx Lawn Fungicide | Check On Amazon |
 Top
Top Top
Top | Jacks Classic 20-20-20 All Purpose Fertilizer | Check On Amazon |
 Top
Top Top
Top | 30,000 Seeds Pollinator Attracting Wildflower Mixture | Check On Amazon |
 Top
Top Top
Top | Survival Vegetable Seeds Garden Kit-Over 16,000 Seeds | Check On Amazon |
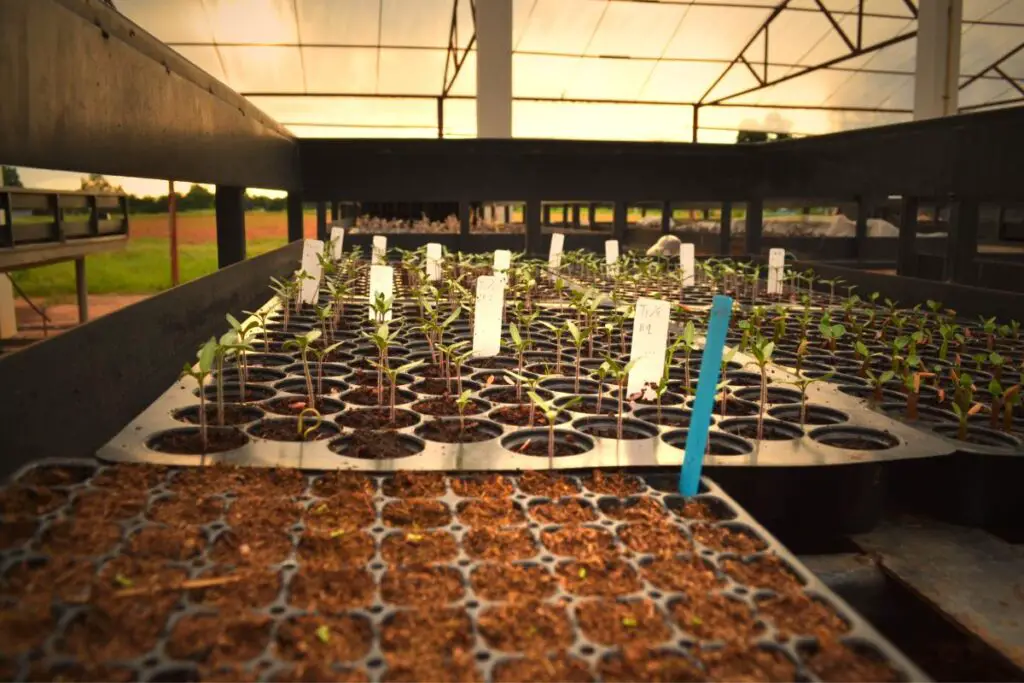
Containers used in nurseries
Nurseries generally use seed germination trays.
Some trays have multiple small cells, where one can plant a single seed in a single cell.
So, one tray can have a lot of seeds.
Some trays don’t have such cells.
It is a single tray, where the seeds are planted a few inches apart.
These kinds of trays require less amount of space.
Once the plant grows the seedling around 3 inches, they are transplanted to a new pot.
The nurseries sometimes also use big pots where they plant the seeds a few inches apart.
Sowing
The timing of sowing and transplanting depends on the time the seed will take to sprout a new plant and when it will be ready to be transplanted.
Depending on the plant’s growth speed, it generally takes 4-12 weeks.
The nurseries take a container of their choice, fill it with the ideal substrate and sow the seeds.
Sometimes, the nurseries plant the large seeds separately in individual containers.
Here, they don’t need to transplant the seedling anymore.
Nurseries also use seed tapes as it is easier to plant.
The embedded seeds are exactly one inch apart.
So, it saves the time taken to measure seed distance while planting.
Over time, the tapes get dissolved in the soil, and the seed sprouts out.
Pre-germination
The nurseries also consider pre-germination, where they allow the seeds to sprout out before planting.
It takes less time for the seeds to germinate.
They keep the seeds between the cotton cloth or a layer of vermiculite and place them in a warm and moist place.
Once the roots appear, the seeds are transferred in pots or directly to the ground.
Germination Aftercare
After the seeds are sown, nurseries take good care of them for healthy plants.
Nurseries moisten the medium by misting.
The pots are kept in plastic bags and out of direct sunlight to maintain the moisture.
The covers are removed when the first seedlings appear.
The seeds are kept at a controlled, cool temperature.
They are sometimes given warm temperatures with thermostatically controlled heating cables.
When the seedlings establish, they are moved to a cool place with 55-60°F at night and 65-70°F during the day.
They are given bright light after germination.
While transplanting, the soil mixes used are made ideal for the plants and fertilized 2 weeks after plant establishment.
Transplantation is done when there is no frost or harsh weather.
The plants need to get hard to fight the environmental changes.
It is only required when you bring the plants home.
In the nurseries, they remain in a controlled environment.
Propagation by vegetative methods
Propagation by a vegetative method is adopted for ornamental plants.
The plants become duplicates of their mother plant and can handle the same environment as their mother.
So, the nurseries can follow the same old routine for these babies.
Vegetative methods include cuttings, layering, division, grafting, and budding.
Let’s see how the nurseries perform these processes.
Cuttings
Propagation by cuttings is famous, cheap, and done in both woody and herbaceous plants.
Cuttings include leaves, stems, or roots.
A cutting is taken from the parent plant, the leaves and flowers are removed, then planted in the ideal soil mix and taken care of like normal plants.
After some time, the cutting will grow into a new plant.
Before planting, the cutting end is dipped into rooting hormone to encourage root growth.
For the soil mix, the nurseries recommend using a mixture of coarse sand, vermiculite, soil, and water or a mixture of simple peat and perlite.
If the cutting is taken from leaves or stems, nurseries prefer keeping the cutting in bright, indirect sunlight.
If it is from roots, it is kept in darkness until the growth of new shoots.
Stem cuttings
A lot of plants are propagated from stems.
Though you can take cuttings at any time of the year, the nurseries recommend collecting the cuttings of some woody plants in the fall or during dormancy.
Generally, a stem is cut a few inches above or below the node, depending on the cutting type.
The cutting is dipped into the rooting hormone and then planted in the growing medium.
Stem cuttings have different stages:
- Tip cuttings
- Medial cuttings
- Cane cuttings
- Single eye stem cutting
- Double-eye cutting
- Heel cutting
Leaf cuttings
Leaf cuttings are performed mostly for the houseplants, but some don’t propagate successfully.
The leaves either dry out and decay or grow few roots, which ultimately don’t develop into plants.
Nurseries perform these procedures to know and observe the results.
For successful propagation, there are other ways.
Leaf cuttings are performed in multiple ways:
- Whole leaf with or without petiole
- Split veins
- Leaf sections
Root cuttings
These cuttings are taken when the plant is 2-3 years old.
The cut is taken when the plant stays dormant.
The roots of some plants produce shoots first and then roots, and for others, it’s vice versa.
Nurseries propagate depending on the root type:
| Plants with big roots | Plant with small roots |
|---|---|
| Cut the root around 2-6 inches. The cutting is stored for three weeks in a moist mixture of sand, peat moss, or sawdust at 40°F. Take it out and plant it in the ideal soil mix. | Here, a root cutting is taken in about 1-2 sections and placed horizontally about 12 inches inside the soil. |
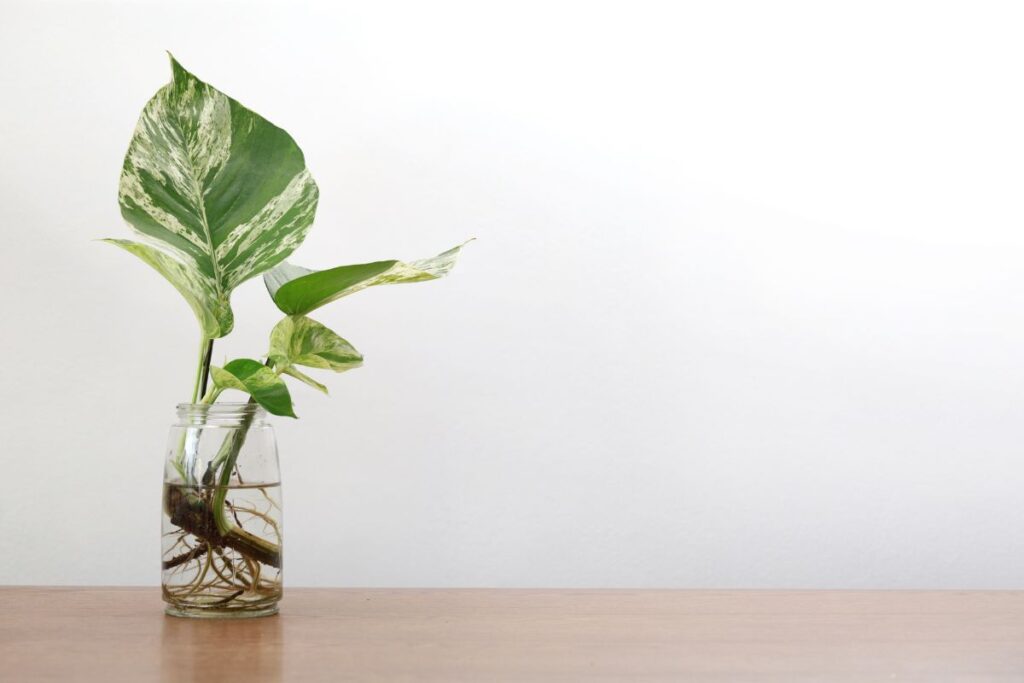
Layering
The stems that remain attached to the plant can grow roots if their inner white part touches the growing medium, and that stem can grow to a new plant.
Though some plants layer independently, some plants need assistance through manual propagation.
Nurseries perform all of them and use the most that give better results.
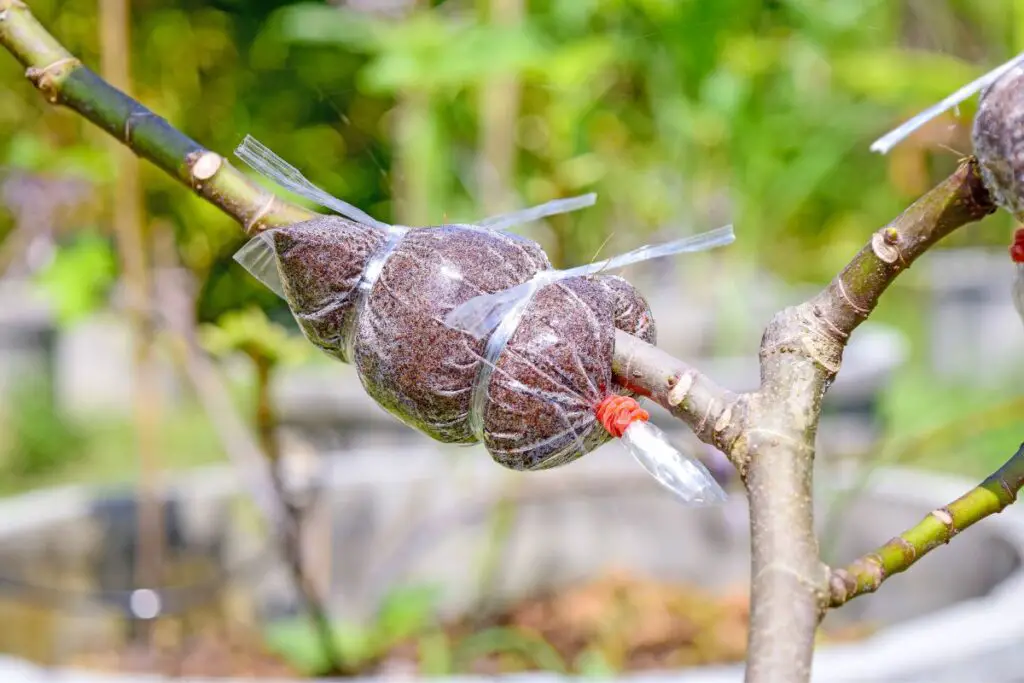
Layering is done by injuring one side of the stem, around 1-2 inches, and then bending it properly into the soil.
Sometimes, the wound is set up with a medium like sphagnum moss without bending.
Layering comes in multiple ways:
- Tip layering
- Compound layering
- Mound layering
- Air layering
- Simple layering
Creeper plants, trees, and herbaceous plants like chrysanthemums and hibiscus are propagated through layering.
Division
In division, plants with stems at ground level are divided.
Each division with a crown is planted separately in the soil.
If a plant is divided into 4-8 sections, you will get 4-8 new plants.
Gently the stems are pulled apart if they are not much joined.
If the crowns are united, cut the stems and roots with a sharp disinfected pruner or knife for dividing.
The plants are dusted with fungicide before planting so the wounded part doesn’t attract or invite fungal diseases.
Separation
This method is applied to plants that form bulbs or the corms multiply.
| Separation from bulbs | Separation from corms |
|---|---|
| Bulbiferous plants will develop new small bulbs beside the main bulb. The bulbs are dug up, separated from the main bulb, stored, and replanted when the season arrives. Nurseries separate the bulbs after every few years to store and replant them. | New cormels form beside or around the large main corm. Once the plant withers, the nurseries collect these corms and dry them in filtered light for 2-3 weeks. Nurseries divide the cormels, dust them with fungicide, and store them in a cool place until planting. |
Offsets
Some plants produce offsets or baby plants.
These babies are separated and planted in a new soil mix.
After some time, these babies will turn into mature plants and further produce more offspring.
It is one of the easiest methods of propagation.
Both nurseries and house growers follow this easy method to get new plants without effort.
All plants with bulbs, corms, and offsets are propagated by separation, for example, daffodils, tulips, hens and chicks, haworthia, aloe vera, etc.
Grafting
It is a method where the plant parts are joined together to get more new plants.
The technique is usually applied to plants that don’t show good results from cuttings.
The part chosen for propagation is called a scion, consisting of a shoot and some dormant buds.
They deliver stems and branches.
The rootstock will grow a new root system and lower stem part.
The cambium layer of scion and rootstock will be exposed so that they can meet.
The scion and rootstock must be compatible, and the wound should be kept moist until healed.
There are different methods of grafting:
| Types of grafting | How it happens |
|---|---|
| Cleft grafting | A cleft is made to let the scion get inserted. |
| Bark grafting | Here, a bark is split to insert the scion. |
| Whip or tongue grafting | Two cuts are made in the scion and stock to create a tongue on each, and then they are fitted into each other. |
The chances of success will be low if the techniques are not followed properly.
But since the nurseries have people to take care of, there might be chances of progress.
Plants like mango, amla, durian, apple, sapota, cherry, and apricot can be propagated by grafting.
Budding
Budding is another kind of grafting where the bud and small piece of bark from the scion are united with the rootstock.
Though it is done when scion material is limited, it gives better results.
There are three ways of bud grafting:
- Patch budding
- Chip budding
- T-budding
Propagation by tissue culture
This method is rarely used because tissue culture requires lab equipment.
It is generally done in nurseries with lab facilities.
A small part of the plant tissue is collected and kept in the culture medium, which comes in the liquid or semisolid form and is incubated.
Nurseries maintain the proper temperature for this propagation method.
Otherwise, there is a low chance of propagation.
There are multiple ways of tissue culture:
- Callus culture
- Organ culture
- Organized and unorganized organ culture
- Cell culture
- Protoplast culture
Final thoughts
Though the nurseries perform a lot of propagation methods, you can try the easiest ones for your home, like the cuttings, seeds, divisions, and separation. These are the common methods used by home-growers.
Since the nurseries have a lot of knowledge and facilities, they perform all of them. But most of the time, of course. They perform all the methods alternatively to get the best result out of each one.
It helps them know which method shows what results and how they can improve the methods to get better plants.
Reference: Effect of Nursery Production Method, Nursery Growing Media, Nursery experiments for improving plant quality, Nursery Management.